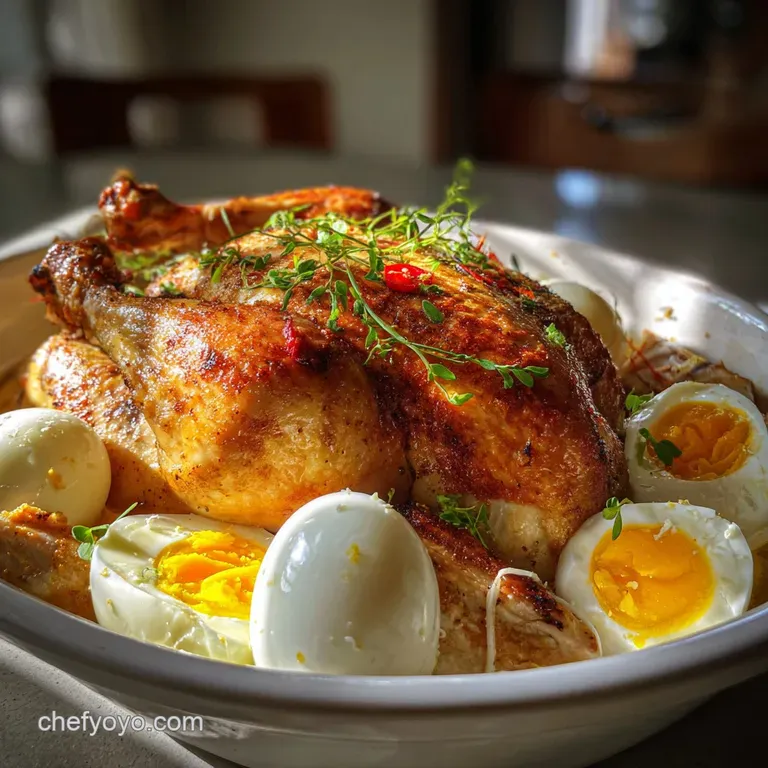
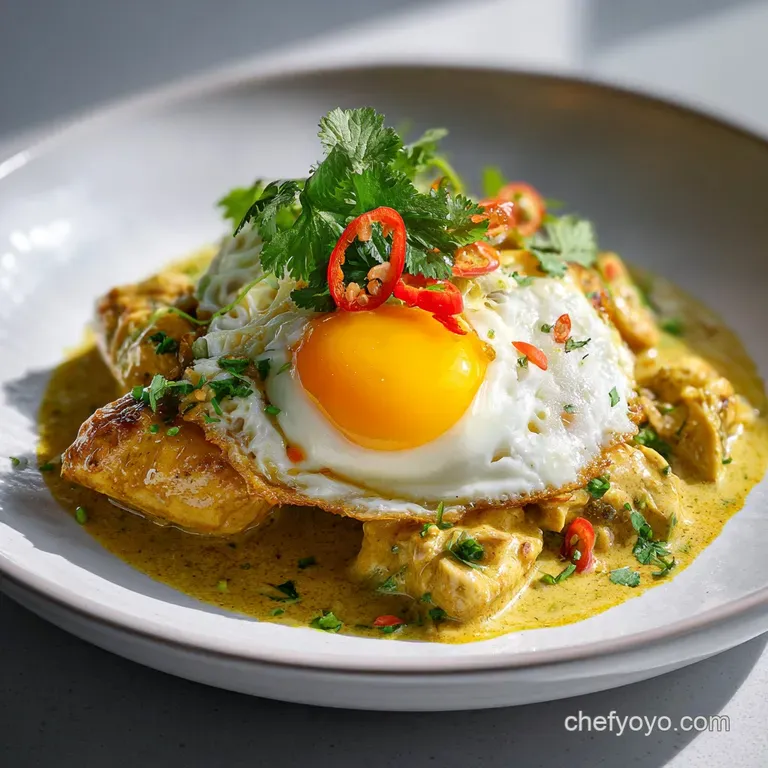
Chicken and Egg: Velvety Fusion
- Time: Active 10 minutes, Passive 8 minutes, Total 18 minutes
- Flavor/Texture Hook: Savory, velvety, and aromatically ginger forward
- Perfect for: High protein weeknight dinners and creative meal prepping
- Achieving the Perfect Chicken and Egg
- Key Techniques Explained
- Essential Specs for Success
- Selecting Your Primary Components
- Required Tools for Cooking
- Simple Steps to Follow
- Fixing Common Cooking Errors
- Creative Flavor Variations
- Storage and Waste Tips
- Serving Your Masterpiece
- High in Sodium
- Chicken and Egg FAQs
- 📝 Recipe Card
Achieving the Perfect Chicken and Egg
Have you ever wondered why the chicken in high end fusion restaurants feels almost like silk, while yours turns out like a pencil eraser? I used to struggle with that too, honestly. I'd toss everything in a pan, hope for the best, and end up with something dry and uninspiring.
But once I learned the secret of velveting a technique that sounds fancy but is basically just a starch hug for your protein it changed everything.
This chicken and egg recipe isn't your standard scramble; it's a contemporary balance of textures where the eggs act more like a rich, golden sauce for the meat. The aroma of sizzling ginger and garlic hitting the neutral oil is enough to make anyone hungry.
It's the kind of meal that feels like a warm hug but looks like something you’d order at a trendy bistro.
We’ve all been there: staring at a fridge with just some breast and a carton of eggs. This is how you turn those basics into something genuinely creative. Right then, let's look at why this specific combination of ingredients works so well on a chemical level before we start cooking.
Key Techniques Explained
Protein Denaturation: Gentle heat causes egg proteins to uncoil and bond, creating a soft, delicate structure when cooked slowly with residual heat.
Starch Gelatinization: The cornstarch in the marinade forms a protective barrier that locks in the chicken's juices during the over high heat sear.
Maillard Reaction: The light soy sauce and oyster sauce provide sugars and amino acids that brown quickly, creating deep savory notes in seconds.
| Thickness | Internal Temp | Rest Time | Visual Cue |
|---|---|---|---|
| 1 inch strips | 145°F (63°C) | 2 mins | No longer pink, fibers opaque |
| 0.5 inch strips | 145°F (63°C) | 1 min | Edges golden, center firm |
| Sliced cubes | 145°F (63°C) | 2 mins | Uniformly white throughout |
The table above helps you gauge the precise moment to pull the meat from the heat. Since we are using a contemporary fusion approach, we want to avoid overcooking at all costs, especially with lean breast meat. If you enjoy this texture, you might also like the similar techniques used in my Chicken and Noodles Recipe.
Essential Specs for Success
| Component | Science Role | Pro Secret |
|---|---|---|
| Cornstarch | Moisture Barrier | Toss until the chicken looks slightly "milky" to ensure full coverage. |
| Shaoxing Wine | Aroma Solvent | This breaks down fat soluble flavor compounds in the ginger and garlic. |
| Large Eggs | Emulsifier | Whisk with sesame oil to create a richer, more stable fat in-protein bond. |
The timing for this egg chicken stir fry is very fast, so having these components ready is vital. Using fresh ginger rather than the powdered stuff is a non negotiable for that authentic aromatic profile.
Selecting Your Primary Components
This recipe relies on a few high-quality staples that you likely already have in your pantry.
- 300g chicken breast: Sliced into thin 1 inch strips. Why this? Breast meat absorbs the velvety marinade much better than fattier thigh meat.
- 1 tsp cornstarch: For the velveting process. Why this? It creates that signature "slippery" and tender restaurant style texture.
- 1 tbsp light soy sauce: Provides the base salinity.
- 1 tsp Shaoxing wine: Or dry sherry. Why this? Adds a complex, fermented depth that salt alone cannot provide.
- 4 large eggs: The soul of the dish.
- 0.5 tsp toasted sesame oil: Whisked into the eggs.
- 2 tbsp fresh chives: Finely snipped for a contemporary green finish.
- 2 cloves garlic: Minced for an immediate aromatic hit.
- 1 tsp fresh ginger: Grated. Why this? Its enzymes help further tenderize the chicken during the short marinade.
- 1 tbsp oyster sauce: For that thick, umami rich finish.
- 2 tbsp neutral oil: Like avocado or grapeseed oil for over high heat searing.
| Original Ingredient | Substitute | Why It Works |
|---|---|---|
| Shaoxing Wine | Dry Sherry | Similar acidity and fermented profile. Note: Adds a slightly nuttier finish. |
| Chives | Green Onions | Both offer a mild allium bite; onions are crunchier. |
| Light Soy Sauce | Tamari | Same salty punch. Note: Keeps the dish 100% gluten-free. |
While you can use pre minced garlic, I find that the sulfurous bite of freshly chopped cloves is much more vibrant. It makes a significant difference in how the chicken and egg recipe smells as it hits the pan.
Required Tools for Cooking
You don't need a professional kitchen, but a few specific tools make this much easier. A heavy bottomed carbon steel wok or a large non stick skillet is essential for getting that quick sear without sticking.
You'll also want a sharp chef's knife to get those chicken strips uniform, ensuring they all cook at the same rate.
- Large skillet or wok
- Small mixing bowls for the eggs and marinade
- Microplane or grater for the ginger
- Silicone spatula (best for gentle egg folding)
Chef's Tip: Freeze your chicken for 15 minutes before slicing. This makes it firm enough to cut perfectly thin, uniform strips without it sliding around under your knife.
Simple Steps to Follow
1. Preparing the Velvety Chicken
In a small bowl, whisk together the 1 tsp cornstarch, 1 tbsp light soy sauce, and 1 tsp Shaoxing wine. Add the 300g of chicken strips and toss well. Note: Let this sit for 10 minutes; this is the secret to the velvety texture.
2. Searing for Maximum Flavor
Heat 1 tbsp of neutral oil in your pan over high heat until you see a faint wisp of smoke. Add the chicken in a single layer. Note: Don't move it for 60 seconds to develop a golden crust.
3. Infusing the Aromatics
Add the minced garlic and grated ginger to the pan with the chicken. Stir fry for 30 seconds until the air smells intensely spicy and fragrant.
4. Integrating the Egg Ribbon
Whisk the 4 eggs with the sesame oil and a pinch of salt. Push the chicken to the sides of the pan and pour the eggs into the center.
5. Finishing the Marriage
Wait 20 seconds for the bottom to set, then gently fold the eggs into the chicken. Drizzle over the 1 tbsp of oyster sauce.
6. The Final Touches
Remove from heat while the eggs still look slightly "wet." Fold in the snipped chives and serve immediately. They will finish cooking on the plate from residual heat.
| Method | Time | Texture | Best For |
|---|---|---|---|
| over High heat Wok | 8 mins | Crispy edges, silky center | Authentic texture and speed |
| Non stick Pan | 10 mins | Very soft, uniform eggs | Beginners who fear sticking |
| Cast Iron | 9 mins | Deep browning on chicken | Maximum flavor development |
If you find yourself craving another way to use these ingredients, you might explore a more processed but equally silky texture in a Silky Homemade Chicken recipe.
Fixing Common Cooking Errors
Preventing Rubbery Eggs
If your eggs feel like a sponge, they were likely cooked on high heat for too long. The trick is to turn the burner off about 30 seconds before you think you should. The residual heat in the pan and the chicken will finish the eggs perfectly.
Fixing Watery Chicken
If your chicken is gray and "leaking" liquid into the pan, you probably overcrowded it. When too much cold meat hits the pan at once, the temperature drops and the chicken steams instead of searing. Work in two batches if your pan is small.
| Problem | Root Cause | Solution |
|---|---|---|
| Chicken is tough | Skip the marinade | Always use the cornstarch/soy mix for 10 mins. |
| Eggs are bland | No sesame oil | Whisk fat into the eggs before they hit the pan. |
| Sticky mess | Pan not hot enough | Wait for the oil to shimmer/smoke before adding protein. |
Common Mistakes Checklist
- ✓ Pat the chicken strips with a paper towel if they seem excessively wet before marinating.
- ✓ Ensure the ginger is finely grated; large chunks can be overpowering and woody.
- ✓ Whisk the eggs vigorously to incorporate air for a fluffier texture.
- ✓ Never use over low heat for the chicken phase; you need that quick sear.
- ✓ Use a neutral oil with a high smoke point, not extra virgin olive oil.
Creative Flavor Variations
Creating a Spicy Szechuan Twist
Add 1 tsp of chili crisp or a pinch of Szechuan peppercorns with the garlic. The numbing heat cuts through the richness of the egg and chicken perfectly. It turns this into a contemporary fusion dish that pairs beautifully with steamed bok choy.
Making a Comforting Egg Chicken Casserole
If you have leftovers of this egg and chicken recipe, you can toss them with pre cooked rice and a little extra chicken broth, top with cheese, and bake at 180°C for 15 minutes. It’s not traditional, but it’s a brilliant zero waste meal.
The Low Carb Alternative
Skip the rice bowl and serve the chicken egg curry style over cauliflower rice or shredded cabbage. The oyster sauce provides enough body to act as a light glaze, keeping the dish keto friendly without losing that authentic flavor profile.
- If you want more crunch: Add 50g of toasted cashews at the very end.
- If you want it sweeter: Add 1 tsp of brown sugar to the oyster sauce.
- If you want it fresher: Squeeze half a lime over the plate just before serving.
Storage and Waste Tips
Storage Guidelines: You can keep this in an airtight container in the fridge for up to 3 days. When reheating, I suggest using a microwave at 50% power with a damp paper towel over the bowl. This prevents the eggs from turning into rubber.
I don't recommend freezing this specific dish, as the texture of cooked eggs changes significantly and becomes watery upon thawing.
Zero Waste Idea: Don't throw away those chive ends or ginger peels! Throw them into a freezer bag. Once the bag is full, you can boil them with chicken bones to make a deeply aromatic base for an egg chicken soup.
Serving Your Masterpiece
The most authentic way to enjoy this is over a steaming bowl of jasmine rice. The sauce from the oyster and soy will seep into the grains, making every spoonful rich and savory. For a creative presentation, use a small bowl to mold the rice into a dome, then drape the chicken and egg mixture over the top, letting the chives fall naturally.
There’s a common myth that you should salt eggs long before cooking to make them tender. In reality, salting too early can sometimes break down the proteins too much, making them watery. I find salting right as they hit the pan or whisking the salt in seconds before yields the most velvety result.
Another myth is that the "red bit" in an egg means it's bad. It's just a broken capillary and is perfectly safe to eat, though you can scoop it out if it bothers you.
Trust me, once you nail that 8 minute cook time, this will become your go to "I have nothing in the house" meal. Let's crack on and get that pan heating!

High in Sodium
1068 mg mg of sodium per serving (46% of daily value)
The American Heart Association recommends limiting sodium intake to about 2,300mg per day for overall cardiovascular health.
Tips to Reduce Sodium in Your Egg Dish
-
Reduce Oyster Sauce-20%
Oyster sauce is a significant source of sodium. Reduce the amount used by half, or replace it with a low-sodium mushroom based sauce to add umami flavor.
-
Low-Sodium Soy Sauce-15%
Replace regular light soy sauce with a reduced sodium soy sauce. This simple swap can significantly lower the sodium content without sacrificing flavor.
-
Skip the Sherry-10%
Omit the Shaoxing wine or dry sherry. While it adds flavor, it also contributes to the overall sodium content. If you want to keep it, make sure you are using a low sodium version, or reduce it by half.
-
Unseasoned Chicken-10%
Ensure the chicken breast is unseasoned. Pre-seasoned chicken often contains added sodium. Buy fresh and season yourself with low-sodium options.
-
Spice It Up!
Enhance the flavor with fresh herbs and spices like black pepper, red pepper flakes, or garlic powder. These can add complexity without any sodium.
Chicken and Egg FAQs
What is an "egg chicken"?
It refers to a chicken primarily raised for egg production. These birds, often laying breeds, are bred for their ability to consistently lay eggs rather than for meat. While technically edible, their meat is typically leaner and tougher than that of specialized meat breeds.
What type of chickens lay eggs?
All female chickens, called hens, lay eggs. However, certain breeds are specifically known as "laying breeds" because they are genetically predisposed to lay more eggs than others. Examples include Leghorns, Rhode Island Reds, and Plymouth Rocks.
Are egg-laying chickens good to eat?
Yes, but with caveats. While edible, the meat from older laying hens is generally tougher and less flavorful than that of younger birds or specialized meat breeds. They are often used for stews or broths where slow cooking tenderizes the meat.
Are egg-laying chickens different than meat chickens?
Yes, they are bred for different purposes. Egg-laying breeds are selected for high egg production and tend to be leaner and more active, while meat breeds (like Cornish Cross) are bred for rapid growth and larger muscle mass, resulting in more tender, abundant meat.
Can I use a meat chicken for eggs?
No, it's not practical. While meat breed chickens will lay eggs, they do so infrequently and not in commercially viable numbers. Their genetics are geared towards rapid weight gain, not consistent egg production.
What's the difference in taste between egg and meat chicken?
Meat chickens are generally more tender and succulent. Egg-laying hens, especially older ones, have leaner muscles and less fat, which can result in a tougher texture and a more pronounced, sometimes gamey, flavor. If you enjoy tender chicken, explore recipes like our Garlic Parmesan Chicken Pasta.
How long do egg-laying chickens typically live?
Laying hens can live for several years. Commercial laying hens typically produce optimally for their first 1-2 years, after which their egg production declines. Many are then processed, but backyard hens can live up to 5-10 years or more if well cared for.
Chicken And Egg

Ingredients:
Instructions:
Nutrition Facts:
| Calories | 555 kcal |
|---|---|
| Protein | 60.4 g |
| Fat | 30.2 g |
| Carbs | 6.2 g |
| Fiber | 0.4 g |
| Sugar | 1.1 g |
| Sodium | 1068 mg |
