Easy No-Bake Pumpkin Pie: a Creamy Fall Delight
- No-Bake Pumpkin Pie: The Ultimate Fall Delight
- Essential Ingredients Guide: The Secret to Delicious No-Bake Pumpkin Pie
- Cooking Like a Pro: Mastering the Art of No-Bake Desserts
- Pro Tips & Secrets for Your No-Bake Pumpkin Pie Adventure
- Perfect Presentation for Wow Factor
- Storage & Make-Ahead: Keeping it Fresh
- Creative Variations: Switch It Up!
- Complete Nutrition Guide: The Lowdown
- The Bottom Line: Enjoy the Journey!
- Frequently Asked Questions
- 📝 Recipe Card
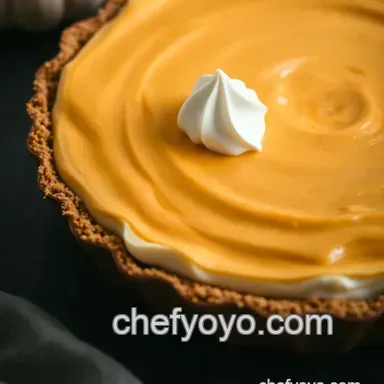
No-Bake Pumpkin Pie: The Ultimate Fall Delight
Oh my gosh, have you ever found yourself staring at a pie chart from thanksgiving and thinking, “why am i stressing out over baking when i can just whip up a no-bake pumpkin pie?” yeah, same!
One year, i spent the whole day in the kitchen while my family munched on store-bought pies like they were gourmet masterpieces.
That was when i decided, "never again!" this easy no-bake pumpkin pie has been my go-to ever since. it’s creamy, cozy, and just packed with all those autumn flavors we crave as the leaves start to fall.
Seriously, it’s like a hug in pie form.
A Sweet Slice of History
Pumpkin pies are a classic american dessert, but did you know they date back to the early 1800s? yeah, people have been enjoying this delectable dish for centuries! over the years, it’s evolved from baked goodness to no-bake recipes that are a lifesaver for those of us who want all the pumpkin dessert recipes without the sweat.
Nowadays, this chilled beauty is not just for thanksgiving anymore; it’s made its way into summer picnics and other holiday events, making it a holiday dessert idea you can whip up in a flash!
Okay, here’s the scoop on making it: you only need about 15 minutes of active prep time, then just toss it in the fridge for about 2 hours .
This recipe is easy peasy, and it yields 8 perfect slices , so it’s great for gatherings or a cozy night at home.
Plus, it won’t break the bank most of the ingredients are pretty affordable. you might even have a few things in your pantry already!
Why You’ll Love This Pie
Let’s talk about the real reasons to bring this pie to your table. first off, it’s super health conscious compared to traditional pumpkin pies.
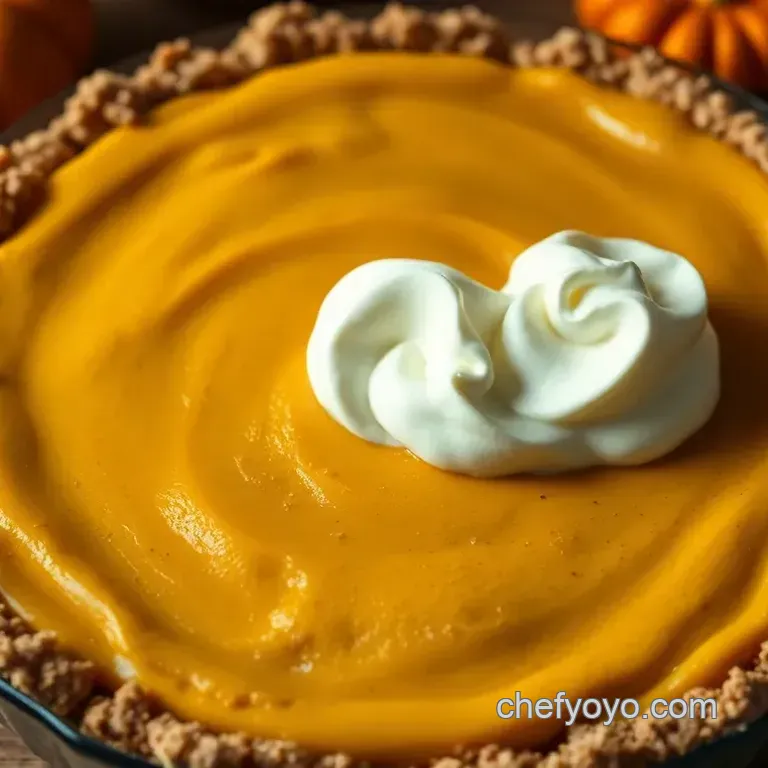
With creamy pumpkin filling and a simple graham cracker crust, you get rich, delicious flavors without the guilt. don't let the no-bake aspect fool you; this pie is no less impressive than its oven baked cousins.
This pie also shines during special occasions. imagine impressing your friends at a holiday gathering or cozying up with your family around a fire while digging into this chilled delight.
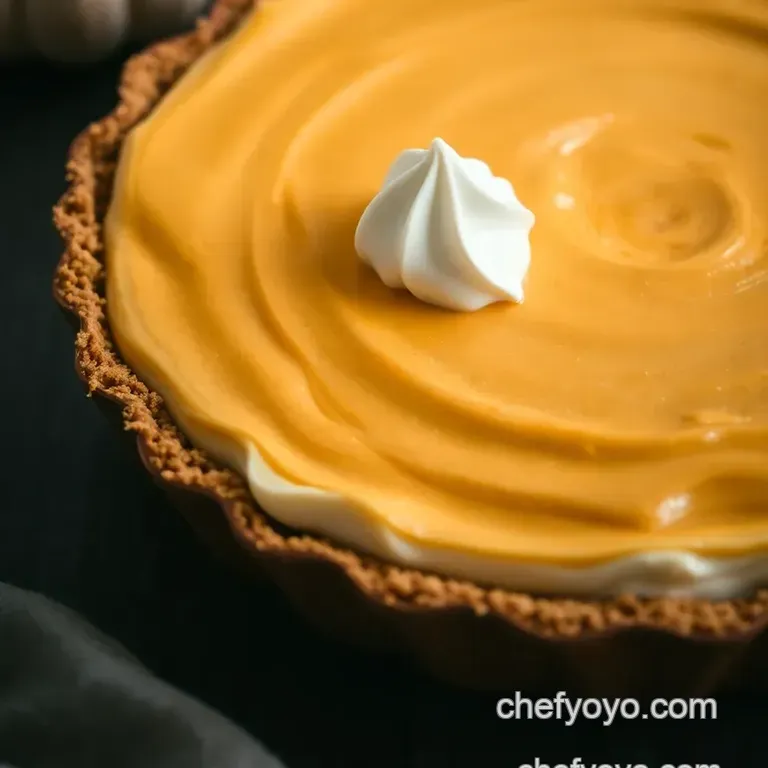
It’s a stellar choice for thanksgiving dessert recipes and a showstopper for any fall dessert idea . oh, and did i mention the whipped cream topping ? a dollop (or two!) of that makes everything better!
Plus, you can cater to all dietary needs! want dairy-free pumpkin desserts ? just swap in coconut cream! have a vegan friend? use a vegan graham cracker crust! this no-bake pumpkin pie can be adapted in so many ways, making sure everyone can enjoy a slice or two.
A Sweet Transition to Ingredients
So, if you’re ready to dive into this easy pumpkin pie magic, you’ll need a few simple ingredients like puréed pumpkin, heavy cream, vanilla, and some spices for that pumpkin spice treats flair.
Finding these ingredients should be a breeze! trust me, once you take that first bite, you’ll understand why this pie has become a staple in my household.
Stay with me as we explore the perfect ingredient list for your new favorite dessert!
Essential Ingredients Guide: The Secret to Delicious No-Bake Pumpkin Pie
Alright, friends! if you’ve ever wanted to whip up a no-bake pumpkin pie but felt a little lost in the aisle of ingredients, this guide is your golden ticket.
Think of it as your behind the-scenes pass to creating easy pumpkin pie magic! let’s dive into what you need for that rich, creamy pumpkin filling and silky graham cracker crust, and we’ll keep it as straightforward as possible.
Premium Core Components
When it comes to home cooking, quality is everything! Here are the essential ingredients you’ll want to gather:
- Pumpkin Purée: First off, you need 1 (15 oz / 425g) can of pure pumpkin puree. Trust me, avoid pumpkin pie filling. It’s like trying to make a smoothie with soda!
- Heavy Whipping Cream: A full cup ( 240ml ) is key to that creamy pumpkin filling that people will rave about, and it whips up beautifully , just like your grandma would make!
- Powdered Sugar: We’ll use 1 cup (120g) of this for sweetness. A sprinkle of sugar is the cherry on top of your Thanksgiving dessert recipes .
Storage tips: Keep your pumpkin puree in a cool, dark cupboard before using. Once opened, keep it in the fridge, and it should last about 5-7 days .
Signature Seasoning Blend
Now, here’s where things get exciting! Your pie won’t be a hit without the right spices .
- Cinnamon and Nutmeg: You’ll need 1 teaspoon of cinnamon and ½ teaspoon of nutmeg . These guys are the essence of fall flavors . Seriously, the aroma of cinnamon will have everyone questioning why they haven’t dived into your pie yet.
- Vanilla Extract: A mandatory splash ( 1 teaspoon ) accentuates all the flavors without overpowering them.
And don’t be shy with your seasoning! This is your chance to show off!
Smart Substitutions
Sometimes life doesn’t go as planned. Maybe you’re out of heavy cream, or someone in your family is on a vegan diet . No worries!
- For Heavy Cream: Coconut milk or a dairy-free cream often does the trick. Your filling can still be luscious without the dairy!
- For Sugar: If you're counting those carbs, try stevia or coconut sugar as a healthier alternative.
Most importantly, keep it simple. When in doubt, you can always play around !
Kitchen Essentials
Now, let’s chat about what tools you’ll need. Trust me, the right equipment makes the quick dessert recipes a breeze:
- Mixing Bowls: At least two one for your crust and one for your filling.
- Pie Dish: A 9 inch (23cm) pie dish is perfect for your no-bake pie.
- Electric Mixer: You’ll want one for whipping that cream. But if you’re feeling adventurous, get your arm workout in with a whisk!
And while we’re on topics of tools, store those graham cracker crumbs or anything else in airtight containers. It’s like giving your ingredients a cozy little home!
Wrap Up: Get Ready to Bake!
Now that we’ve laid the groundwork for your no-bake pumpkin pie , you’re equipped with everything you need to create a crowd pleasing dessert perfect for thanksgiving or even just a cozy night in.
Don't forget to grab some whipped cream topping for that exquisite finishing touch. you may want to add some pumpkin pie garnishes to make it extra festive.
Just think about it! a chilled pie topped with a big dollop of cream, possibly sprinkled with cinnamon. ugh, my mouth is watering!
You’re ready to jump into the instructions and start pulling together that creamy pumpkin masterpiece!
Just imagine it: smooth, chilled perfection waiting in the fridge... It could be the highlight of any dinner table. So, let’s get to those step-by-step instructions! Happy pumpkin pie making, and let me tell you, you’re gonna crush this!
Cooking Like a Pro: Mastering the Art of No-Bake Desserts
When it comes to making desserts, especially during the busy holiday season, sometimes you just need something that's delicious and doesn't require busting out the oven.
Enter no-bake pumpkin pie , a dream come true for all you fall lovers out there! not only is it creamy and full of autumn flavors, but it's also super simple.
Trust me; you'll want this in your back pocket for your next thanksgiving gathering.
Essential Preparation Steps
Alright, before diving into the pie-making magic, let’s get ourselves organized. first up, mise en place , that fancy french term means having everything in its place.
Lay out your ingredients: graham cracker crumbs, pumpkin puree, and spices. seriously, it saves a ton of time and stress.
Grab your measuring cups, bowls, and a trusty spatula.
Time management is key! you need about 15 minutes for prep and 2 hours chilling time and that’s all! it’s like the easiest dessert ever.
But pause here don’t forget about safety! keep surfaces clean, and wash your hands after mixing the pumpkin filling. food safety first, right?
Step-by-step Process
Alright, here’s how you whip this beauty up:
Prepare the crust : combine 1 ½ cups of graham cracker crumbs with ⅓ cup of sugar and ½ cup of melted butter in a bowl.
Make sure it’s all mixed well and looks like wet sand. press it firmly into a 9 inch pie dish .
Make the filling : in a separate bowl, mix together 15 oz of pumpkin puree , 1 cup of powdered sugar , 1 teaspoon of vanilla , 1 teaspoon of cinnamon , ½ teaspoon of nutmeg and a pinch of salt.
Then, whip 1 cup of heavy cream until you get soft peaks you’re aiming for light and fluffy here! fold that gently into the pumpkin mixture.
Assemble and Chill : Pour that creamy pumpkin concoction into your crust. Cover it up and pop it into the fridge for at least 2 hours to set.
Expert Techniques
So you wanna take it to the next level, huh? here’s a couple of pro tips: first, use room temperature ingredients when mixing.
It makes blending a breeze! and if you fancy a firmer pie, add 1 teaspoon of gelatin dissolved in a bit of cold water.
Just fold it in gently at the end to really elevate that texture.
Keep an eye on the pie as it chills. the way it firms up will be your visual cue that it’s ready to serve.
You’ll know it’s done when it’s set but still jiggly.
Success Strategies
Now, let’s chat mistakes to avoid. don’t skip the chilling time! if it doesn’t set properly, the slices will fall apart like your best intentions to eat healthy this thanksgiving.
If you want to stay on the healthy side, consider subbing in alternative sweeteners for desserts like stevia or coconut sugar.
And as for serving suggestions, feel free to get creative! a dollop of whipped cream topping or a sprinkle of extra cinnamon can elevate your presentation.
You could even switch up the crust or add a splash of caramel for some flair.
Additional Information
Feeling fancy? how about trying some pumpkin pie variations ? check out options like a no-bake cheesecake or flavored with maple syrup for a richer twist.
The world of no-bake recipes is vast, with pumpkin dessert recipes offering endless possibilities. so dive in and make this easy pumpkin pie your new go-to for fall desserts you and your friends will be absolutely addicted!
Looking to explore more? Stick around for additional information on creative ways to impress your guests with make-ahead desserts and more entertaining recipes. Happy pie-making, everyone!
Pro Tips & Secrets for Your No-Bake Pumpkin Pie Adventure
Alright, so you're about to dive into the world of no-bake pumpkin pie and let me tell you, it's an experience! with just some basic mixing and chilling, you can whip up this creamy fall delight that’s perfect for thanksgiving, family get-togethers, or just a cozy night in on the couch.
Let’s spill the beans on some pro tips that will elevate your pie game.
First things first, use room temperature ingredients for a smoother filling. i learned this the hard way when i whipped up a filling only to end up with lumps yikes! when the ingredients are at room temperature, they blend together like a dream.
Next up, if you want to actually save time (because who doesn’t want more of that?), prep your crust while your heavy cream is chilling in the fridge.
This way, you can kill two birds with one stone. oh, and if you’re feeling fancy, try tossing in a bit of gelatin in your pumpkin filling.
It gives a little extra firmness and elegance just be sure to dissolve it properly!
Oh, and don’t forget the spices ! a good sprinkle of cinnamon and nutmeg can turn this pie from “meh” to “wow!” toss in a pinch of ginger for a little kick if you’re adventurous.
Trust me, that fall flavor will hit differently!
Perfect Presentation for Wow Factor
Okay, let’s talk presentation because first impressions count, right? a well plated pie is like the cherry on top of your meal (figuratively speaking, but hey, if you’re into actual cherries on your pie, go for it!).
When you’re ready to serve, make sure to slice the pie neatly. Use a knife that’s been dipped in hot water to get those clean cuts it makes a world of difference.
Now, let’s chat garnishes! a whipped cream topping is practically a must. but don’t just slap it on pipe it out like you’re at a bakery.
If you’re feeling bold, consider sprinkling some crushed graham crackers or a dusting of cinnamon on top for extra pizzazz.
Color is key, so go for bright orange and creamy white it’s autumn on a plate, baby!
Storage & make-ahead: Keeping it Fresh
So, what if you want to make this easy pumpkin pie ahead of time? total game changer! you can make this pie a day in advance.
Just make sure to cover it with plastic wrap or a lid to keep that creamy goodness from picking up fridge odors.
When storing, keep it chilled in the fridge, and it should last about 3-4 days . you can even freeze it if you need to extend its life a bit longer; just make sure to wrap it tightly.
When you're ready to serve, allow it to thaw in the fridge overnight.
For reheating, well, you don’t need to because it’s a chilled dessert! But if you have leftovers (fingers crossed), you can serve them straight from the fridge.
Creative Variations: Switch It Up!
Now, i get it, sometimes you want to shake things up. let’s talk about some fun pumpkin pie variations . for the maple lovers, swap half of that sugar with maple syrup for a twist that’s downright heavenly.
If you’re catering to a vegan crowd, try using coconut cream. that creamy pumpkin filling will blow their minds! and for seasonal flair, try adding some apple cider concentrate or pecans to your filling for a new flavor profile.
Complete Nutrition Guide: The Lowdown
‘cause who doesn’t want to know what they’re putting in their bodies, right? each slice of this no-bake pumpkin pie is about 280 calories.
It's got some healthy fat from the cream and delivers a bit of fiber too yay for pumpkin! just remember, portion control is your friend, especially when dessert calls your name.
If you’re looking for healthier alternatives , you can play around with alternative sweeteners like stevia or coconut sugar. And for those avoiding dairy, opting for dairy-free cream will still keep that fall flavor alive without the dairy!
The Bottom Line: Enjoy the Journey!
So there you have it, all you need to whip up your very own no-bake pumpkin pie . with a little planning and some love, you’re gonna serve up a dessert that’ll impress friends and family alike.
This pie is not just about the end result; it’s about enjoying the process, getting your hands a little messy, and indulging in the flavors of autumn .
Roll up those sleeves, get in that kitchen, and let’s make some memories with this pie! happy baking no, wait, happy chilling!
Frequently Asked Questions
Can I make no-bake pumpkin pie ahead of time?
Absolutely! This no-bake pumpkin pie can be prepared up to a day in advance. Simply cover it with plastic wrap and store it in the refrigerator until you’re ready to serve. This allows the flavors to meld beautifully while saving you time on the day of your gathering.
What can I use instead of graham cracker crumbs for the crust?
If you don’t have graham cracker crumbs, there are several alternatives. You can use crushed digestive biscuits or Oreo cookies for a chocolate twist. Additionally, a simple crust made from finely ground nuts and dates can create a gluten-free option.
How do I make my no-bake pumpkin pie filling thicker?
For a thicker filling, you can add gelatin or cornstarch. Dissolve 1 teaspoon of gelatin in cold water and fold it into the pumpkin mixture for added firmness. Alternatively, cooking down the pumpkin puree on low heat for a few minutes can also help thicken it up by reducing moisture.
How long can I store leftover no-bake pumpkin pie?
Leftover no-bake pumpkin pie can be stored in the refrigerator for up to 3-4 days. Just make sure to cover the pie well with plastic wrap to prevent it from absorbing other flavors in your fridge. You can also freeze leftover slices for up to a month!
What are some variations I can try with no-bake pumpkin pie?
There are many delightful variations to explore! You can create a maple no-bake pumpkin pie by substituting half of the sugar with maple syrup. For a vegan option, use coconut cream instead of heavy cream along with a vegan crust. Spicing it up with ginger or clove also adds an exciting twist!
Is no-bake pumpkin pie suitable for a gluten-free diet?
Yes, you can easily adapt this recipe for a gluten-free diet. Simply use gluten-free graham crackers or a crumb crust made from nuts and gluten-free oats. Always check that your filling ingredients, especially the pumpkin puree and sugar, are gluten-free as well.
Easy No Bake Pumpkin Pie A Creamy Fall Delight