Best Moist Yellow Cake Recipe from Scratch
- Time: Active 20 minutes, Passive 30 minutes, Total 50 minutes
- Flavor/Texture Hook: Velvety, buttery crumb with a deep vanilla bean aroma
- Perfect for: Birthday celebrations, Sunday family dinners, or a wholesome weekend project
- Creating the Absolute Best Yellow Cake Recipe
- Understanding the Science Behind This Tender Crumb
- The Essential Wholesome Components for Success
- Simple Tools Needed for Your Artisanal Bake
- Step by Step Guide to a Flawless Sponge
- Solving Common Baking Hurdles for Better Results
- Creative Ways to Customize Your Golden Layers
- Keeping Your Homemade Cake Fresh and Moist
- Wholesome Pairings to Complete Your Dessert Table
- Recipe FAQs
- 📝 Recipe Card
Creating the Absolute Best Yellow Cake Recipe
There is something deeply nostalgic about the aroma of a yellow cake wafting through the house. It is the scent of birthdays, potlucks, and those quiet Sunday afternoons where the kitchen feels like the warmest place on earth.
For the longest time, I tried to replicate that specific, box mix tenderness using traditional methods, but the results were often too bready or too dry. Then, I realized the secret wasn't just in the ingredients, but in the soul of the cake: the vanilla bean paste.
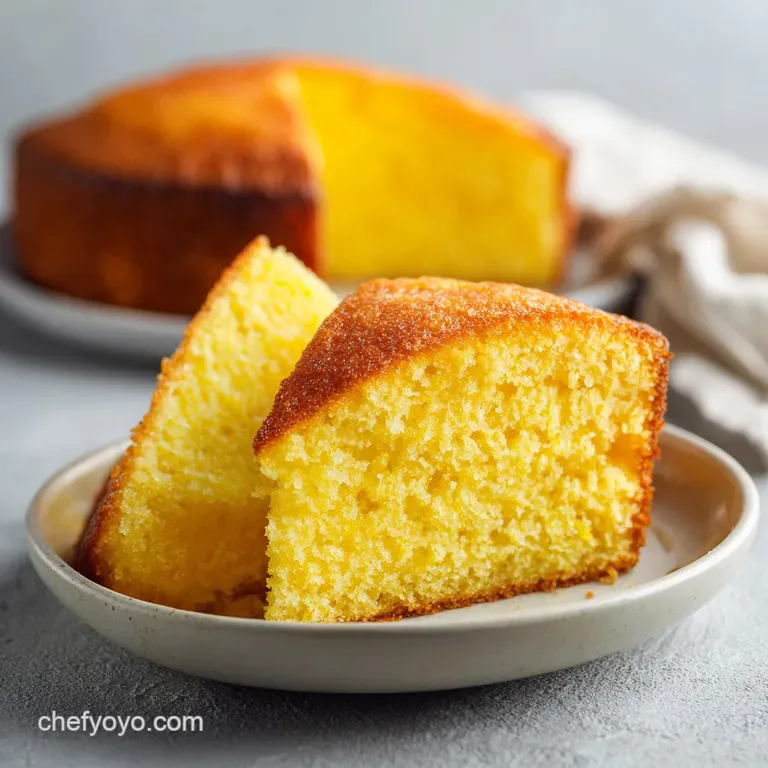
Using a high-quality paste instead of just extract transforms this from a simple sponge into a wholesome, artisanal masterpiece. You see those tiny black specks dancing through the golden crumb, and you just know it is going to be special.
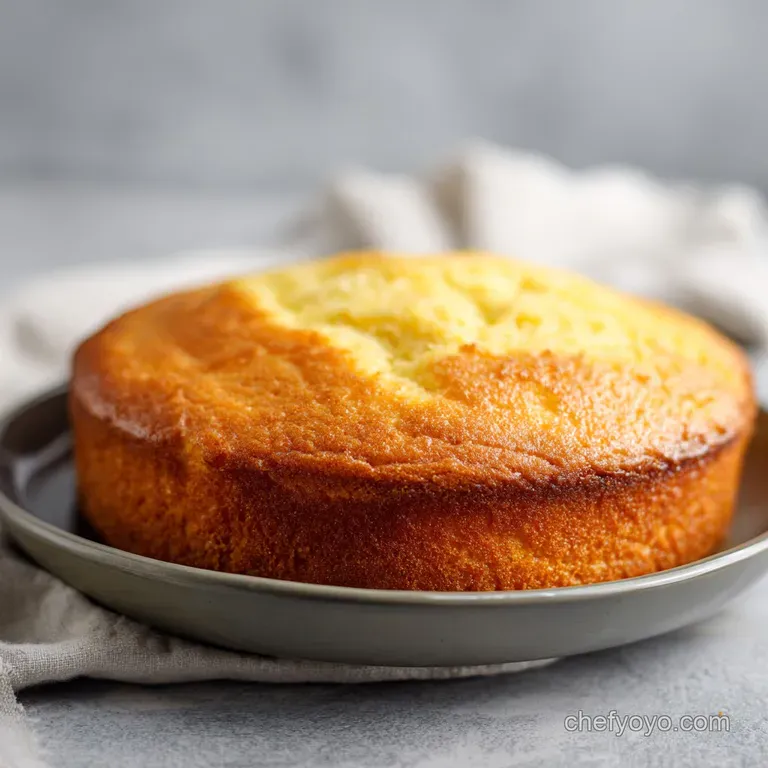
When you pull these pans out of the oven, the first thing you notice isn't just the color, but the way the light catches the fine, even surface. It doesn't have those giant, erratic air bubbles. Instead, it looks like a soft, golden pillow.
I remember the first time I got this right - I was so used to cakes that puffed up and then slumped, but this one held its shape with such quiet confidence. It felt sturdy enough to stack but looked so delicate that I almost didn't want to cut into it. Almost.
This recipe is designed for the cook who wants that "from scratch" pride without the fuss of complicated techniques. We are going to use a method that feels a bit backward if you’ve only ever done the "cream butter and sugar" routine, but trust me, it is the most reliable way to get that professional finish at home.
We are skipping the heavy lifting and focusing on the way the fats and proteins interact to create something truly velvety. If you have been looking for a reliable, honest cake that tastes like a hug from your grandmother, you have arrived at the right place.
Understanding the Science Behind This Tender Crumb
The magic here happens before we even touch the liquids. By using the reverse creaming method, we are fundamentally changing how the cake builds its bones. In a traditional cake, you whip air into butter and sugar, which can lead to a more open, bread like structure if you aren't careful.
Here, we are going for artisanal precision.
- Fat First Coating: By mixing the butter directly into the dry ingredients, we coat every single granule of flour in a thin layer of fat. This acts as a waterproof barrier that prevents the flour from forming long, tough gluten strands when we finally add the buttermilk.
- Emulsification Stability: Using both whole eggs and extra yolks adds a significant amount of lecithin and fat. This helps hold the water and oil components together, ensuring the batter stays smooth rather than curdling, which results in a much finer crumb.
- The Buttermilk Reaction: The acid in the buttermilk reacts with the generous amount of baking powder to create a steady release of carbon dioxide. This provides a gentle lift that keeps the cake light despite its rich, buttery density.
- Sugar as a Tenderizer: Beyond just sweetness, the 400g of sugar in this recipe helps to hold onto moisture. It interferes with the coagulation of egg proteins and the gelatinization of starches, which is why the cake feels so soft even the next day.
| Characteristic | Homemade Artisanal Version | Shortcut Box Mix |
|---|---|---|
| Crumb Texture | Tight, velvety, and buttery | Airy, spongy, and fragile |
| Flavor Profile | Deep vanilla with a salt finish | Artificial sweetness, one dimensional |
| Longevity | Stays moist for 3-4 days | Dries out quickly after 24 hours |
| Structural Integrity | Excellent for heavy frosting/stacking | Prone to crumbling under weight |
Choosing to bake from scratch is a commitment to quality that you can taste in every bite. While a box mix might save you ten minutes of measuring, it lacks the rustic charm and wholesome depth of a cake made with real butter and vanilla bean paste. If you love this type of rich, buttery texture, you might also find my St. Louis Gooey Butter Cake to be a perfect companion for your next baking session. Both recipes celebrate the glorious interaction between high-quality fats and sugar.
The Essential Wholesome Components for Success
Every ingredient in this recipe serves a specific purpose, and for the best results, we want to treat them with respect. I’ve found that the temperature of your ingredients is often more important than the brand you buy. Room temperature is your best friend here.
| Component | Role in the Bake | Pro Secret |
|---|---|---|
| Cake Flour | Provides a low protein base | Sift it twice to ensure maximum aeration |
| Vanilla Bean Paste | Adds intense aroma and visual specks | Use a brand that lists "seeds" in the ingredients |
| Buttermilk | Provides acidity for lift and tang | Shake the carton well to redistribute the solids |
| Dutch Processed Cocoa | Creates a dark, mellow frosting | Sift it to avoid stubborn lumps in the butter |
Ingredients & Substitutes
- 375g cake flour, sifted: Why this? Essential for the delicate, low protein structure that creates a "tender" bite.
- Substitute: 325g all purpose flour mixed with 50g cornstarch.
- 400g granulated sugar: Why this? Provides sweetness and keeps the crumb moist by locking in water.
- Substitute: Caster sugar works beautifully for an even finer texture.
- 1.5 tbsp baking powder: Why this? Our primary leavening agent for a consistent, reliable rise.
- Substitute: No direct sub recommended; ensure it is fresh!
- 1 tsp fine sea salt: Why this? Cuts through the sugar to highlight the buttery notes.
- Substitute: Table salt is fine, but use slightly less.
- 225g unsalted butter, room temperature, cubed: Why this? The fat that coats the flour; must be soft enough to incorporate.
- Substitute: high-quality European style salted butter (omit the sea salt).
- 3 large eggs + 2 large egg yolks: Why this? The extra yolks provide the signature "yellow" color and richness.
- Substitute: Use 4 whole eggs if you want a slightly lighter, paler cake.
- 240ml full fat buttermilk: Why this? The acid tenderizes the gluten and adds a subtle, wholesome tang.
- Substitute: 240ml whole milk mixed with 1 tbsp lemon juice (sit for 10 mins).
- 2 tbsp neutral oil: Why this? Keeps the cake feeling "moist" at room temperature.
- Substitute: Melted coconut oil for a very subtle tropical hint.
- 1 tbsp vanilla bean paste: Why this? Offers a far superior flavor profile than standard extract.
- Substitute: 1.5 tbsp pure vanilla extract or one scraped vanilla bean.
- For the Frosting: 225g butter, 500g powdered sugar, 75g cocoa powder, 60ml heavy cream, 1 tsp vanilla, pinch salt.
Simple Tools Needed for Your Artisanal Bake
You don't need a kitchen full of gadgets to make a "masterclass" level cake. In fact, keeping things minimal allows you to focus on the textures and aromas as they develop. A stand mixer is helpful, but you can certainly do this with a hand mixer and a little patience.
The most important tool is actually your oven thermometer. Most home ovens are notoriously inaccurate, and even a 15 degree difference can be the gap between a moist cake and a dry one. Beyond that, a couple of 8 inch round pans and some parchment paper are all you need.
I always tell my friends that greasing the pan is good, but parchment is the "insurance policy" that ensures your hard work doesn't end up stuck to the bottom of the tin.
Chef's Tip: If you don't have parchment paper, you can grease the pans heavily with butter and then dust them with a light coating of flour. Tap out the excess flour over the sink to prevent a thick, white crust on your cake layers.
step-by-step Guide to a Flawless Sponge
Phase 1: Aerating the Dry Base
Start by preheating your oven to 350°F (175°C). While that warms up, grease two 8 inch round cake pans and line the bottoms with parchment. In your mixer bowl, whisk together the 375g cake flour, 400g sugar, baking powder, and salt for about 30 seconds.
Note: This ensures there are no pockets of salt or leavening in the final batter.
Phase 2: The Fat Coat (Reverse Creaming)
Add the 225g of cubed butter to the flour mixture. Turn the mixer to low medium speed. You are looking for the butter to disappear into the flour until the whole thing looks like damp, fine sand. Cook until no large butter chunks remain. This usually takes about 2 to 3 minutes.
Phase 3: Emulsifying the Liquid Gold
In a separate bowl, whisk the buttermilk, whole eggs, yolks, oil, and vanilla bean paste until fully combined. With the mixer on its lowest setting, pour in half of this liquid mixture. Increase to medium speed for 30 seconds.
Note: This brief period of high speed mixing builds the tiny bit of structure the cake needs to not crumble.
Phase 4: Final Mixing
Scrape down the sides and bottom of the bowl with a spatula to catch any stray flour. Add the remaining liquid and mix on low just until the batter is smooth and cohesive. Do not overmix here; we want to keep the crumb tender.
Phase 5: The Golden Bake
Divide the batter evenly between your two prepared pans. Smooth the tops with a spatula. Bake 30 minutes until a wooden skewer comes out clean. The cakes should be a beautiful pale gold and just starting to pull away from the edges of the pan.
Phase 6: Cooling and Prep
Let the cakes cool in their pans for about 10 minutes. This allows the structure to set so they don't break when you flip them. Carefully invert them onto a wire rack, peel off the parchment, and let them cool completely before frosting.
Phase 7: The Silk Finish Frosting
Beat the 225g softened butter with the 500g powdered sugar and 75g cocoa powder. Add the 60ml heavy cream, vanilla, and salt. Whip for 3 to 5 minutes until light and airy. The salt is crucial here it makes the chocolate flavor pop and prevents the frosting from being "cloying."
Solving Common Baking Hurdles for Better Results
Even the best of us run into trouble sometimes. The beauty of baking is that most problems have a scientific cause and a practical solution. If your cake didn't turn out quite how you imagined, don't worry it’s usually a simple fix for next time. If you find yourself consistently struggling with cake textures, you might want to compare this experience to my New York Cheesecake recipe, which focuses on a completely different set of structural rules to avoid cracking.
Why Your Cake Sinks in the Middle
A sinking center is usually caused by one of two things: underbaking or opening the oven door too early. When you open the door, the temperature drops, and the delicate air bubbles that haven't quite "set" yet will collapse. Ensure you wait until at least the 25 minute mark before checking for doneness.
To Avoid a Rubbery Texture
If your cake feels more like bread than velvet, you likely overmixed the batter after adding the liquids. Once the flour meets the buttermilk, gluten starts to form. We want just enough to hold the cake together, but not enough to make it chewy. Stop the mixer the second you see the last streak of flour disappear.
| Problem | Root Cause | Solution |
|---|---|---|
| Coarse, Hole y Crumb | Over leavening or high heat | Check baking powder measurements and oven temp |
| Dry, Crumbly Texture | Overbaking or too much flour | Use a scale for the 375g flour and pull at 30 mins |
| Greasy Bottom | Butter was too soft/melted | Ensure butter is "room temp" (65°F), not greasy |
Common Mistakes Checklist
- ✓ Always use a kitchen scale for flour; measuring by volume is often inaccurate by up to 20%.
- ✓ Ensure eggs and buttermilk are truly at room temperature to avoid breaking the emulsion.
- ✓ Tap the filled cake pans on the counter three times before baking to release large air bubbles.
- ✓ Don't skip the salt in the frosting; it is the difference between "sugary" and "gourmet."
- ✓ Let the cakes cool entirely warm cake will melt the butter in your frosting, creating a mess.
Creative Ways to Customize Your Golden Layers
Once you have mastered the base, the possibilities are endless. This yellow cake is a canvas for your culinary imagination. I often think of it as the "little black dress" of the dessert world it goes with everything.
- If you want a Zesty Brightness: Add the zest of two lemons to the dry ingredients and swap the vanilla bean paste for lemon extract. This creates a wholesome, sun shiny cake that pairs perfectly with a raspberry jam filling.
- If you want a Coffee Lover’s Dream: Add 2 teaspoons of instant espresso powder to the cocoa frosting. The bitterness of the coffee enhances the Dutch processed cocoa, making it taste like the most expensive chocolate you’ve ever had.
- If you want a Celebration Funfetti: Fold in 1/2 cup of high-quality rainbow sprinkles (the long "jimmies" work best) at the very end of the mixing process. It’s a simple way to bring a smile to any kid’s face or kid at-heart!
Keeping Your Homemade Cake Fresh and Moist
Storage is where many home bakers lose the battle. Because this cake is made with real butter, it will firm up in the fridge. For the best "wholesome" experience, I always recommend keeping it at room temperature if you plan to eat it within 2 to 3 days. Just use a cake dome or a large airtight container.
If you are living in a very humid environment, the fridge might be necessary to keep the frosting from slipping. If so, just make sure to take the cake out at least one hour before serving. A cold butter cake tastes like a stick of refrigerated butter; a room temperature butter cake tastes like a dream.
Zero Waste Tip: If you have cake scraps from leveling the tops, don't throw them away! Crumble them up and store them in the freezer. They make an incredible topping for vanilla bean ice cream, or you can mix them with a little leftover frosting to make quick cake pops for the kids.
Even the "mistakes" are artisanal gold in this kitchen.
Wholesome Pairings to Complete Your Dessert Table
Serving this cake is an event in itself. Because the flavors are so classic vanilla and chocolate you have a lot of room to play with pairings. If I’m serving this for a dinner party, I love to put out a bowl of lightly macerated strawberries.
The acidity of the fruit cuts through the richness of the 32.9g of fat per serving, making the whole experience feel balanced.
A cold glass of whole milk is the traditional choice, but a dark roast coffee or a glass of tawny port can turn this into a very sophisticated adult dessert. The key is to keep the pairings simple so the high-quality vanilla bean paste can truly shine.
Whatever you choose, remember that the best ingredient you can add to any meal is the joy of sharing it with people you love. Right then, let’s get those pans greased and get baking!

Recipe FAQs
What's the secret to a moist yellow cake?
Emulsification and moisture retaining ingredients are key. Using the combination of buttermilk, egg yolks, and a small amount of neutral oil creates a rich crumb that stays tender much longer than butter only recipes.
Which cake is best for diabetics?
No yellow cake is ideal for a diabetic friendly diet. Because this recipe relies on 400g of granulated sugar and 500g of powdered sugar, it contains a high glycemic load that isn't suitable for glucose management.
Is yellow cake better with butter or oil?
Using both provides the best result. Butter delivers the classic, rich flavor, while the neutral oil keeps the texture soft even after the cake has been refrigerated.
What are common yellow cake baking mistakes?
Using cold ingredients and improper measuring are the top culprits. Cold buttermilk or eggs will break your emulsion, while measuring flour by volume rather than a scale can add up to 20% too much flour, leading to a dry, dense sponge. If you enjoyed mastering the moist texture techniques used here, you will find they are essential for success in other baking projects as well.
How to ensure the frosting has a silk like finish?
Beat the softened butter with powdered sugar and heavy cream until completely aerated. Adding the salt at the end helps balance the sweetness, and ensure you use room temperature ingredients so the fat doesn't clump.
How to fix a cake that didn't rise?
Check your baking powder freshness and oven temperature. If the powder is old or your oven isn't actually reaching the required 350°F (175°C), the chemical reaction needed for lift will fail to trigger.
Is it true I can substitute salted butter?
No, this is a common misconception. You should stick to unsalted butter so you have full control over the final salt content, especially since the recipe calls for specific amounts of sea salt and a pinch for the frosting.
Best Homemade Yellow Cake

Ingredients:
Instructions:
Nutrition Facts:
| Calories | 656 kcal |
|---|---|
| Protein | 5.9 g |
| Fat | 32.9 g |
| Carbs | 88.9 g |
| Fiber | 1.4 g |
| Sugar | 66.2 g |
| Sodium | 321 mg |
