How to Cook Rice: Fluffy and Distinct Grains
- Time: Active 5 minutes, Passive 25 minutes, Total 30 minutes
- Flavor/Texture Hook: Light, nutty, and individual grains that hold their shape
- Perfect for: Daily meal prep, budget-friendly sides, and kitchen beginners
- Simple Steps for Learning How to Cook Rice
- The Science of Achieving a Fluffy Texture
- Core Metrics for Consistent Results Every Time
- The Essential Pantry Elements for Superior Rice
- Streamlined Tools for Efficiency and Quality
- A Foolproof Method for Stovetop Preparation
- Identifying and Resolving Common Texture Failures
- Creative Adaptations and Regional Flavor Profiles
- Maximizing Freshness and Minimizing Kitchen Waste
- Strategic Pairings to Complete Your Meal
- Recipe FAQs
- 📝 Recipe Card
Simple Steps for Learning How to Cook Rice
Did you know that the difference between a cloud like side dish and a gummy disaster often comes down to just a few grams of surface starch? I used to think I was cursed when it came to the stove.
I’d end up with a pot that was half burnt on the bottom and half crunchy on top, wondering how something so basic could be so incredibly finicky. It felt like I was trying to solve a puzzle where the pieces kept changing shape.
The scent of scorched grain is a core memory from my early cooking days, but those mistakes taught me that rice isn't just an ingredient; it's a living starch that reacts to every degree of heat.
Once you realize that the lid is your best friend and the spoon is your worst enemy during the cooking process, everything changes. You stop hovering and start trusting the steam.
Today, we're stripping away the fancy gadgets and the "hacks" that don't actually work. We are focusing on a reliable, repeatable method that yields separate, tender grains every single time.
Whether you're serving this alongside a spicy curry or using it as a base for a quick weeknight bowl, these steps will ensure you never have to scrape a burnt pot or toss out a mushy mess again.
The Science of Achieving a Fluffy Texture
To understand what happens inside the pot, we have to look at the starch. Rice grains are packed with amylose and amylopectin. When we talk about fluffiness, we want to manage these starches so they don't turn into a glue like paste.
- Starch Friction Control: Rinsing the rice removes the excess "dust" or surface starch created during the milling process. If left on the grain, this starch hydrates and binds the grains together, causing clumping.
- Gelatinization Temperature: As the water hits a rolling boil, the starch granules inside the rice absorb liquid and swell. This transition needs to be controlled with low heat to ensure the outside doesn't dissolve before the center is tender.
- The Steam Seal Effect: Using a tight lid creates a pressurized environment. This allows the steam to penetrate the grain's core evenly without losing moisture to evaporation.
- Retrogradation: During the rest period, the starches begin to firm up slightly. This is why "The Sacred Rest" is vital; it prevents the grains from shattering when you fluff them with a fork.
| Cook Method | Time | Texture | Best For |
|---|---|---|---|
| Stovetop | 25 minutes | Soft with distinct grains | Everyday meals, quick sides |
| Oven Baked | 35 minutes | Extremely fluffy, very dry | Large batches, hands off prep |
| Instant Pot | 15 minutes | Dense and slightly chewy | Rapid prep, high pressure needs |
Choosing between stovetop and oven usually depends on how much attention you can spare. The stovetop method we're using today is the most versatile because you can hear the simmer and adjust the heat immediately. While the oven provides very even heat, it takes longer and requires a heavy Dutch oven to work properly.
Core Metrics for Consistent Results Every Time
When you're trying to figure out how to cook rice, consistency is your greatest asset. We aren't just throwing things in a pot; we're following a specific ratio that accounts for both the water the rice absorbs and the water that naturally escapes as steam.
| Component | Role | Pro Secret |
|---|---|---|
| Long Grain White Rice | Structural Base | Use rice with a higher amylose content for less stickiness. |
| Filtered Water | Hydration Agent | Cold water ensures the rice heats up gradually with the liquid. |
| Fine Sea Salt | Flavor Seasoning | Salt the water, not the finished rice, to season the grain from within. |
| Coconut Oil | Anti Sticking | A tiny bit of fat coats the grains, helping them stay separate. |
For a sweeter take on these grains, you'll love my Rice Pudding recipe. It uses a completely different hydration method to achieve that signature creaminess.
The Essential Pantry Elements for Superior Rice
The beauty of this recipe lies in its simplicity. You don't need a pantry full of exotic items to make a side dish that tastes like it came from a professional kitchen. However, the quality of your water and the type of salt you use can subtly shift the flavor profile.
- 1 cup (185g) long grain white rice Why this? Long grains have less starch than short grains, ensuring fluffiness.
- 1.5 cups (355ml) filtered water Why this? Tap water can sometimes add metallic notes to neutral grains.
- 0.5 tsp (3g) fine sea salt Why this? It dissolves instantly, ensuring every grain is seasoned.
- 1 tsp (5ml) coconut oil Why this? Provides a subtle sheen and prevents the water from foaming over.
| Original Ingredient | Substitute | Why It Works |
|---|---|---|
| Coconut Oil | Unsalted Butter | Adds a rich, dairy flavor. Note: Lowers the smoke point slightly. |
| Filtered Water | Chicken Bone Broth | Increases protein and adds savory depth to the grain. |
| White Rice | Basmati Rice | Similar ratio but offers a more floral, popcorn like aroma. |
Streamlined Tools for Efficiency and Quality
You don't need a $200 rice cooker to get this right. In fact, learning the stovetop method makes you a more versatile cook because you can make rice anywhere even at a campsite or in a holiday rental with a basic kitchen.
- Heavy Bottomed Saucepan: This is non negotiable. Thin pots create "hot spots" that burn the bottom grains before the top ones are even warm. A heavy pot distributes heat evenly.
- Tight Fitting Lid: If your lid has a steam vent, you might need to add an extra tablespoon of water to compensate for the loss. A lid without a hole is preferred for a true steam seal.
- Fine Mesh Strainer: Essential for the rinsing process. You want a mesh fine enough that the grains don't slip through the holes.
- Silicone Spatula or Fork: For the final fluff. Metal spoons tend to smash the grains, turning them into a paste.
Chef's Tip: If your lid isn't perfectly tight, place a clean kitchen towel over the pot before putting the lid on. The towel creates a gasket like seal and absorbs excess condensation so it doesn't drip back onto the rice and make it soggy.
A Foolproof Method for Stovetop Preparation
- The Triple Rinse: Place 1 cup (185g) long grain white rice in a fine mesh strainer and run cold water over it. Aggressively agitate the grains with your fingers. Continue until the water running through is crystal clear. Note: This removes surface starch that causes gumminess.
- Combine Ingredients: Add the rinsed rice, 1.5 cups (355ml) filtered water, 0.5 tsp (3g) fine sea salt, and 1 tsp (5ml) coconut oil to a medium heavy bottomed saucepan.
- The Controlled Simmer: Bring the mixture to a rolling boil over medium high heat. Watch for large, popping bubbles across the entire surface.
- The Initial Stir: Give the rice one gentle stir with a spatula to ensure no grains are stuck to the bottom. Do not stir again after this point.
- The Steam Seal: Turn the heat down to the lowest possible setting immediately. Cover with a tight fitting lid.
- Simmer Period: Simmer undisturbed for 15 minutes. Resist the urge to lift the lid, as this releases the pressure and heat needed for even cooking.
- The Sacred Rest: Remove the pot from the heat completely. Let it sit, still covered, for 10 minutes. Note: This allows the moisture to redistribute from the bottom to the top.
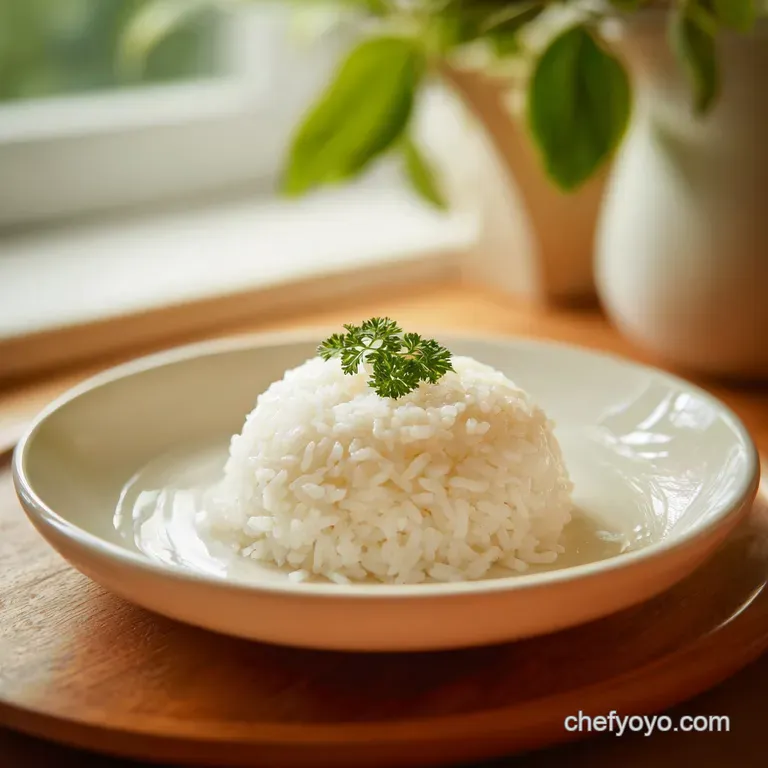
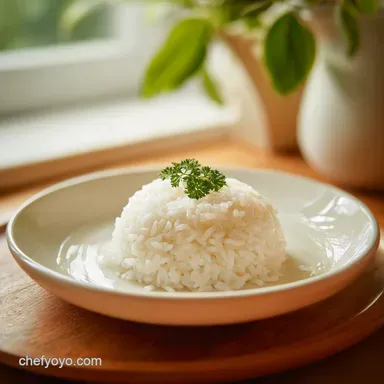
- The Finishing Fluff: Remove the lid and use a fork to gently lift and turn the rice. Look for steam escaping as you separate the grains.
If you want a punch of acid and herbs, my Cilantro Lime Rice is a winner for taco night. It uses this exact base method with a fresh finish.
Identifying and Resolving Common Texture Failures
Even with the best intentions, things can go wrong. Maybe your stove runs hotter than most, or perhaps your measuring cups are slightly off. Understanding why the texture failed is the only way to fix it for the next batch.
The Gummy Texture
If your rice looks like a solid block rather than individual grains, the culprit is almost always excess starch or too much water. If you skip the rinsing step, that starch turns into a glue. Plus,, if the water ratio is too high, the grains burst and release their internal starches into the cooking liquid.
The Scorched Base
Burning the bottom of the rice usually happens because the heat was too high during the simmering phase. "Low" on a professional range is much hotter than "Low" on a residential electric stove. You want the barest simmer possible. If you smell toast before the timer goes off, pull the pot off the heat immediately.
Crunchy Grains
If the rice is still hard after the 15 minutes simmer and 10 minutes rest, you likely lost too much steam. This happens with poorly fitting lids or if you lifted the lid to "check" on it.
| Problem | Root Cause | Solution |
|---|---|---|
| Soggy/Wet | Too much water or no rest time | Spread on a baking sheet to dry out for 5 minutes. |
| Hard/Crunchy | Not enough water or steam escaped | Add 2 tbsp boiling water and simmer for 3 more minutes. |
| Burnt Bottom | Heat too high or thin pot | Do not stir the burnt part! Scoop the good rice from the top. |
Common Mistakes Checklist
- ✓ Never skip the rinse - it's the most important step for fluffiness.
- ✓ Use a heavy pot to prevent hot spots and scorching.
- ✓ Keep the lid on - every time you peek, you add 2 minutes to the cook time.
- ✓ Let it rest for the full 10 minutes to finish the hydration process.
- ✓ Use a fork, not a spoon, to fluff the grains to avoid mashing.
Creative Adaptations and Regional Flavor Profiles
Once you know how to cook rice using the basic method, you can start treating it like a blank canvas. Small additions to the cooking liquid can transform the dish from a simple side into a standalone star.
Fragrant Aromatics
Before adding the water, sauté a clove of smashed garlic or a slice of ginger in the coconut oil for 30 seconds. Then add the rice and water as usual. This infuses the grains with a subtle, aromatic backbone that pairs perfectly with stir fries or roasted meats.
Low Sodium Mineral Boost
If you're watching your salt intake, swap half the salt for a splash of coconut aminos or a piece of kombu (dried seaweed). The kombu adds "umami" and natural minerals without the harshness of straight sodium. Just remove the seaweed before fluffing.
Zesty Herb Finish
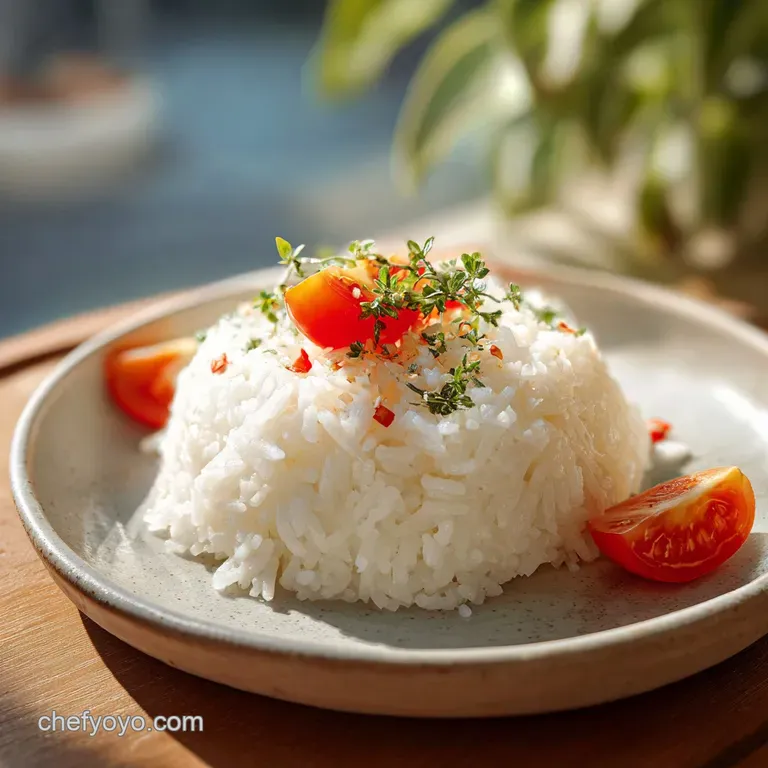
After the 10 minute rest, fold in a handful of chopped parsley, cilantro, or chives along with a squeeze of fresh lemon or lime juice. The residual heat from the rice will wake up the oils in the herbs without wilting them into mush.
| Servings | Rice Amount | Water Amount | Pot Size |
|---|---|---|---|
| 2 People | 0.5 cup | 0.75 cup | Small saucepan |
| 4 People | 1 cup | 1.5 cups | Medium saucepan |
| 8 People | 2 cups | 2.75 cups | Large pot |
Note: When doubling the recipe, you actually need slightly less than double the water because the surface area for evaporation doesn't double. This is a common pitfall!
Maximizing Freshness and Minimizing Kitchen Waste
Rice is one of those ingredients that is almost better the next day, provided you store it correctly. Because it's a high moisture starch, it can become a breeding ground for bacteria if left at room temperature for too long.
Storage GuidelinesFridge: Store in an airtight container for up to 4 days. To keep it from drying out, press a piece of parchment paper directly onto the surface of the rice before sealing the lid. Freezer: Rice freezes beautifully.
Spread it on a tray to cool, then portion into freezer bags. It stays fresh for up to 3 months. To reheat, just microwave with a teaspoon of water.
Zero Waste Tips Don't you dare throw out that leftover half cup of rice. The slightly dried out texture of day old rice is actually the "gold standard" for making fried rice. Fresh rice is too wet and will clump in the wok, but day old grains shatter and sear perfectly.
You can also toss leftover rice into simmering soups during the last 5 minutes of cooking to add body and thickness without having to make a roux.
Strategic Pairings to Complete Your Meal
This long grain white rice is a neutral powerhouse. Its job is to soak up sauces and provide a textural contrast to proteins. Because it's seasoned simply with salt and coconut oil, it doesn't clash with bold spices.
If you're serving a heavy, tomato based stew or a rich curry, the clean flavor of this rice acts as a palate cleanser. For something lighter, try serving it under grilled fish with a side of steamed greens.
The coconut oil in the rice provides a faint tropical note that works exceptionally well with mango salsas or citrus based marinades.
Another great trick is to use it as a base for "grain bowls." Top the rice with a soft boiled egg, some pickled radishes, and a drizzle of soy sauce. The grains will absorb the creamy yolk, making every bite feel decadent.
Whatever you choose, remember that the rice is the foundation if the foundation is fluffy and well seasoned, the rest of the meal will shine.

Recipe FAQs
What is the correct way of cooking rice?
Use the triple rinse and steam seal method. Start by aggressively rinsing 1 cup of long grain white rice in a fine mesh strainer until the water runs clear, then boil with 1.5 cups of water, 0.5 tsp salt, and 1 tsp coconut oil before simmering covered for 15 minutes and resting for 10 minutes.
Is 2 cups of water for 1 cup of rice the right ratio?
No, that ratio is typically too high for this method. We use 1.5 cups of water for every 1 cup of rice to ensure the grains remain distinct and tender rather than becoming mushy.
How to cook rice for diabetic patients?
Cool the rice after cooking to increase resistant starch. Letting the rice sit in the refrigerator for at least 12 hours after the initial 30-minute cooking process can lower its glycemic impact, similar to how we manage moisture levels in our healthy chicken stew.
What is the best rice for diabetics?
Choose high fiber, unrefined varieties. While white long grain rice is standard, selecting brown, black, or red rice provides more fiber, which helps slow the absorption of glucose into the bloodstream.
Is it true that I should stir the rice while it simmers?
No, this is a common misconception. Stirring during the simmer phase releases extra starch and creates a gummy, clumped texture; only stir once briefly when first bringing the water to a boil.
How to fix rice that turned out too mushy?
Spread the cooked rice on a baking sheet to release excess steam. If the grains have already absorbed too much water, gentle airflow can help dry them out, though it is usually best to avoid the issue by strictly following the 1.5 cups of water limit.
How to store leftover rice safely?
Cool the rice quickly and refrigerate within two hours of cooking. You can store it in an airtight container in the refrigerator for up to 4 days or in the freezer for up to 3 months.
How To Cook Rice
Ingredients:
Instructions:
Nutrition Facts:
| Calories | 179 kcal |
|---|---|
| Protein | 3.3 g |
| Fat | 1.4 g |
| Carbs | 36.5 g |
| Fiber | 0.6 g |
| Sugar | 0.1 g |
| Sodium | 293 mg |
