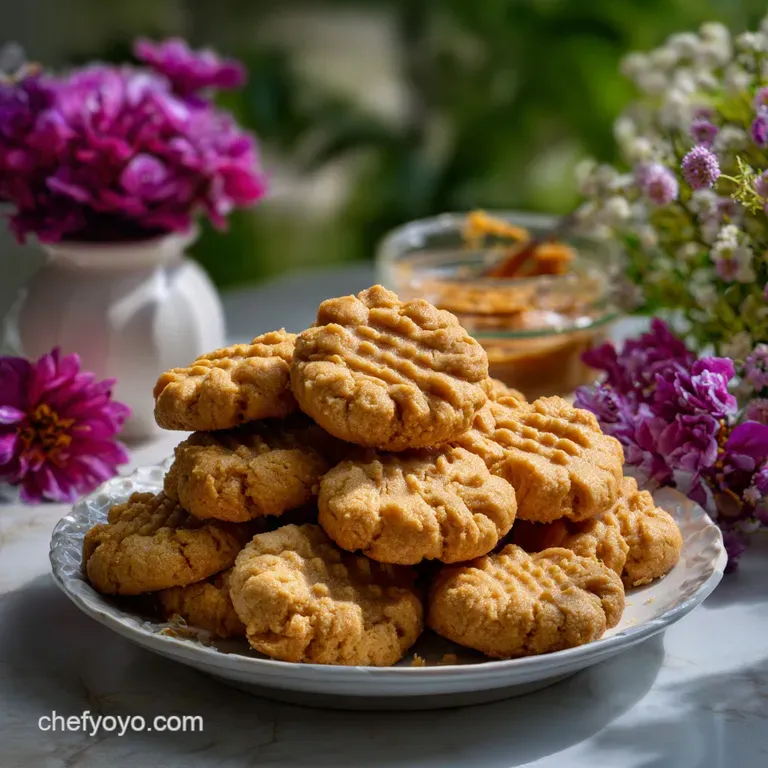
Peanut Butter Blossom Cookies: Melts in Your Mouth
- Effort/Time: 25 minutes (low-effort/high-reward)
- Flavor Hook: Salted-caramel undertones with a velvety chocolate core
- Perfect for: Holiday-exchange platters, kid-friendly-baking, or nostalgic-gift-boxes
- Master the Ultimate Peanut Butter Blossom Cookies
- The Engineering of a Perfect Crumb: Why This Works
- Technical Specifications and Thermal Efficiency
- The Chemistry of Components: Selecting Your Elements
- Essential Tools for Precision Baking
- The Step-by-Step Protocol for Success
- Why Your Dough Cracks: Professional Troubleshooting
- Flavor Architecture: Creative Variations and Alternates
- ⚗️ The Scaling Lab: The Physics of Quantity
- Preservation Protocols and Shelf-Life Mastery
- Texture Contrasts: Presentation and Serving
- Recipe FAQs
- 📝 Recipe Card
Master the Ultimate Peanut Butter Blossom Cookies
There is nothing more heartbreaking than biting into a blossom cookie only to have it shatter into dry, flavorless dust that coats your throat like desert sand. I’ve seen people waste $20 on high end organic peanut butters and premium European butter, only to end up with a tray of flat, greasy discs where the chocolate kiss has slumped into a sad, brown puddle.
It’s an emotional and financial tax on your kitchen confidence when a "simple" classic goes sideways.
I’ll be the first to admit I spent years over baking these. I used to think that "firm to the touch" meant they were done, which is a total lie in the world of peanut butter dough.
I once ruined three dozen for a neighborhood swap because I pulled them out five minutes too late, resulting in cookies so hard they could have been used as pucks. That failure taught me the most important lesson in cookie physics: residual heat is your best friend, and the "carryover bake" is where the magic happens.
The secret to this specific peanut butter blossom cookies recipe isn't some hidden extract; it’s the science of hydration and thermal shock. By rolling the dough in granulated sugar, we create a moisture barrier that allows the interior to remain tender while the exterior develops a micro thin, crispy crust.
When you press that cold chocolate into the hot dough, you’re creating a controlled melt a "blossom" that fuses the two textures without losing the iconic shape. This is how you get that signature "chewy snap" and a velvety finish that lingers.
The Engineering of a Perfect Crumb: Why This Works
- Lipid Emulsification: The combination of Jif Creamy Peanut Butter and unsalted butter creates a stable fat network that prevents the flour from over developing gluten.
- Hygroscopic Balancing: Using Light Brown Sugar alongside granulated sugar traps moisture molecules, ensuring the peanut butter blossom cookies stay soft for days rather than turning into rocks.
- Thermal Displacement: Pressing the chocolate into the dough immediately after baking forces the center to compress, creating a dense, fudgy pocket directly beneath the kiss.
- The Sugar Barrier: The exterior sugar coating acts as a sacrificial layer in the oven, caramelizing and wicking away surface moisture to provide a textural contrast against the soft interior.
Technical Specifications and Thermal Efficiency
To achieve consistent results with this peanut butter blossom cookies recipe, you need to understand the logistics of your oven and your ingredients. We are targeting a specific yield of 36 cookies, which requires a precise 1 inch diameter scoop to ensure even heat distribution across the baking sheet.
| Metric | Specification |
|---|---|
| Yield | 36 Cookies |
| Prep Time | 15 minutes |
| Bake Time | 10 minutes |
| Optimal Oven Temp | 375°F (190°C) |
| Dough Chill Time | Not required (but 15 mins helps in humid climates) |
The Chemistry of Components: Selecting Your Elements
When making peanut butter blossom cookies, the quality of your fats determines the final structural integrity. I always reach for Land O'Lakes Unsalted Butter because the water-to-fat ratio is consistent, which prevents the dough from spreading into a single giant sheet.
Similarly, while natural peanut butters are great for toast, they are the enemy of this recipe. The oil separation in natural brands ruins the emulsion; stick to a stabilized brand like Jif or Skippy for that velvety mouthfeel.
Ingredient Chemistry Breakdown
| Ingredient | Chemical/Physical Role (Science) | The Pro Secret (Why This Matters) |
|---|---|---|
| All-purpose Flour | Provides the protein framework (gluten) for structure. | Why this? 10 12% protein content provides enough lift without being tough. |
| Baking Soda | Increases pH level to encourage the Maillard reaction. | Why this? Creates the deep golden color and the specific "cracked" surface. |
| Creamy Peanut Butter | Adds plant based lipids and solids for density. | Why this? Stabilizers prevent oil leaching during the bake. |
| Light Brown Sugar | Adds molasses for humectancy and moisture retention. | Why this? Keeps the center fudgy even after the cookie cools. |
Essential Components and Substitutions
- 1/2 cup (115g) Unsalted butter, softened: Essential for the creaming process.
- Sub: Salted butter (reduce added sea salt to a pinch).
- 3/4 cup (190g) Creamy peanut butter: The primary flavor driver.
- Sub: Almond butter (must be the "no-stir" stabilized version).
- 1/3 cup (65g) Granulated white sugar: Provides the crisp edge.
- Sub: Organic cane sugar (adds a slightly coarser crunch).
- 1/3 cup (70g) Packed light brown sugar: Adds the caramel note.
- Sub: Dark brown sugar (deeper molasses flavor, slightly more moisture).
- 1 Large egg, room temperature: The emulsifier.
- Sub: Flax egg (1 tbsp flax meal + 3 tbsp water; will result in a denser crumb).
- 1 tsp (5ml) Pure vanilla extract: Enhances the aromatic profile.
- 1 1/2 cups (190g) All-purpose flour: The structural base.
- 1 tsp (5g) Baking soda: The leavening agent.
- 1/2 tsp (3g) Fine sea salt: Balances the sugar and enhances the nuttiness.
- 1/3 cup (65g) Granulated sugar for rolling: Crucial for surface texture.
- 36 pieces Hershey's Kiss chocolates: The iconic finish.
Essential Tools for Precision Baking
Using the right gear is just as important as the ingredients. For these blossom cookies, I swear by my KitchenAid Stand Mixer with the paddle attachment. It incorporates air into the butter and sugar without over working the dough.
If you don't have a stand mixer, a Hamilton Beach Hand Mixer works perfectly.
For the bake, use a USA Pan Half Sheet lined with Reynolds Kitchens Parchment Paper. These pans have a corrugated surface that allows air to flow under the cookie, preventing the bottoms from burning before the centers are set.
A Small Oxo Cookie Scoop (roughly 1 tablespoon) is your best friend here it ensures every single one of your peanut butter blossom cookies is the exact same size, meaning they all finish baking at the exact same second.
The step-by-step Protocol for Success
- Preheat your oven to 375°F (190°C) until the internal thermometer confirms stability.
- Cream the 1/2 cup softened butter, 3/4 cup peanut butter, 1/3 cup white sugar, and 1/3 cup light brown sugar for 3 minutes until the mixture is pale, fluffy, and looks like whipped frosting. Note: This aeration is vital for a light texture.
- Beat in the room temperature egg and 1 tsp vanilla extract for 1 minute until the emulsion is glossy and fully combined.
- Whisk the 1 1/2 cups flour, 1 tsp baking soda, and 1/2 tsp sea salt in a separate bowl until no clumps of soda remain.
- Fold the dry ingredients into the wet mixture using a low speed until just a few streaks of flour remain. Note: Over mixing here will activate too much gluten, making the cookies tough.
- Scoop the dough into 1 inch balls (about the size of a large walnut) until you have 36 uniform spheres.
- Roll each ball in the additional 1/3 cup granulated sugar until every surface is heavily coated in crystals. This is a similar technique to the one I use for my Crinkle Cookies recipe, where the sugar creates that beautiful crackled look.
- Arrange the balls 2 inches apart on your parchment lined sheets until the tray is full but not crowded.
- Bake for 8 10 minutes until the edges are just set and the tops begin to show tiny cracks, but the centers still look slightly soft.
- Press one Hershey's Kiss firmly into the center of each hot cookie until the edges of the cookie crack slightly and the chocolate is anchored.
- Transfer to a wire rack after 5 minutes until the cookies are completely cool and the chocolate has re-solidified.
Chef's Note: If your kitchen is warm, pop the Hershey's Kisses in the freezer for 15 minutes before baking. This prevents them from losing their "point" and melting into a puddle when they hit the hot dough.
Why Your Dough Cracks: Professional Troubleshooting
One of the biggest issues with Peanut Butter Blossom Cookies Easy methods is that the dough can sometimes feel too dry or the cookies don't spread correctly. This is usually a result of improper measuring or temperature issues.
Why Your Cookies are Dry or Crumbly
This is almost always caused by "packing" the flour into the measuring cup. When you pack flour, you can end up with 20 30% more than the recipe requires, which absorbs all the moisture from the fats. Use the "spoon and level" method or a digital scale for 190g of flour.
| Problem | Root Cause | The Fix | Pro Protocol |
|---|---|---|---|
| Cookies Spread Too Thin | Butter was too melty/oily or room was too hot. | Chill the dough for 20 mins before rolling. | Use cool-to-the-touch butter, not "greasy" butter. |
| Chocolate Falls Off | Kisses were added after the cookie cooled too much. | Press the chocolate in immediately upon removal from oven. | If the cookie has cooled, use a tiny drop of melted chocolate as "glue." |
| Bottoms Are Burnt | Dark baking sheets or rack was too low in the oven. | Move rack to the center and use parchment paper. | Double stack two baking sheets to insulate the bottom. |
Flavor Architecture: Creative Variations and Alternates
While the classic peanut butter blossom is a staple, you can easily adapt this base. If you're looking for a different texture profile, you might enjoy the techniques used in this Butter Cookie Recipe, which focuses on a more delicate, crumbly shortbread feel.
- Dark Chocolate or Caramel Swaps: Use Hershey's Special Dark Kisses or the caramel filled versions for a sophisticated twist.
- Easter Blossom Cookies: Swap the chocolate kiss for a Cadbury Mini Egg or a pastel colored candy melt during the spring season.
- Peanut Butter Blossom Cookies with Reese Cups: For the ultimate peanut butter overload, use miniature Reese’s Peanut Butter Cups instead of Kisses. Press them in upside down for a flat, clean look.
- gluten-free Blossom Cookies: Swap the AP flour for a 1 to-1 gluten-free blend like King Arthur Measure for Measure. Note: The dough may require a 30 minute rest to hydrate the rice flours properly.
Substitution Precision Table
| Original Ingredient | Substitute | Why It Works |
|---|---|---|
| All-purpose Flour | Almond Flour | Use 1.25:1 ratio. Note: Results in a much softer, more fragile cookie with a nuttier finish. |
| Unsalted Butter | Coconut Oil (Solid) | Use 1:1 ratio. Note: Adds a slight tropical note and makes the cookie crispier due to lack of water content. |
| Light Brown Sugar | Coconut Sugar | Use 1:1 ratio. Note: Lower glycemic index but results in a drier, less chewy texture. |
⚗️ The Scaling Lab: The Physics of Quantity
When you are making peanut butter blossom cookies for a large crowd, you cannot simply double everything and expect the same result. Chemistry changes with volume.
- The Leavening Rule: If you double this recipe to make 72 cookies, scale the baking soda exactly. Too much soda in a large batch will create a metallic, soapy aftertaste that ruins the peanut flavor.
- Thermal Mass: Baking two trays at once increases the moisture level in the oven. This can lead to steaming rather than baking. Rotate your trays halfway through the bake and increase the time by 1 2 minutes to ensure the "chewy snap" remains.
- The Spice Gradient: If you add cinnamon or nutmeg to a double batch, only use 1.5x the amount. Flavors intensify non-linearly in large dough masses.
- Emulsion Stability: When doubling, add eggs one at a time. Cracking two eggs into the fat at once can break the emulsion, leading to a greasy cookie that spreads too much.
Preservation Protocols and Shelf Life Mastery
These blossom cookies are surprisingly hardy, but oxygen is the enemy of the peanut oil.
- Room Temperature: Store in an airtight Tupperware container for up to 5 days. Place a piece of white bread in the container; the sugar in the cookies will pull moisture from the bread, keeping them soft.
- Freezing (Dough): Scoop the balls and roll them in sugar, then freeze on a tray. Once hard, move to a freezer bag. Bake from frozen, adding 2 minutes to the cook time.
- Freezing (Baked): These freeze beautifully for up to 3 months. To reheat, let them sit at room temperature for an hour. Do not microwave, or the chocolate kiss will lose its structural integrity and bloom (turn white).
💡 ZERO WASTE PHILOSOPHY: Don't discard the granulated sugar left over from rolling. Transform: Store it in a jar to use for your next batch of cookies or as a topping for oatmeal.
Science: The sugar has been infused with trace amounts of peanut oil and vanilla aroma, making it a "seasoned" sweetener.
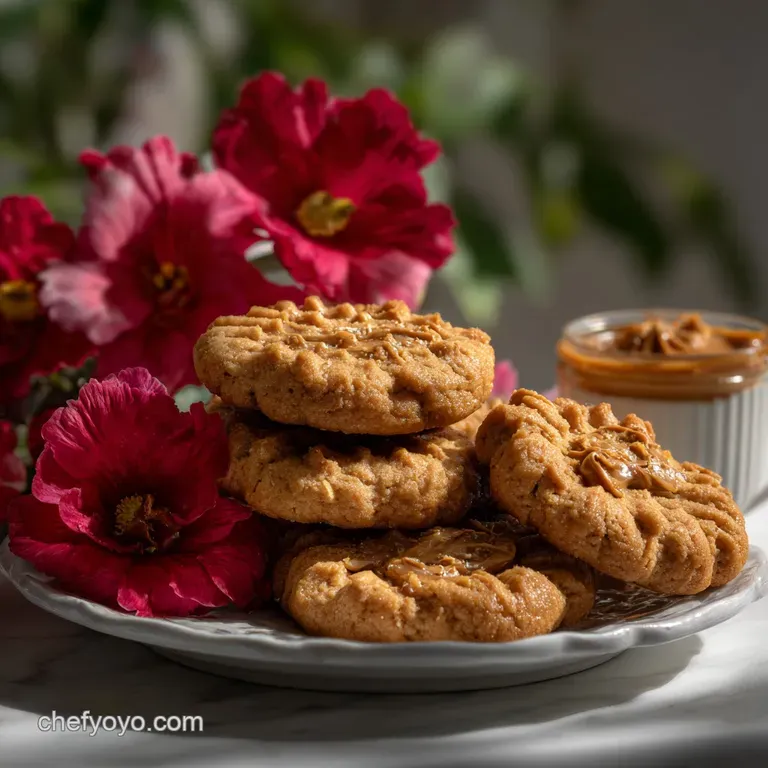
Texture Contrasts: Presentation and Serving
When serving peanut butter blossom cookies, the goal is to highlight the contrast between the salty dough and the sweet chocolate. I love serving these on a wooden board alongside a glass of cold whole milk or a dark roast coffee.
The bitterness of the coffee cuts through the richness of the peanut butter, resetting your palate for the next bite.
If you're building a holiday platter, place these next to something vibrant, like a lemon curd tart or a berry filled pastry. The earthy tones of the blossom cookies provide a visual and flavor anchor for the more acidic desserts.
For a modern twist, sprinkle a tiny pinch of Maldon Sea Salt over the chocolate kiss while it's still slightly soft; the large salt flakes add a "shatter" of crunch that elevates the entire experience.

Recipe FAQs
how to make peanut butter blossom cookies?
Cream fats/sugars, add egg/vanilla, mix in dry ingredients, scoop, roll in sugar, bake 10 minutes, then immediately press in the chocolate kiss.
how to make peanut butter kiss cookies look pretty?
Uniform rolling in granulated sugar ensures a perfect crackled exterior. Consistent dough ball size guarantees even heat distribution across the sheet.
- Use room temperature ingredients
- Do not over mix flour
- Bake until just set
how to make peanut butter kiss cookies with hershey's?
Press the chocolate into the cookie immediately after removing from the oven. Thermal shock creates the ideal anchored pocket before the residual heat sets the shape. If you master the stable fat emulsion here, you will find the same principle applies when learning how to make perfect flaky pie crusts.
how to make peanut butter kiss cookies?
Myth: Using natural peanut butter improves texture. Reality: Natural peanut butter oil separates easily, leading to greasy, flat cookies that lack structure. Stick to stabilized brands for proper emulsion.
how to make peanut butter blossoms recipe?
Use stabilized peanut butter like Jif for structural integrity. Natural peanut butter oil separation prevents the creamed fat from forming a stable emulsion matrix. This lack of internal structure causes spread and greasiness during baking.
Can I use dark brown sugar instead of light brown sugar in peanut butter blossoms?
Dark brown sugar provides deeper molasses flavor. Dark brown sugar contains more molasses solids, which increases the hygroscopic pull, resulting in a slightly denser, moister final product compared to the lighter version.
What is the best way to keep peanut butter blossoms soft?
Store them airtight with a slice of white bread. The moisture gradient between the cookie and the bread ensures the cookies remain soft via controlled water transfer. If you are curious about similar texture management, see how we balance hydration in our Chewy Oatmeal Cookies.
Peanut Butter Blossom Cookies
Ingredients:
Instructions:
Nutrition Facts:
| Calories | 120 kcal |
|---|---|
| Protein | 2.3g |
| Fat | 6.7g |
| Carbs | 13.2g |
| Fiber | 0.4g |
| Sugar | 8.1g |
| Sodium | 69mg |
