Chicken Tenderloin Tendon Removal Technique: Achieve Tender, Flawless Goujons
- Achieving Flawless Texture: Why That Pesky Tendon Must Go
- The Unsung Skill: Transforming Tough Tenders into Gourmet Goujons
- Gathering Your Arsenal: Essential Ingredients and Setup
- Beyond the Basics: Flavor Components and Necessary Tools
- Mastering the Seamless Chicken Tenderloin Tendon Removal Technique
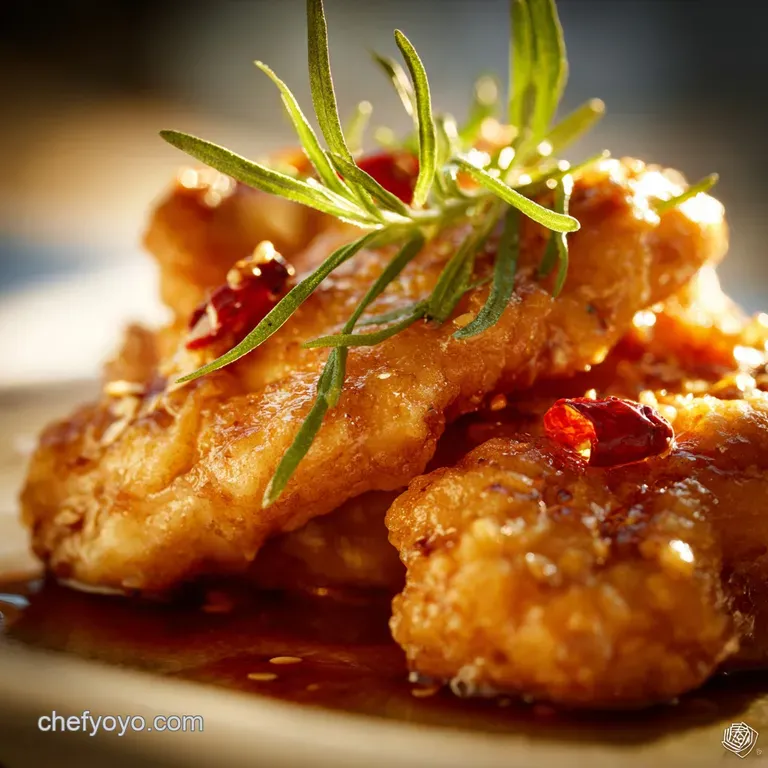
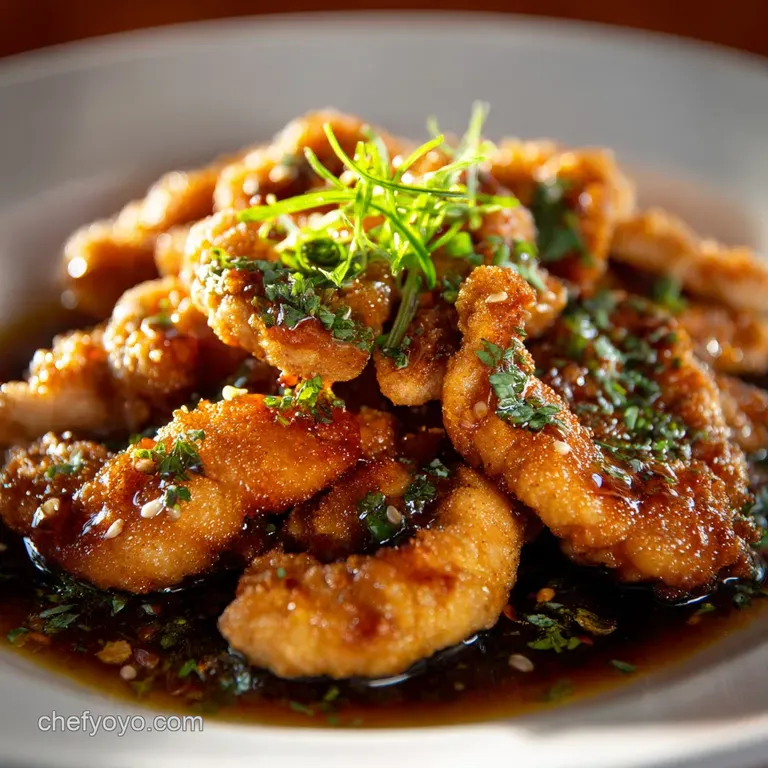
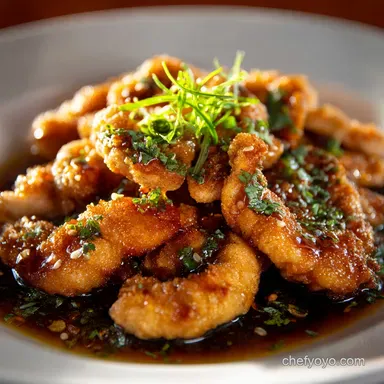
- Building the Perfect Goujon: Dredge, Fry, and Finish
- Troubleshooting Texture: Common Mistakes and Advanced Tips
- Meal Prep and Flavor Flexibility: Variations for Every Occasion
- Recipe FAQs
- 📝 Recipe Card
Achieving Flawless Texture: Why That Pesky Tendon Must Go
Okay, let’s talk real life in the kitchen. If you cook chicken tenderloins often and honestly, who doesn’t? They’re quick, they’re lean, they’re perfect for everything from quick salads to easy dinners. But there’s always that one thing .
That tough, stringy, utterly unpleasant bit of white gristle running right through the middle. You know the one. It makes a perfect strip of crispy chicken suddenly turn into a chewy mess. It totally ruins the bite.
I spent years just cutting around it, wasting half the meat, or just suffering through the texture if I was in a rush. No more, my friend. We are fixing this today. Mastering the Chicken Tenderloin Tendon Removal Technique is maybe the single most satisfying kitchen trick I’ve ever learned.
It takes thirty seconds, requires tools you already own, and the result is perfectly smooth, gorgeously tender goujons every single time. It’s brilliant.
The Unsung Skill: Transforming Tough Tenders into Gourmet Goujons
When I say "goujon," I just mean a fancy chicken strip. A really good one. The kind you’d pay way too much for at a pub lunch, only yours will be better because the texture is flawless. We are moving past the acceptable and straight into the sublime.
The Culinary Crime of Chewy Chicken Strips
Remember that time you made what looked like the perfect plate of golden, pan and fried chicken? You were proud. You bit in, and SNAP . That nasty, rubbery tendon just refused to break. It pulled the whole strip out of the dredge and ruined the moment. That’s a culinary crime!
It changes the way the meat cooks, too. That tendon shrinks and tightens the meat around it, often leading to uneven cooking and dryness near the core. This is why we absolutely must banish it.
Elevating Goujons from Good to Gourmet
The difference between ‘good’ and ‘gourmet’ here isn't complicated seasoning (though we will season perfectly). It’s purely texture. A chicken tenderloin is already inherently moist, but when you remove that stiff tendon, the muscle fibers relax, allowing the meat to cook more evenly, remain incredibly succulent, and simply melt in your mouth.
This means better Chicken Dishes, better Diy Food, and certainly better leftovers.
An Overview of the Chef and Approved Preparation Method
This technique is so simple, it almost feels like cheating. Essentially, we are using leverage to separate the tendon from the meat. We use a stationary object (like a fork or a chopstick) as an anchor, grip the tendon tightly, and pull.
Think of it like a gentle tug and of-war, where the chicken always wins, leaving the tendon behind. It's a quick, elegant process that should be featured in every Food Videos Cooking segment out there.
Gathering Your Arsenal: Essential Ingredients and Setup
Before we get to the actual technique, we need a clean slate. Grab your chicken tenderloins. Please, please, pat them completely dry with paper towels. Excess moisture is the enemy of a good sear, so make sure they are bone dry.
We aren’t adding a lot of fuss to these particular goujons; they’re designed for quick cooking and maximum flavor impact without a heavy breading.
Here’s the simple line and up for the seasoning:
- Chicken Tenderloins (The stars of the show).
- Olive oil, lemon juice, salt, pepper.
- Garlic powder and oregano (or your favorite dried herbs).
Setup is easy: cutting board, small bowl for the marinade, and the two most critical tools for the tendon pull: a standard dinner fork and a sturdy paper towel or kitchen cloth . That’s it.
Beyond the Basics: Flavor Components and Necessary Tools
When I’m making quick, pan and fried strips, I want flavor that pops without needing an hour of marinating. That’s where the lemon and herbs come in.
Selecting the Best Cut: Why Tenderloins Trump Breast Meat
Why use tenderloins instead of just cutting up a giant chicken breast? Because the tenderloin is already... well, tender. It’s the muscle that runs beneath the breast, and it's naturally smaller and quicker to cook. Plus, they come in perfect, uniform strips.
While you could use this technique on small pieces of breast, the results are always better with the dedicated tenderloin cut, providing an easier prep for all your Poultry Recipes.
The Secret to a Super and Crunchy Crumb Coating
Wait, we aren't crumbing them, remember? We're going for a simple, flavorful sear. But if you were crumbing, the key is this: the only way to get a good crust when pan and frying without a heavy batter is to ensure the meat is completely dry before it touches the seasoning, and then cook it hot and fast.
For this specific recipe, the “secret” is that dry, seasoned surface meeting scorching hot oil. That’s how we get beautiful caramelisation quickly.
Marination Must and Haves: Lemon Zest and Herb Infusion
Don’t skip the acid! That tiny bit of fresh lemon juice not only brightens the whole dish but helps penetrate the meat, making it that tiny bit more tender even before we cook it. If you have a minute, zest half a lemon right into that marinade too.
The volatile oils in the zest carry so much more flavor than the juice alone. It makes for interesting food recipes that feel truly home cooked.
Related Recipes Worth Trying
- Caprese Chicken Burgers Juicy Grilled Patties with Balsamic Glaze — Caprese Chicken Burgers are your ideal summer dinner. Learn how to make juicy ground chicken Caprese burgers topped with melted mozzarella and a rich...
- Chicken Bacon Ranch Lettuce Cups: Easy Keto Low Carb Wraps — Our recipe for Chicken Bacon Ranch Lettuce Cups transforms classic flavors into a light, low-carb meal. Enjoy crispy bacon, seasoned chicken, and zesty...
- Cheesy Chicken and Broccoli Stuffed Potatoes Creamy Twice Baked Comfort — Cheesy Chicken and Broccoli Stuffed Potatoes are the definitive comfort food dinner recipes. These creamy, decadent twice baked potatoes feature crisp skins...
Mastering the Seamless Chicken Tenderloin Tendon Removal Technique
Right then. This is the main event. If you want this to work perfectly, your tenderloins need to be cold and dry. Don’t worry about needing special equipment; this is a pure DIY Food technique.
- Locate the Villain: Hold the tenderloin by the thick end. You should see the tough, white, stringy tendon sticking out (usually) from the narrow end.
- The Anchor: Lay the tenderloin flat. Take your dinner fork and slide the middle tines under the exposed tip of the tendon, pushing the fork down firmly until it rests flat against your cutting board. This fork is your immovable anchor.
- The Grip: Grab the tiny bit of tendon that is now sticking out from under the fork. Use a small square of folded paper towel to grip it. Why paper towel? Because that tendon is slick, and your bare fingers will slip right off.
CRUCIAL WARNING: Ensure the fork tines are truly gripping the tendon against the board. If the fork is too loose, you'll just drag the meat forward, and the tendon will snap.
Building the Perfect Goujon: Dredge, Fry, and Finish
Once the tendons are gone, we’re cooking! Let's get these beautiful, perfectly prepped goujons seasoned and seared.
The Fork and Paper Towel Grip Method
Just to re and emphasize the grip: the paper towel or cloth must be tightly folded. You are gripping that slick tendon like your life depends on it. If you happen to own dedicated, small kitchen pliers (which I sometimes use when feeling fancy), they work great, but the paper towel is the classic, reliable home cook method.
Applying the Smooth, Quick Pull: Precision Matters
Anchor the fork firmly with one hand. Now, using your gripping hand, pull the tendon straight back toward you, parallel to the cutting board. It needs to be a smooth, constant pressure. Don't yank it up. Pull straight back.
You will see the beautiful, tender meat slide right off the tendon, leaving you with a long, white, perfect string of sinew. Congratulations. You just nailed the Chicken Tenderloin Tendon Removal Technique.
Setting Up the Triple and Dredge Station
Since we are skipping the full crumb coating, we don't have a triple dredge (flour, egg, crumb). Our "station" is much simpler. Get your marinated chicken (wet/seasoning phase) and put it on a resting plate before the pan.
If you want a slight bit more texture, you can add 1 tablespoon of cornstarch (cornflour) to your seasoning mix before marinating. This gives a lovely, light crust when pan and seared without the fuss of egg wash.
Achieving the Golden, Even Pan and Sear
Heat is everything here. We need high heat medium and high minimum to get color fast before the meat overcooks. Use a high smoke point oil (canola, veg, or avocado). When the oil shimmers, lay your goujons down. Give them space! Cook in batches if you have to.
If you overcrowd the pan, the temperature drops, and they steam instead of sear. Aim for 3– 4 minutes per side until they hit 165°F (74°C).
Troubleshooting Texture: Common Mistakes and Advanced Tips
What happens if the tendon snaps halfway through? Disaster? Nope. Just grab the sharp tip of your knife, hold the tendon down, and scrape/cut the rest of the tendon off the meat. It just means you lose a fraction more meat than you should have, but it’s still salvageable.
Here are a few quick and fire tips for the perfect Chicken Dinner:
- Marination Time: Don't marinate the tenders in acid (like lemon juice) for more than 30 minutes, especially if they are small. The acid starts to "cook" the protein, which can make them strangely firm or rubbery.
- Resting is Non and Negotiable: After searing, move the chicken to a warm plate and let it rest for two minutes. This allows the internal juices to settle back into the meat fibers. Skip this, and all that moisture runs out onto your plate.
- The Sizzle Test: If you put the chicken in the pan and you don’t hear a sharp, immediate, aggressive sizzle, the pan isn’t hot enough. Take the chicken out and wait five more minutes.
Meal Prep and Flavor Flexibility: Variations for Every Occasion
This technique is a lifesaver for batch cooking. Once you have a mountain of perfectly prepped, tendon and free tenderloins, you can go a million ways.
How to Scale Up This Chicken Tenderloin Tendon Removal Technique for Batch Cooking
If I’m prepping 5 or 6 pounds of these, I just set up an assembly line. Pull all the tendons first. Then season them all. Then cook them all. Since the technique is so fast (seriously, once you get the hang of it, it's 20 seconds per piece), it doesn't add much time to your overall prep for big batches.
These are great for freezer meals or quick weeknight solutions.
Baking vs. Air Frying: Which Method Yields the Ultimate Crunch?
| Method | Best Use | Texture Result |
|---|---|---|
| Pan Sear (This Recipe) | Quickest weeknight meal, maximum caramelisation. | Golden, juicy, slight crust. |
| Air Fryer | Best for breaded goujons, minimal oil required. | Evenly crispy, slightly drier than pan and fried. |
| Oven Bake | Large batches (2+ lbs), hands and off approach. | Soft, less crispy, excellent moisture retention. |
Freezing Pre and Crumbed Goujons for Future Feasts
While this recipe isn't crumbed, if you do decide to bread these after removing the tendons (using flour, egg, and panko), they freeze beautifully! Lay the crumbed strips on a sheet pan spaced apart. Freeze solid (about 2 hours).
Once frozen, transfer them to a heavy and duty freezer bag. You can then cook them straight from frozen (add about 5 minutes to the air fryer or oven time).
Quick Variations: Turning Goujons into Flavorful Taco Fillings
Since these goujons are so tender, they are amazing sliced up for quick meals. Skip the oregano and lemon marinade, and instead use cumin, chili powder, and smoked paprika. Sear them, slice them thin, and you have the most beautiful taco or fajita filling in about fifteen minutes.
Pair them with a little homemade salsa, and that’s a winning meal right there. See? Simple techniques make everything easier and more adaptable.

Recipe FAQs
That white sinew looks a bit of a faff is the texture change really worth the effort?
Absolutely! That pesky tendon becomes tough and rubbery when cooked, spoiling the ‘tender’ aspect; removing it ensures you achieve buttery soft, uniform chicken goujons every single time, making the end result truly spot on.
I'm prepping for a dinner party. Can I use the Chicken Tenderloin Tendon Removal Technique the day before?
Yes, prepping ahead is a clever move! Complete the tendon removal and marinating steps, then store the raw chicken, covered, in the fridge for up to 24 hours, but give them a quick stir before cooking to redistribute the seasoning.
Crikey, the tendon snapped halfway through! What should I do now?
Don't panic it happens to the best of us! If the tendon snaps, use the tip of a sharp paring knife or a toothpick to carefully scrape the remaining sinew away from the tenderloin, or simply cook it as is, as the small piece won’t be terribly noticeable once cooked.
I’d rather not pan-fry. Can these goujons be baked or air-fried instead?
Definitely! Baking at 400°F (200°C) for 15 20 minutes, or air frying at 375°F (190°C) for 10 12 minutes, works brilliantly, provided you coat them lightly in oil or non-stick spray to help with browning.
Are chicken tenderloins healthy, and how many should I budget per person?
Tenderloins are a fantastic, lean source of protein and relatively low in fat, making them a healthy option; generally, budgeting three to four goujons per person is a good starting point for a main course, or slightly fewer if serving as nibbles.
Tendon Removal Technique For Chicken
Ingredients:
Instructions:
Nutrition Facts:
| Calories | 128 kcal |
|---|---|
| Protein | 9.0 g |
| Fat | 4.0 g |
| Carbs | 14.0 g |
