Tuna Melts: Proper Job British Comfort Food
- The Ultimate British and Style Tuna Melt: Proper Job Comfort Food
- Mastering the Melt: Why This Tuna Sandwich Recipe Works
- Essential Ingredients for the Perfect Tuna Melt
- Step and by-Step: How to Construct and Grill Your Tuna Melts
- Chef's Corner: Tips for Elevating Your Tuna Melts
- Storage and Prep: Making Tuna Melts Ahead of Time
- Perfect Pairings: What to Serve with Your Proper Tuna Melt
- Common Mistakes and How to Fix Them
- Recipe FAQs
- 📝 Recipe Card
The Ultimate British and Style Tuna Melt: Proper Job Comfort Food
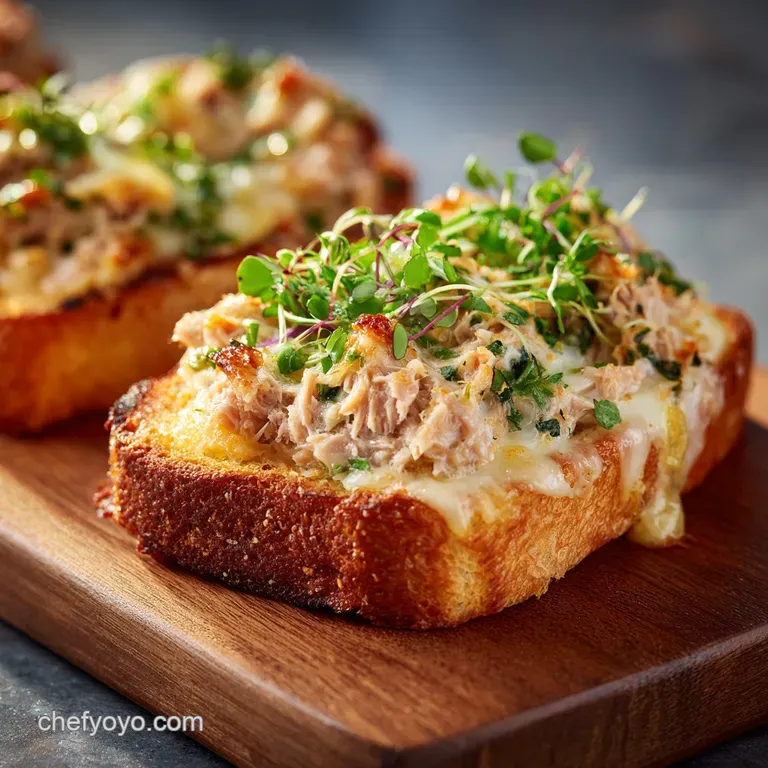
There are few sounds as comforting as that perfect sizzle when buttered bread hits a hot pan. That’s the opening act for the Tuna Melt, isn’t it? Then the aroma hits you warm toasted butter, that sharp tang of cheese melting right down into the savory tuna filling.
It’s the kind of sandwich that makes you stop scrolling and actually focus on eating.
Frankly, the humble tuna melt often gets dismissed as sad office lunch fodder. But when done right? It’s magnificent. It’s cheap, uses ingredients you likely have in the cupboard right now, and goes from pantry to plate in under fifteen minutes.
If I need a protein lunch that feels like a huge hug, this is my go and to.
We aren’t making a soggy mess here. We are leveling up this classic. This recipe is all about flawless technique crispy edges, gooey cheese, and a tuna salad mix that is perfectly seasoned and doesn't leak out onto your plate.
Let’s crack on and make the best Tuna Melts you’ve ever tasted.
Mastering the Melt: Why This Tuna Sandwich Recipe Works
Why We Love the British Diner Classic
The great thing about the tuna melt is its incredible versatility and nostalgia factor. It’s comfort food that feels grown and up but takes you right back to your childhood. It’s brilliant.
The contrast of the hot, buttery exterior against the cool, chunky, creamy interior is just essential textural harmony.
What Makes This Recipe Truly 'British'
While the tuna melt exists everywhere, the "British style" often implies maximum flavor, thick bread, and a commitment to mature, sharp cheese (hello, proper Cheddar). We are ditching the delicate white bread and going for something robust, and we are absolutely insisting on low and slow grilling.
A Quick Guide to the Best Tuna Melts
The secret to a truly great tuna melt lies in three non and negotiables: bone and dry tuna , edge and to-edge buttering , and patient grilling . Most people rush the cooking or skip draining the tuna properly, resulting in catastrophic failure.
We won't be doing that.
The Art of the Crumbly Tuna Mix (Not Soggy!)
The core mistake people make is using tuna straight from the can, which introduces excess moisture. Even oil and packed tuna must be drained. By squeezing the liquid out, we ensure that the mayonnaise and acid (lemon juice, Dijon) are the only binding agents, creating a robust, flavorful mix. This textured filling is exactly what keeps your crust perfectly crisp, whether you use it in sandwiches or in something like my Canned Tuna Croquettes Recipe Crispy Golden UltraCreamy .
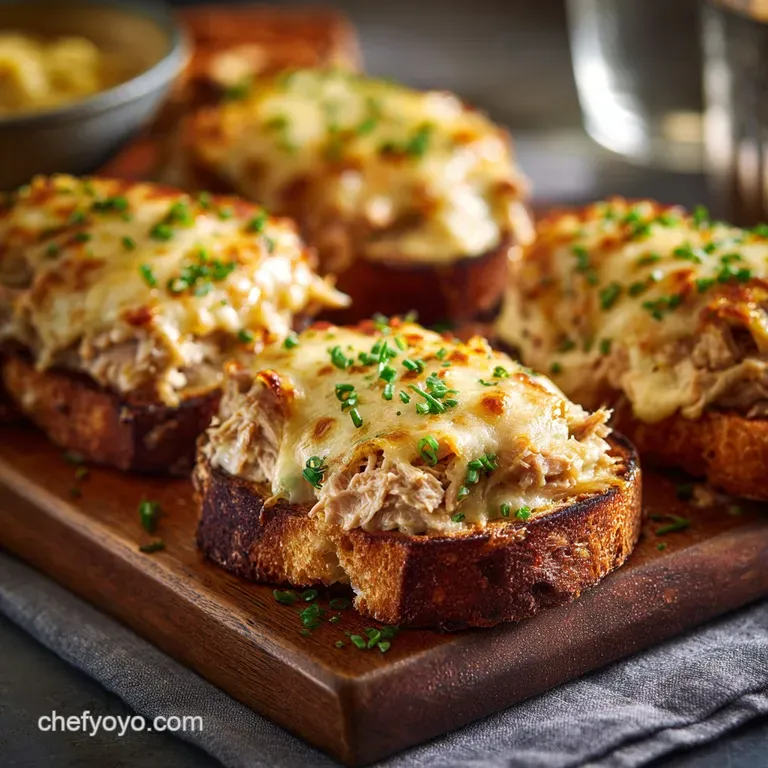
Achieving the Perfect Gooey Cheese Pull
We achieve maximum goo by using a blend of cheeses. Sharp Cheddar provides the flavor, while a cheese like Monterey Jack or Gruyère provides the necessary stretch and melty viscosity.
Grating the cheese yourself, rather than buying pre and shredded, also makes a massive difference, as the anti and caking agents in pre and shredded bags inhibit proper melting.
Slow Grilling for Maximum Crunch
This is not a over high heat grill job. We need that radiant, gentle heat to slowly transfer through the bread and melt the cheese completely before the bread burns. By cooking on medium and low heat and pressing gently, you get that deep golden, unbelievably crunchy crust and a totally molten interior.
Essential Ingredients for the Perfect Tuna Melt
Choosing the Right Tinned Tuna (Oil vs. Brine)
I recommend tuna packed in spring water or olive oil, provided you drain it meticulously. Oil and packed tuna has superior flavor, but water and packed is perfectly fine if you want to save a few calories. The key is drainage, no matter what liquid it was swimming in.
| Ingredient | My Top Choice | Substitution/Alternative |
|---|---|---|
| Tuna | Skipjack or Albacore in Olive Oil | Canned Salmon or even hard and boiled eggs for egg salad melts. |
| Cheese | Sharp Cheddar and Monterey Jack | Swiss (Emmental/Gruyère) or Provolone for great meltability. |
| Bread | Thick and cut Sourdough or Farmhouse White | English muffins or thick, robust Texas toast. |
| Mayonnaise | Full and fat, high and quality Mayonnaise | Greek yogurt (mixed with a drizzle of oil) or mashed avocado. |
Selecting the Best British Cheeses for Melting
A sharp Cheddar is essential for that oomph of flavor. If you want truly epic tuna melts with cream cheese or some extra tang, you could mix a tablespoon of room and temp cream cheese into your tuna salad before topping it with the grated hard cheese.
I like a half and half mixture: half sharp, half mild and stretchy.
Bread: Thick Cut Is Non and Negotiable
Thin sandwich slices just can’t handle the weight of a hearty tuna salad and cheese layer. Go for a robust bread, like sourdough or a good farmhouse loaf. This ensures the bread cooks beautifully without collapsing and provides enough structural integrity for that rich filling.
Simple Swaps for Your Tuna Salad Mix
We use celery and red onion for crunch and sharp contrast. If you don't have relish, simply chop up some dill pickles or capers. If you’re skipping the mayonnaise, Creamy This Avocado Tuna Salad is MayoFree Delicious shows how a smashed avocado base can work beautifully to bind the protein together.
Chef's Note: Don't forget the acid! A small squeeze of lemon juice or a dash of vinegar cuts through the richness of the tuna and mayo, preventing the final melt from feeling heavy or greasy.
Step and by-Step: How to Construct and Grill Your Tuna Melts
Preparing the Tuna Salad Base
- Drain Everything: Take your tuna and press it firmly in a sieve until no more moisture drips out. This step is critical!
- Combine Flavor: In a bowl, mix the mayonnaise, Dijon, lemon juice, salt, and pepper until uniform.
- Gently Fold: Add the dry tuna, celery, onion, and relish. Fold everything together just until incorporated. You want a textured, slightly crumbly mixture, not a smooth paste.
Assembling the Sandwich Layers
Lay out all four slices of bread. Butter one side of each slice, going right to the edges this is the side that gets the pan. Place two unbuttered and side down slices on your board. Layer the tuna mixture evenly onto these two slices. Now, pile the grated cheese right on top of the tuna.
Finally, place the remaining buttered slices on top, butter and side facing up.
The Secret to Perfect Grilling Temperature
Heat your non and stick or cast iron skillet over medium and low heat . Seriously, be patient. Add the assembled sandwiches. Cooking these too hot will turn the bread black before the cheese even starts to sweat.
Knowing When Your Melt is Done
Cook the first side for about 3– 5 minutes until deeply golden brown. Flip carefully. Cook the second side for another 3– 5 minutes. To help the cheese melt, cover the pan for the last minute or two.
The melt is done when the cheese is fully liquid and just beginning to ooze, and the bread is crisp across the entire surface.
Chef's Corner: Tips for Elevating Your Tuna Melts
- Go Deluxe: Want to make The Absolutely Bonkers Best Tuna MeltEver ? Add a thin layer of spicy brown mustard or even a light layer of hot honey to the unbuttered side of the top slice of bread before grilling. It’s a game and changer.
- The Weight Trick: Use a spatula to gently press the sandwiches down while they cook. Better yet, place a sheet of parchment on top and then set a second, slightly smaller pan (or a foil and wrapped brick) on top. This ensures maximum contact with the heat and perfect, evenly melted cheese.
- Alternative Cooking Methods: If you're feeding a crowd, you can make these tuna melts recipe in oven . Bake assembled melts on a sheet tray at 375°F (190°C) for about 12 minutes, flipping halfway, until golden and bubbling.
Storage and Prep: Making Tuna Melts Ahead of Time
Storing the Prepared Tuna Salad (Safety First)
The tuna salad mixture can absolutely be made ahead of time! Store it in an airtight container in the fridge for up to 3 days. This actually helps the flavors marry together, making the mixture even better. Do not assemble the sandwiches until you are ready to cook them.
Can You Freeze a Tuna Melt?
Technically, you could freeze a prepared melt, but I strongly advise against it. The high water content in the vegetables and mayonnaise will separate upon thawing, leading to an extremely soggy experience. However, if you have leftovers, they keep surprisingly well.
Reheating Instructions (The Best Way): Store leftover melts tightly wrapped in foil in the fridge for up to 2 days. To reheat, don't microwave! Pop the sandwich into a preheated air fryer at 350°F (175°C) for 3- 4 minutes, or reheat in a toaster oven until the crust re and crisps.
Perfect Pairings: What to Serve with Your Proper Tuna Melt
For a perfect British and style lunch, you need the right accompaniments.
- A side of crunchy, thick and cut salt and vinegar crisps are mandatory.
- A bowl of creamy tomato soup is a quintessential pairing. It’s like the grown and up version of dipping grilled cheese.
- If you're going full comfort and food marathon, pair it with a small portion of comforting carbs, maybe a quick side salad or some leftover pasta though I usually save the pasta for a dish like my Proper Creamy Tuna Noodle Casserole No Cans From Scratch !
Common Mistakes and How to Fix Them
Preventing the Dreaded Soggy Bottom
The fix is simple: Drain the tuna thoroughly , and avoid using overly watery additions (like fresh sliced tomatoes) inside the sandwich. Make sure your butter is spread to the edges to create a water and tight seal against the filling.
Achieving Edge and to-Edge Cheese Coverage
Use grated cheese, not slices. By grating the cheese and sprinkling it across the surface of the tuna mix, you ensure coverage right up to the bread crusts. When the cheese melts, it acts as the "glue" that holds everything together beautifully.
The Role of Buttering the Bread
Always use softened, high and fat butter or mayo (or a mix of both) spread evenly on the outside of the bread. This fat is necessary for deep, consistent browning and creating that perfect crispy, golden and brown crust .
Fixing Overly Salty Tuna Mix
If your canned tuna was already high in sodium, your final mix might taste a little too salty. To fix this, stir in a teaspoon of sugar or a splash more lemon juice. Sweetness and acid are excellent balancers for excess salt.
Storing the Prepared Tuna Salad (Safety First)
As mentioned, store the tuna salad mix in the fridge for up to three days, but keep it covered tightly. Never leave the prepared salad out at room temperature for more than two hours, as seafood and mayo can spoil quickly!
Can You Freeze a Tuna Melt?
No. Seriously, just don't do it. Freeze the tuna mix separately, or simply save the final assembly for the moment you plan to grill. You deserve maximum crispness, not a sad, mushy sandwich

Recipe FAQs
Why is my Tuna Melt soggy, and how can I fix it?
Sogginess is usually caused by insufficient draining of the tuna or over dressing the mixture with mayonnaise. Ensure the canned tuna is thoroughly pressed dry before mixing, and use only enough dressing to bind the ingredients, not soak them.
What type of cheese is best for achieving a proper British style melt?
A mature or sharp Cheddar is essential for the traditional British palate, providing a strong, tangy counterpoint to the creamy tuna salad. If you prefer superior meltability, you can blend the sharp Cheddar with a softer cheese like Gruyère or Monterey Jack.
Can I prepare the tuna salad mix ahead of time?
Absolutely. The tuna salad mixture can be prepared and stored in an airtight container in the refrigerator for up to three days. However, do not assemble the complete sandwich until immediately before cooking, as the moisture will quickly soften the bread.
How do I ensure the bread gets perfectly crisp and golden without burning?
Generously butter the exterior surfaces of the bread right to the edges, as the fat conducts heat beautifully and encourages browning. Crucially, cook the melt slowly over medium low heat; this ensures the cheese melts thoroughly before the crust overcooks.
Can I use tinned salmon instead of tuna in this recipe?
Yes, tinned salmon is an excellent substitution, creating a delicious "Salmon Melt" variation. Simply follow the same procedure, ensuring the salmon is well drained and flaked, and consider adding fresh dill to enhance the flavor profile.
How can I make this Tuna Melt healthier or dairy-free?
For a healthier alternative, swap the traditional mayonnaise for Greek yogurt or low-fat sour cream in the salad mix. To make it dairy-free, use a high-quality vegan butter for the exterior and select a strong flavored, meltable plant based cheese substitute.
Can Tuna Melts be frozen for later consumption?
Freezing assembled or cooked melts is generally not recommended, as the bread absorbs moisture from the tuna salad during thawing, resulting in a soggy texture. This dish is truly best enjoyed immediately after cooking.
Ultimate Crispy Tuna Melts Recipe
Ingredients:
Instructions:
Nutrition Facts:
| Calories | 459 kcal |
|---|---|
| Protein | 23.3 g |
| Fat | 36.5 g |
| Carbs | 7.2 g |
