Chocolate Mint Brownies: the Ultimate Triple-Layer Fudgy Recipe
- The Definitive Guide to Ultimate Triple-Layer Chocolate Mint Brownies
- Mastering the Fudgy Factor: Why This Triple-Layer Brownie Recipe Works
- Essential Ingredients for Perfect Mint Brownie Layers
- Step-by-Step Blueprint for Baking Triple-Layer Chocolate Mint Brownies
- Chef Julian’s Troubleshooting Guide and Pro Brownie Tips
- Proper Handling: How to Store and Freeze Your Mint Chocolate Brownies
- Elegant Pairings: Serving Suggestions for Peak Enjoyment
- Recipe FAQs
- 📝 Recipe Card
The Definitive Guide to Ultimate Triple Layer Chocolate Mint Brownies
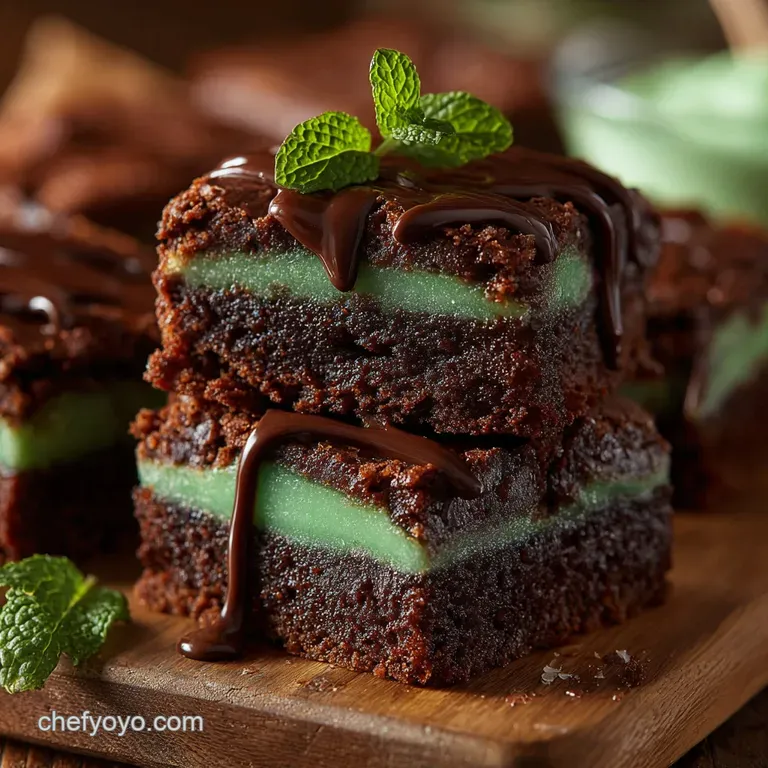
I swear, nothing smells quite like baking dark cocoa and fresh mint together. That intense, rich chocolate base gives way to a rush of cool peppermint, finished by a satisfying, snappy ganache layer. These aren't flimsy cake brownies; we’re making something truly fudgy, dense, and absolutely unforgettable.
Okay, maybe "fast" isn't the right word since we definitely need chilling time to set the layers properly, but the actual hands-on work is totally manageable. They look incredibly complicated when sliced, but they’re simple layers, making them the ultimate centerpiece dessert when you need to impress without hours of fuss.
You get the richness of the base combined with the coolness of the filling.
Ready to dive into the process? Forget those thin, sad boxed mint brownies this triple layer method guarantees peak flavor and the perfect texture every single time. Let’s crack on and make some seriously intense chocolate mint brownies that will ruin all other mint desserts for you.
Mastering the Fudgy Factor: Why This Triple Layer Brownie Recipe Works
The biggest secret here is that we fully melt the dark chocolate and butter together until they form a thick, glossy emulsion. This method ensures the fat is perfectly distributed, preventing any crystallization and guaranteeing that signature dense, nearly chewable fudgy texture we crave.
Melted fat is the secret to fudge.
The Anatomy of a Perfect Three Layer Treat
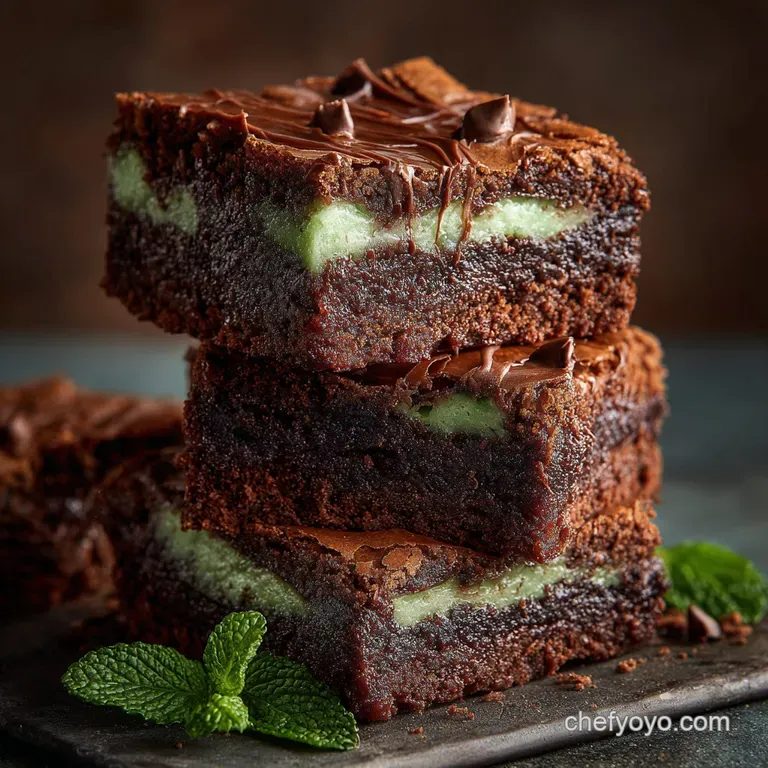
A great mint brownie needs structural integrity, which means we must respect the layering process. The base must be sturdy enough to hold the thick, creamy peppermint buttercream. That buttercream then needs to be firm and cold before the glossy ganache goes on top to prevent melting.
It’s all about building layers that contrast beautifully in both texture and temperature.
Setting the Stage: Mis en Place for Mint Baking
Seriously, measure everything out before you even turn on the oven. Especially with complicated baking, having those pre-measured ingredients means you won't accidentally forget the salt or skip a key step while the chocolate is melting down. Baking is chemistry, not wishful thinking.
What Makes These Brownies "Fudgy, Not Cakey"
We rely heavily on melted fat and eggs for structure, consciously using less flour than a cake recipe would demand. This keeps the gluten development low. If you overmix after adding the flour, you activate the gluten, and you end up with cake. Nobody wants a cakey brownie, ever.
The Ratio of Fat to Flour: Achieving That Dense Base
Notice how the recipe uses significantly more fat (from the butter and the dark chocolate) than flour. This high fat ratio is the non-negotiable key to achieving that rich, mouth coating density that makes these squares so addictive. Trust me, we are chasing fat content here for superior texture.
Tempering the Chocolate: The Secret to a Crackly Top
When you pour the very warm chocolate butter mixture over the sugars and then vigorously beat in the eggs, you create a slight meringue like structure on the surface. That thin, shiny, crackly crust is purely the magic of sugar dissolving into warm fat and setting up quickly in the hot oven.
The Science of Cooling: Setting the Buttercream Firmly
Do not skip the chilling steps between layers. If the mint buttercream isn't firm, the warm ganache will melt it into a gooey, unstable mess when poured on top. Patience is your single best friend when tackling any layered bar dessert.
Essential Ingredients for Perfect Mint Brownie Layers
Dark Cocoa Powder vs. Natural: Choosing Your Base Flavor
I strongly recommend Dutch process cocoa powder here, which has been alkalized to reduce acidity. It provides that intense, nearly black, dark chocolate flavor that really contrasts the bright mint.
Natural cocoa works fine, but the finished color will be lighter, and the flavor slightly more acidic, which throws off the deep intensity.
Sourcing Quality Peppermint Extract (A Note on Intensity)
Real talk: peppermint extract is potent stuff, so you must treat it with respect. Start small you can always add more flavor, but you can’t take it out once it’s mixed in.
If you accidentally use too much, your brownies will taste sadly like a clinical mouthful of toothpaste, and we want cool and complex, not antiseptic.
Ingredient Substitutions and Dairy Alternatives
You might be missing an ingredient, or maybe you need to adjust for a dietary requirement. Don't panic! Most of the components in this recipe are easily swapped out with minimum fuss. Always remember that high-quality ingredients yield superior flavor.
| Ingredient | Substitute/Alternative | Notes |
|---|---|---|
| Unsalted Butter | Margarine or high-quality vegan butter sticks | Reduce added salt by 1/4 tsp if using salted butter. |
| Dark Chocolate (Base) | Semisweet Chocolate Chips (Good Quality) | You might need to slightly reduce the granulated sugar amount by 1/4 cup (50g) since chips are sweeter. |
| All-Purpose Flour | gluten-free 1:1 Baking Blend | Ensure the blend contains xanthan gum for necessary structure. |
| Heavy Cream (Ganache) | Full fat coconut cream (scoop from the top of the can) | Chill the can overnight, then scoop the thick cream only; discard the watery part. |
Unit Conversion Chart: US Customary vs. Metric
I try to bake mainly by weight, because it’s much more accurate, especially for flour and sugar. If you are struggling with a recipe, try switching to a digital scale.
Chef’s Note: Accuracy is key, particularly with the melted chocolate and butter base. Use the metric measurements listed in the ingredients section whenever possible for the best, most consistent fudginess.
step-by-step Blueprint for Baking Triple Layer Chocolate Mint Brownies
Phase I: Achieving the Intense Dark Chocolate Brownie Base
- Prep and Melt: Preheat your oven to 175°C (350°F). Line a 9x9 inch pan with parchment paper, leaving generous overhangs. In a heatproof bowl set over simmering water (or a double boiler), melt the cubed butter and chopped dark chocolate together until smooth. Remove from the heat immediately.
- Sugar Power: Stir in both the granulated sugar and the brown sugar until fully incorporated and the mixture is warm, not scorching hot. This initial warmth helps create that glorious crackly top later.
- Wet Mix: Whisk in the eggs one at a time, making sure each is fully absorbed before adding the next. Stir in the vanilla extract.
- Dry Fold: In a separate bowl, whisk together your flour, cocoa powder, and salt. Gently fold the dry ingredients into the chocolate mixture using a spatula. Stop mixing as soon as you see no more streaks of white flour.
- Bake: Spread the batter evenly in the prepared pan. Bake for 30– 35 minutes. The edges should be set, but the center should look slightly softer; a toothpick should yield moist crumbs, not liquid batter. Cool completely in the pan for at least 60 minutes.
Phase II: Whipping the Cool, Creamy Peppermint Filling
- Cream the Butter: Using an electric mixer, beat the softened butter until it is visibly lighter in color and fluffy, about 2 minutes. This incorporates essential air.
- Make Buttercream: Gradually add the sifted icing sugar, alternating with the measured milk or cream, mixing until the buttercream is smooth and thick. Scrape down the bowl often.
- Flavour Check: Add the pure peppermint extract, the pinch of salt, and 1 2 drops of green food coloring gel (if you want that classic vibrant look). Mix just until the color is uniform.
- Assemble and Chill: Spread the peppermint buttercream evenly over the completely cooled brownie base. Place the entire pan in the refrigerator and chill for a minimum of 60– 90 minutes, until the mint layer is firm enough to touch without sticking.
Phase III: Finishing with the Snappy Ganache Layer
- Ganache Prep: Place the finely chopped dark chocolate in a heatproof bowl. Heat the heavy cream in a small saucepan until it just begins to simmer around the edges; do not let it boil vigorously. Pour the hot cream immediately over the chocolate.
- Emulsify: Let the mixture stand undisturbed for 5 minutes. Then, stir gently starting from the center and working outwards until the mixture is completely smooth and glossy. Stir in the final tablespoon of butter for extra shine and stability.
- Cool Slightly: Let the ganache sit at room temperature for about 10– 15 minutes until it has thickened slightly it should not be hot when it hits the mint layer.
- Pour and Chill: Pour the slightly cooled ganache over the chilled mint layer, tilting the pan gently to coat the surface evenly. Refrigerate the brownies for a final 1– 2 hours until the ganache is fully set and firm.
Necessary Chilling Times Between Layers
This is the rule: you need 60- 90 minutes of chilling after Phase I, another 60- 90 minutes after Phase II, and a final 60- 120 minutes after Phase III. Rushing this ruins the presentation and the beautiful structure of the finished bar.
Chef Julian’s Troubleshooting Guide and Pro Brownie Tips
Preventing a Runny Mint Layer (Temperature Control)
If your buttercream is too soft, you likely added too much liquid (milk) or your kitchen was too warm. Adding a small spoonful of extra sifted powdered sugar usually fixes the texture, firming it up immediately. Then, back in the fridge it goes! The brownie base must also be bone cold before this layer is applied.
Avoiding Overbaking the Brownie Base
Remember my rule for fudgy success: when the skewer comes out with moist, sticky crumbs not wet batter, not clean it's done. Overbaking pushes out the fat, resulting in a dry, sad edge and a disappointingly cakey center. Trust the toothpick test.
How to Get Clean, Sharp Slices Every Time
This is non-negotiable for beautiful, commercial grade presentation. Ensure the entire dessert is thoroughly chilled first. Use a large, heavy knife, run it under very hot water, wipe it completely dry, make one cut, and repeat the heating/wiping process for every subsequent slice.
Adjusting Mint Intensity to Taste
Start with the recommended amount, then taste the buttercream. If you prefer an even stronger mint hit, try stirring in a few tablespoons of crushed Andes mints directly into the finished buttercream instead of relying solely on the liquid extract. This adds textural interest, too!
Proper Handling: How to Store and Freeze Your Mint Chocolate Brownies
Best Practices for Refrigerated Storage
Because we use a dairy heavy buttercream filling, these delicious bars must live in the fridge. Store them in an airtight container for up to 5 days. Keep them away from strong odors, like garlic or onions, otherwise, your brownies will absorb those flavors, which would be tragic.
Techniques for Long Term Freezer Preservation
These brownies freeze beautifully, provided you cut them first! Wrap individual squares tightly in plastic wrap, then place those wrapped portions in a freezer safe zip-top bag or container. They'll keep happily for up to 3 months.
Thaw them overnight in the fridge, or slightly soften them at room temperature for a dense, fudgy bite.
Elegant Pairings: Serving Suggestions for Peak Enjoyment
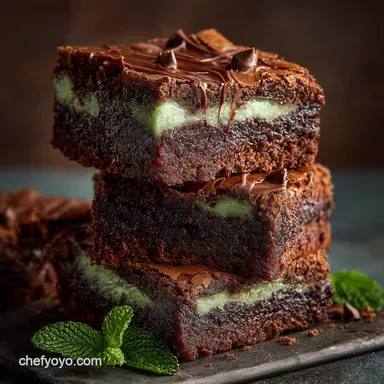
These triple layer Chocolate Mint Brownies are already a huge dessert statement, so they really only need simple accompaniments. Serve them slightly chilled for the best texture contrast cool mint, dense base, snappy ganache.
If you are looking for a dessert that’s equally rich but completely different, you might love serving these brownies alongside a slice of my decadent Turtle Lush Recipe: The Ultimate No-Bake Chocolate Caramel Dessert . For a more contrasting option, try pairing them with a small cup of high-quality, rich vanilla ice cream. They also pair perfectly with a strong, fresh Espresso or a high-quality dry Stout, whose bitter notes perfectly cut through the sweetness of the mint layer. If you love layered desserts, you absolutely must check out my Raspberry Chocolate Cake Roll: Elegant Swiss Roll Recipe That Wont Crack next.

Recipe FAQs
Q1: Why didn't my brownie base develop that signature crackly top?
The signature crackle comes from properly dissolving the granulated sugar during the mixing stage. Ensure you beat the eggs and sugar mixture vigorously for several minutes until it becomes pale, thick, and ribbons when lifted.
This process traps air and creates the desired meringue like crust when the brownies are baked.
Q2: My brownies turned out dry and cakey instead of fudgy. What went wrong?
The two most common culprits are overmixing the batter and overbaking. Developing too much gluten by vigorously mixing after the flour is added will result in a cakey texture; stop mixing as soon as the flour streaks disappear.
Furthermore, always remove the brownies when a toothpick inserted near the edge still shows moist crumbs attached, as they will continue to set while cooling.
Q3: How critical is the chilling time between adding the layers?
Chilling time is absolutely critical for the structural integrity of these triple layer brownies. You must ensure the brownie base is fully cooled (or chilled for 1 2 hours) before adding the soft buttercream layer.
After applying the buttercream, chill the dessert for another 1 2 hours until the mint layer is firm enough to resist melting when the warm ganache is poured over it.
Q4: Can I use regular semi sweet chocolate chips instead of high-quality dark chocolate?
While substitution is technically possible, using high-quality dark chocolate (60 70% cacao) is essential for the depth and intensity of flavor needed to balance the sweet mint. Cheaper chips often contain stabilizers that can affect the desirable fudgy melt and the overall richness of the brownie base.
Treat the chocolate quality as non-negotiable for an ultimate dessert.
Q5: How should I store the finished Chocolate Mint Brownies, and can I freeze them?
Store the finished brownies in an airtight container at cool room temperature for up to three days, or refrigerated for up to five days. To freeze, wrap the entire uncut slab tightly in plastic wrap followed by aluminum foil; they will keep well for up to three months.
Thaw them overnight in the refrigerator before slicing and serving.
Q6: My ganache topping is too thin and runny. How do I fix the consistency?
A runny ganache indicates a high cream-to-chocolate ratio. To thicken it, gently whisk in one tablespoon of finely chopped dark chocolate and allow the mixture to rest for five minutes off the heat before stirring again.
If it is too thick, conversely, stir in a tiny splash of warm heavy cream until the desired flow is achieved.
Q7: Can I adapt the mint buttercream layer to be dairy-free or vegan?
Yes, the buttercream is easily made vegan by substituting high-quality vegan baking butter sticks for the dairy butter. Use a plant based milk, like oat or almond, for the liquid component needed to thin the icing to a spreadable consistency.
Ensure the powdered sugar is sifted well to avoid lumps, and adjust the peppermint extract to your preference.
Ultimate Fudgy Chocolate Mint Brownies
Ingredients:
Instructions:
Nutrition Facts:
| Calories | 210 kcal |
|---|---|
| Protein | 2.0 g |
| Fat | 10.0 g |
| Carbs | 31.0 g |
