Ninja Creami Recipe with Vanilla Bean Gelato
- Time: Active 5 minutes, Passive 24 hours, Total 24 hours 5 minutes
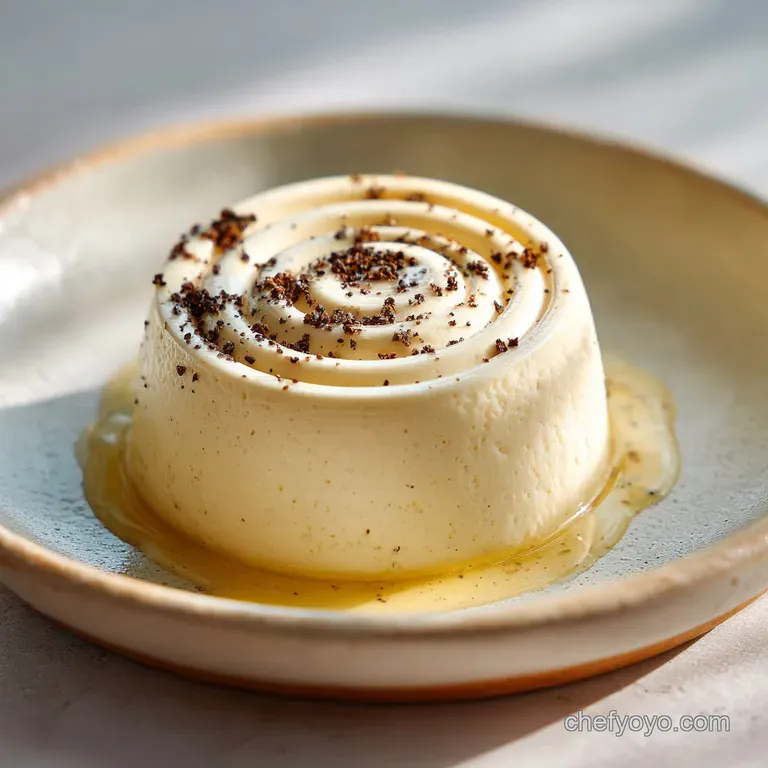
- Flavor/Texture Hook: Velvety, dense, and speckled with aromatic vanilla seeds
- Perfect for: Gourmet weekend treats, dinner party foundations, or high end meal prep
- Crafting a Ninja Creami Recipe with Vanilla Bean
- Why This Dairy Base Works
- Essential Ingredients for Silky Texture
- Shopping List Breakdown
- Tools Needed for Cold Spinning
- Step-by-Step Churning and Freezing
- Fixing Common Frozen Pint Mistakes
- Flavor Variations and Creative Mix ins
- Storing and Refreshing Your Pints
- Serving Your Vanilla Bean Masterpiece
- Scaling Guidelines
- Kitchen Myths Debunked
- Ninja Creami Recipe FAQs
- 📝 Recipe Card
Crafting a Ninja Creami Recipe with Vanilla Bean
I still remember the first time I pulled a pint out of my machine after only twelve hours of freezing because I was too impatient to wait. It was a disaster, a slushy, icy mess that felt more like a failed snow cone than the premium ice cream I was promised.
I sat there in my kitchen, staring at the grainy texture, realizing that this machine doesn't just "blend" things, it actually re engineers the physics of ice crystals. That failure taught me that shortcuts are the enemy of silkiness.
Now, whenever I hear that distinct whir of the blade descending into the frozen block, I know exactly what’s happening inside. This Ninja Creami Recipe with Vanilla Bean is the result of dozens of test batches where I played with fat ratios and stabilizers.
We aren't just making a frozen snack; we are creating a fusion of classic French custard techniques and modern appliance efficiency. The aroma of the vanilla bean paste hitting the warm milk is a sensory trigger that always reminds me why we bother with the "real stuff" instead of just using cheap imitation flavors.
The magic happens when the blade creates a micro shave of the ice, which is why the base must be rock solid. If it's too soft, you get soup. If it's too lean, you get ice. But when you hit that sweet spot of heavy whipping cream and softened cream cheese, the result is so velvety it rivals any high end scoop shop in the city.
Let's get into the mechanics of why this specific dairy blend holds up so well under the pressure of those spinning blades.
Why This Dairy Base Works
- Fat Polymerization: The 1 cup heavy whipping cream provides a high butterfat content that coats the tongue and prevents large ice crystals from forming during the long freeze.
- Stabilization via Protein: Using 1 tbsp cream cheese acts as a modern stabilizer, adding just enough solids and emulsifiers to keep the water and fat from separating.
- Freezing Point Depression: The 0.33 cup granulated white sugar doesn't just sweeten, it lowers the freezing point of the 0.75 cup whole milk, ensuring the pint isn't too hard to "shave" but stays firm enough to hold its shape.
- Double Scented Depth: Combining 1.5 tsp vanilla bean paste with 0.5 tsp pure vanilla extract provides both the visual "speck" aesthetic and a layered aromatic profile that lingers.
| Method | Prep Time | Final Texture | Best For |
|---|---|---|---|
| Full 24 Hour Freeze | 5 minutes | Ultra velvety and dense | Dinner parties and purists |
| 12 Hour "Fast" Freeze | 5 minutes | Slightly icy or soft | Last minute cravings only |
| Pre Heated Base | 15 minutes | Extremely smooth | Maximum flavor infusion |
This base is almost as rich as my favorite The Quintessential Crack recipe, which also relies on high-quality vanilla to do the heavy lifting. The main difference here is how we handle the aeration during the spinning process.
Essential Ingredients for Silky Texture
| Ingredient | Science Role | Pro Secret |
|---|---|---|
| Cream Cheese | Emulsifier | Soften it completely to avoid tiny white lumps in your finished pint. |
| Vanilla Bean Paste | Aromatic | Contains the actual seeds (caviar) for a visual "premium" look and intense flavor. |
| Fine Sea Salt | Flavor Enhancer | A tiny pinch suppresses bitterness and makes the vanilla notes "pop" on the palate. |
Shopping List Breakdown
To get that authentic, contemporary flavor profile, we need to be specific about our elements. Don't grab the low-fat options here; we need the richness to stand up to the aeration.
- 1 cup heavy whipping cream: Why this? Provides the essential butterfat for a velvety mouthfeel. (Substitute: Double cream)
- 0.75 cup whole milk: Why this? Thins the base slightly so it's not overly heavy like butter. (Substitute: 2% milk, though it will be slightly icier)
- 0.33 cup granulated white sugar: Why this? Essential for texture and lowering the freezing point. (Substitute: Allulose for keto, but use 1.3x the amount)
- 1 tbsp cream cheese, softened: Why this? Acts as a stabilizer to prevent the ice cream from melting instantly. (Substitute: Mascarpone)
- 1.5 tsp vanilla bean paste: Why this? Gives you the gourmet "speckled" look and concentrated bean flavor. (Substitute: Scraped seeds from 1 whole vanilla bean)
- 0.5 tsp pure vanilla extract: Why this? Rounds out the high notes of the bean paste. (Substitute: Vanilla powder)
- 1 pinch fine sea salt: Why this? Balances the sweetness and amplifies the floral vanilla notes.
Tools Needed for Cold Spinning
You don't need a professional kitchen, but a few specific tools make this Ninja Creami Recipe with Vanilla Bean much easier to execute. A small silicone spatula is your best friend for scraping the cream cheese off the sides of your mixing bowl.
I also highly recommend using a small whisk to ensure the sugar is fully dissolved before it goes into the freezer.
If you find yourself making a lot of these bases, a kitchen scale is a great investment. While we use cups here, measuring by weight is the secret to consistency. For those who love airy textures in other desserts, you might want to check out the Cloud Nine Cream recipe for a different take on dairy aeration.
Chef Tip: Freeze your empty pint containers for 10 minutes before filling them. This prevents the edges of the mixture from starting to freeze at a different rate than the center while you're getting it into the freezer.
step-by-step Churning and Freezing
- Soften the stabilizer. Place the 1 tbsp cream cheese in a microwave safe bowl and heat for 5-10 seconds until it is very soft but not liquid. Note: This prevents "cheese chunks" in the final spin.
- Combine the sugars. Add the 0.33 cup granulated white sugar and 1 pinch fine sea salt to the cream cheese. Whisk until a smooth paste forms.
- Incorporate aromatics. Stir in the 1.5 tsp vanilla bean paste and 0.5 tsp pure vanilla extract. Stir until the vanilla specks are evenly distributed throughout the paste.
- Slowly add liquids. Pour in 0.75 cup whole milk in three additions, whisking constantly to ensure the cream cheese mixture fully dissolves into the milk.
- Finish with cream. Gently stir in the 1 cup heavy whipping cream. Note: Don't whisk too vigorously here; we don't want to create bubbles or whipped cream yet.
- Fill the container. Pour the mixture into the Ninja Creami pint container, ensuring you do not exceed the "Max Fill" line.
- Level the surface. Use a spoon to pop any bubbles on the surface and ensure the liquid is level. This prevents the blade from hitting an uneven "ice hill" later.
- The deep freeze. Place the lid on and freeze on a level surface for 24 hours. Wait until the mixture is a solid, dull block before attempting to spin.
- The first spin. Remove the lid and place the pint into the outer bowl. Select the "Ice Cream" function and let the machine work its magic.
- The re spin (if needed). If the texture looks powdery after the first spin, add a splash of milk and run the "Re spin" cycle until it becomes silky and scoopable.
Fixing Common Frozen Pint Mistakes
Why Your Pint Is Powdery
If you open the lid and it looks like crumbly snow, don't panic. This usually happens because your freezer is set to a very low temperature (below 0°F), making the ice crystals too hard for a single pass of the blade. It's a common hurdle for many Ninja Creami recipes.
Why Your Pint Is Icy
A "frost ring" around the edges often means the pint sat out on the counter for too long before spinning, or your freezer door is opened frequently, causing temperature fluctuations. This leads to larger ice crystals that feel crunchy on the tongue.
| Problem | Root Cause | Solution |
|---|---|---|
| Crumbly texture | Freezer is too cold | Add 1 tbsp milk and select "Re spin" |
| Liquid center | Pint wasn't frozen for 24 hours | Freeze for a full day on a level surface |
| Off flavor | Absorbed fridge odors | Ensure the lid is tight and freezer is clean |
Common Mistakes Checklist
- ✓ Ensure the cream cheese is room temperature before mixing (prevents lumps).
- ✓ Never skip the 24 hour freeze time; the core must be solid.
- ✓ Always level the top of the liquid before freezing to protect the machine blade.
- ✓ Use "Re spin" only after the initial "Ice Cream" cycle is complete.
- ✓ Pat the outside of the pint dry before inserting it into the machine.
Flavor Variations and Creative Mix ins
If you want a Healthy Ninja Creami Vanilla Ice Cream, you can swap the heavy cream for full fat coconut milk. The texture will be slightly different more of a "shatter" on the tongue than a melt but it still carries the vanilla bean flavor beautifully.
Just be aware that coconut milk adds its own tropical profile.
For a "McFlurry" style twist, wait until after the initial spin is finished. Use a spoon to create a hole in the center of the pint, drop in crushed chocolate sandwich cookies or honeycomb pieces, and select the "Mix in" button.
This preserves the texture of the cookies so they stay crunchy rather than being pulverized into the base.
Storing and Refreshing Your Pints
Most people don't realize that you can store your spun ice cream, but it will inevitably freeze solid again. To save it for later, simply smooth the top with a spoon so it’s flat, put the lid back on, and toss it in the freezer. It will last about 2 weeks before the quality starts to dip.
When you're ready for round two, you'll need to run it through the "Ice Cream" or "Re spin" cycle again. I’ve found that the second spin often results in an even creamier texture because the fats have had more time to stabilize. If you have leftover vanilla bean pods, don't throw them away!
Stick them in a jar of sugar to make vanilla scented sugar for your next baking project.
| Fresh | Shortcut (Extract Only) | Flavor Impact |
|---|---|---|
| Vanilla Bean Paste | Pure Extract | Paste adds visual seeds and a "darker" floral note. |
| Whole Milk | Skim Milk | Skim milk results in a much harder, icier pint. |
| Cream Cheese | Cornstarch | Cream cheese provides a richer, more fatty mouthfeel. |
Serving Your Vanilla Bean Masterpiece
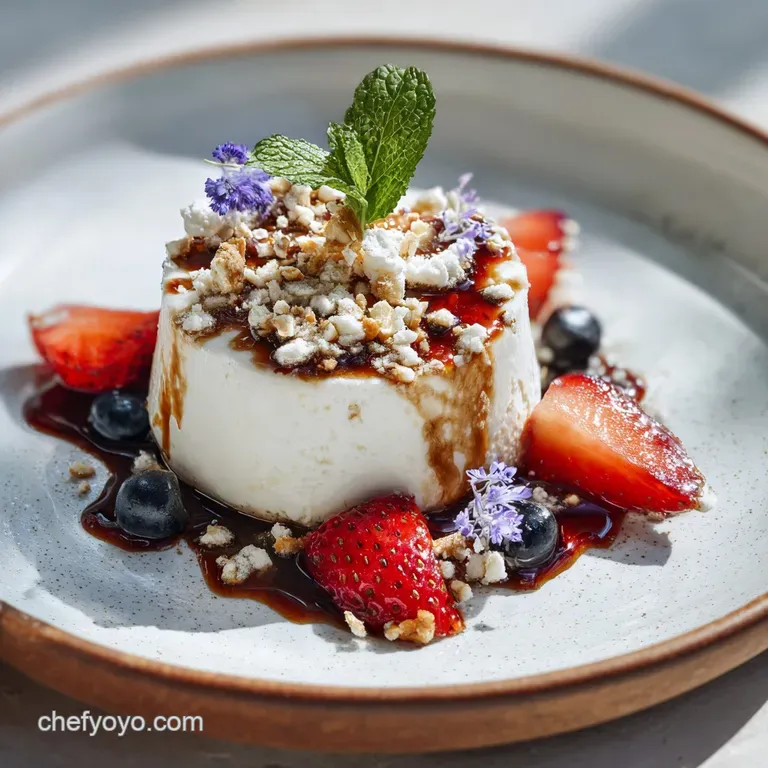
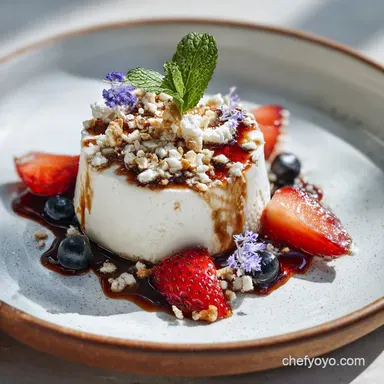
Presentation is what separates a home cook from a chef. Instead of just messy scoops, try the "Professional Quenelle." Take two large spoons, dip them in warm water, and pass a scoop of the ice cream back and forth between them to create a smooth, football shaped oval. It looks contemporary and elegant on a dark plate.
For the "Contrast Garnish," I love topping this specific vanilla bean base with a tiny sprinkle of flaky sea salt and a drizzle of high-quality olive oil. It might sound strange, but the savory fat of the oil against the velvety sweetness of the vanilla is a revelation.
If you want something more traditional, a warm berry compote provides a beautiful temperature contrast that makes the cold cream feel even more refreshing.
Scaling Guidelines
- To Scale Down (1/2 Pint): If you're using the smaller Ninja Creami Breeze pints, reduce all ingredients by exactly half. Ensure you still soften the cream cheese, as small amounts are even more prone to lumping.
- To Scale Up (4+ Pints): You can make a big batch of the base in a blender. Multiply all ingredients by the number of pints you have. Pulse on low just until combined to avoid whipping too much air into the mixture before freezing.
- A Note on Spices: If doubling the recipe, only increase the salt to 1.5x. Over salting frozen desserts can actually prevent them from freezing properly.
Kitchen Myths Debunked
One of the biggest myths is that you can just use "any" milk for a Creami and get perfect results. That's simply not true. The machine is a mechanical emulsifier, but it needs fat to create that velvety structure.
Using skim milk without a significant stabilizer will result in something closer to a block of ice than ice cream.
Another common misconception is that you should "thaw" the pint for 10 minutes before spinning. While this might help with a powdery texture, it often leads to the outer edges melting too quickly, creating a "soup" layer while the center remains hard.
Trust the machine's blade to do the work; if it's powdery, the "Re spin" function with a splash of liquid is the correct professional fix.
Finally, don't believe the idea that vanilla extract and vanilla bean paste are interchangeable. While they share a flavor profile, the paste contains the essential oils and seeds that provide a different tactile experience. The seeds add a tiny, almost imperceptible "pop" that signals quality to anyone eating it. For another classic treat, you might enjoy my Snickerdoodle Cookies in recipe, which also rely on that perfect balance of sugar and aromatics.

Ninja Creami Recipe FAQs
Must the vanilla bean paste and extract be used together, or can I use only one?
Use both for optimal flavor depth. The paste provides the visible speckle and deeper aromatic notes, while the extract rounds out the high flavor notes, preventing flatness.
How long must the base freeze before I can successfully spin it in the Creami?
Freeze for a full 24 hours minimum. This extended time is necessary for the high fat dairy base to achieve the solid, single ice-crystal structure the machine needs to shave properly.
Why is my finished vanilla ice cream powdery instead of creamy?
Your freezer is likely too cold. A freezer set below 0°F makes the ice structure too hard for a single spin; add one tablespoon of whole milk and select the "Re spin" function.
Is using heavy whipping cream strictly necessary, or can I use half and-half for a lighter result?
No, avoid substitutes like half and-half for true creaminess. The high butterfat content in heavy cream acts as the primary stabilizer preventing large ice crystal formation; lower fat results in an icier texture similar to sorbet.
What is the role of the tablespoon of softened cream cheese in this high fat base?
It acts as a functional emulsifier and stabilizer. The proteins in the cream cheese help bind the fat and water molecules, which supports a velvety mouthfeel comparable to using eggs in a classic custard base.
How do I prevent the cream cheese from leaving small, unincorporated white flecks in the final product?
Soften the cream cheese fully before adding sugar. Microwave it for 5-10 seconds until pliable, then whisk it vigorously with the sugar until it forms a completely smooth, lump free paste before introducing any liquid.
If my ice cream comes out liquid after the first spin, should I refreeze it immediately?
No, do not refreeze a liquid mixture directly. Add one tablespoon of whole milk to incorporate necessary liquid, then run the "Re spin" cycle; refreezing a soupy texture just creates large, unmanageable ice chunks.
Vanilla Bean Creami Recipe
Ingredients:
Instructions:
Nutrition Facts:
| Calories | 315 calories |
|---|---|
| Protein | 2.9 g |
| Fat | 24.7 g |
| Carbs | 21.2 g |
| Fiber | 0 g |
| Sugar | 19.8 g |
| Sodium | 85 mg |
