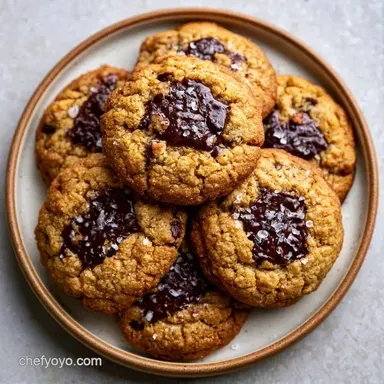
Browned Butter Chocolate Chip Cookies: Crispy
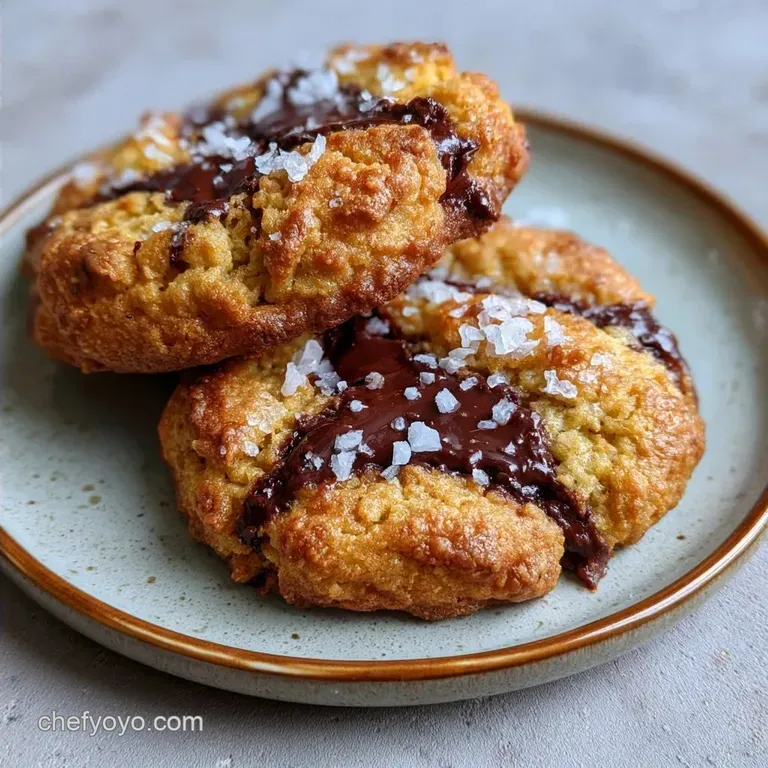
- Time: 20 min active + 2 hours chilling
- Flavor/Texture Hook: Toasted hazelnut notes with crisp edges and a soft, fudge-like center
- Perfect for: Weekend projects or gifting friends a more sophisticated treat
- Browned Butter Chocolate Chip Cookies
- Why the Nutty Flavor Works
- The Basic Gear Needed
- Gathering Your Essentials
- Recipe Timing and Yield
- Ingredient Swaps and Notes
- Step by Step Baking
- Solving Common Dough Issues
- Swaps and Tasty Twists
- Debunking Cookie Myths
- Keeping Cookies Fresh
- Serving Your Warm Treats
- Recipe FAQs
- 📝 Recipe Card
Browned Butter Chocolate Chip Cookies
Watching butter brown is a cozy kitchen experience. It begins with a light sizzle, transitions to a foamy state, and eventually reaches a rich, golden amber hue. The scent alone is enough to draw people from next door.
I once discovered the importance of chilling the dough the hard way. Impatient and craving a treat, I bypassed the two-hour wait. The result? Instead of perfectly shaped cookies, the dough spread into one massive, flat chocolate sheet. While the flavor was spot on, the texture was all wrong.
Now, chilling is a strict requirement. These Browned Butter Chocolate Chip Cookies require that break so the fats can firm up and the sugars can properly hydrate. This step is the secret to those stunning, crisp edges and a center that remains tender for days.
Why the Nutty Flavor Works
- Toasted Milk Solids: Simmering the butter browns the proteins, which creates a rich, toasted taste.
- Cold Fat: Chilling the dough stops the cookies from spreading too thin, keeping them thick and chewy.
| Method | Time | Texture | Best For |
|---|---|---|---|
| Fresh Browned Butter | 20 mins | Chewy, rich edges | Special occasions |
| Simple Melted Butter | 2 mins | Softer, cakey | Quick weeknight snack |
The Basic Gear Needed
While you don't need professional gear, certain tools make the process much simpler. I always opt for a heavy bottomed stainless steel skillet for the butter, as it allows me to clearly see the brown bits developing.
With a dark non-stick pan, it's easy to accidentally burn the butter before you notice the color change.
A rubber spatula is essential for folding in the chocolate chunks to ensure you don't overwork the flour. As for baking, silicone mats or parchment paper are a requirement; due to the high sugar content, these cookies will stick to an unlined pan.
Gathering Your Essentials
I prefer using bittersweet chocolate chunks over standard chips. Chunks melt into irregular pools of chocolate, while chips hold their shape too much. It makes a big difference in the final bite.
Recipe Timing and Yield
- Prep time:20 minutes
- Bake time:13 minutes
- Total time:2 hours 33 minutes
- Yield: 27 cookies
| Ingredient | Role | If You Don't Have It |
|---|---|---|
| Unsalted Butter | Flavor and structure | Salted butter (reduce added salt) |
| Light Brown Sugar | Chew and molasses notes | Dark brown sugar (richer flavor) |
| Bittersweet Chocolate | Rich, dark sweetness | Semi sweet chips (sweeter) |
| Baking Soda | Lift and browning | Baking powder (use 1.5 tsp) |
Ingredient Swaps and Notes
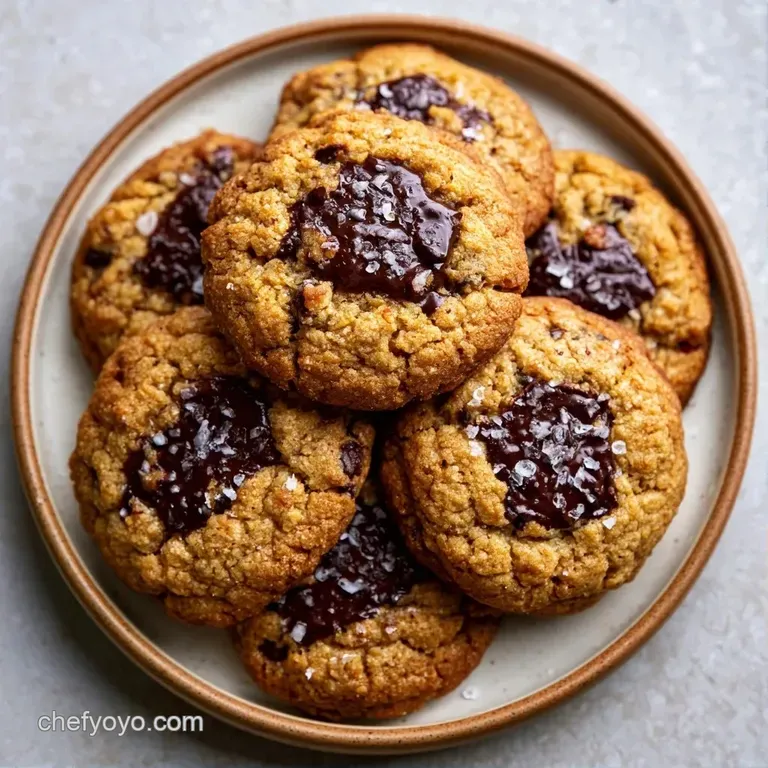
- 1 cup (225g) unsalted butter
- 1/2 tsp (3g) fine sea salt
- 3/4 cup (150g) packed light brown sugar Why this? Adds moisture and a chewy texture
- 1/4 cup (50g) granulated white sugar
- 1 large egg (50g)
- 1 large egg yolk (18g) Why this? Extra yolk makes the center fudgy
- 2 tsp (10ml) pure vanilla extract
- 2 cups (250g) all purpose flour
- 1 tsp (5g) baking soda
- 1/2 tsp (3g) salt
- 1 1/2 cups (250g) bittersweet chocolate chunks Why this? Creates puddles of chocolate
- flaky sea salt
| Original Ingredient | Substitute | Why It Works |
|---|---|---|
| AP Flour (2 cups) | Almond Flour (2 cups) | gluten-free alternative. Note: Results in a denser, softer cookie |
| White Sugar (1/4 cup) | Coconut Sugar (1/4 cup) | Similar sweetness. Note: Changes color to a deeper brown |
Step by step Baking
- Heat the unsalted butter in a heavy bottomed stainless steel skillet over medium heat.
- Allow the butter to melt and continue cooking as it foams and crackles, stirring constantly. Cook until mahogany colored bits appear and it smells of toasted hazelnuts.
- Remove from heat immediately, stir in 1/2 tsp of fine sea salt, and let the butter cool for 15 minutes. Note: Hot butter will scramble the eggs.
- Whisk the cooled browned butter together with the light brown and granulated white sugars until the mixture is smooth and glossy.
- Beat in the egg and egg yolk individually, then mix in the vanilla extract until the batter is creamy.
- Sift in the all-purpose flour, baking soda, and salt, folding until just combined.
- Use a rubber spatula to fold in the bittersweet chocolate chunks.
- Chill the dough in the fridge for 2 hours to ensure the fat remains cold.
- Scoop 2 tbsp portions onto a half sheet pan lined with parchment paper or silicone mats.
- Bake for 13 minutes until the edges are crisp and the centers remain soft.
- Sprinkle with flaky sea salt immediately after removing from the oven.
Solving Common Dough Issues
Preventing Burnt Butter
If the butter turns black, it's burnt and will taste bitter. Throw it out and start over. To avoid this, use a lower heat setting and keep the butter moving. I find that stirring constantly with a whisk prevents the solids from clumping and scorching.
Fixing Flat Cookies
If your cookies spread too much, the dough was likely too warm. This usually happens if you skip the chill or if your kitchen is very hot. Put the tray of scooped dough back in the fridge for 15 minutes before sliding them into the oven. This is a great time to think about other treats, like these Peanut Butter Cookies, if you want something different.
Stopping Cakey Texture
Too much flour is usually the culprit here. If the dough feels like a stiff paste rather than a soft clay, you've likely over measured your flour. I always use a scale for 250g of flour because dipping a measuring cup into the bag often packs too much in, leading to a dry, bready cookie.
Swaps and Tasty Twists
Customizing these cookies is simple. Stir in a handful of toasted walnuts or pecans for added crunch. If you have sourdough discard on hand, you can make Browned Butter Sourdough Chocolate Chip Cookies by substituting some of the flour and adding a bit more baking soda.
These also pair wonderfully with spicy treats like Snickerdoodle Cookies on a dessert platter. For a thinner, crispier result, simply reduce the chilling time to 30 minutes.
| Goal | Change | Result |
|---|---|---|
| For a firmer set | Chill 4 hours instead of 2 | Thicker, taller cookies |
| For more chew | Add 1 extra egg yolk | Fudgy, richer center |
| For a salty kick | Double the flaky salt | Bold contrast to chocolate |
Debunking Cookie Myths
You might hear that you need to "cream" butter and sugar for 5 minutes to get air into the dough. With browned butter, that doesn't really happen because the butter is liquid. The texture comes from the sugar ratio and the chill, not the aeration.
Some people say you should use chilled bowls for mixing. While it helps in a professional bakery, for a home cook, it's overkill. Just make sure the butter isn't boiling hot when it hits the eggs, and you'll be fine.
Keeping Cookies Fresh
Store these in an airtight jar on your counter for up to 5 days. For a longer shelf life, you can freeze the baked cookies for 3 months; just wrap them securely in foil and a freezer bag. When you're ready to eat one, microwave it for 10 seconds to regain that "just baked" quality.
Don't waste the remaining chocolate chunks in the bag. I typically melt them with some nuts to create Chocolate Turtles or simply freeze them for a quick snack. If there is any browned butter left in the pan, stir it into your morning oatmeal.
Serving Your Warm Treats
These are best served while still slightly warm. The chocolate remains melty, and you'll notice the sea salt first before the deep, toasted butter notes take over.
I recommend pairing them with chilled milk or a bold espresso; the coffee's intensity balances the richness of the brown butter. For an extra touch of indulgence, add a scoop of vanilla bean ice cream on top and let it soften into the crevices. Trust me, it's the ultimate way to enjoy them.
Recipe FAQs
How to brown the butter properly?
Melt unsalted butter in a heavy bottomed stainless steel skillet over medium heat. Stir constantly until mahogany colored bits form at the bottom and it smells like toasted hazelnuts.
Is it true that chilling the dough is optional?
Actually, no. Chilling the dough for 2 hours is essential to prevent excessive spreading and to ensure a proper chewy texture.
Can I substitute bittersweet chocolate with milk chocolate?
Yes, but the cookies will be much sweeter. Bittersweet chunks provide a necessary bitter contrast to the richness of the browned butter.
Why does this recipe use an additional egg yolk?
It adds fat and emulsifiers for a fudgier center. If you enjoyed mastering the texture here, see how the same principle works in our classic soft sugar cookies.
Browned Butter Chocolate Chip Cookies