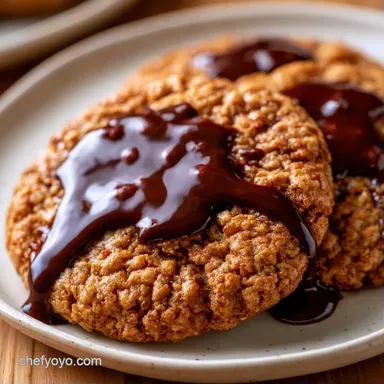
Homemade Crispy Chocolate Chip Cookies
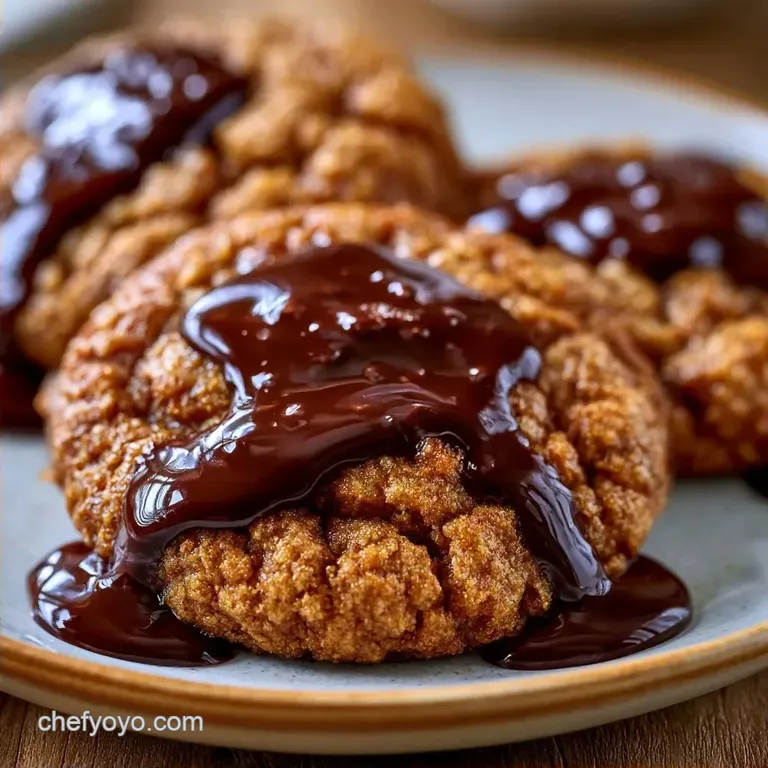
- Time: 10 min active + 15 min baking
- Flavor/Texture Hook: Thin, buttery, and shattering crunch
- Perfect for: Quick cravings, lunchboxes, or a budget-friendly party tray
Ever wondered why some cookies snap like a cracker while others feel like a soft, dense muffin? It usually comes down to how the sugar and fat react in the heat. Most people fight for that "chewy" center, but there is something so satisfying about a cookie that actually cracks when you bite it.
I used to think you needed expensive, high fat European butter to get a gourmet crunch. I spent way too much money on fancy brands only to realize the texture actually comes from the ratio of white sugar to brown sugar. Once I figured that out, I stopped overcomplicating things.
You can expect a thin, mahogany colored cookie that spreads just enough to get those lacy edges. These Crispy Chocolate Chip Cookies don't require a 24 hour fridge rest, so you can actually eat them today.
Homemade Crispy Chocolate Chip Cookies
Let's examine what is happening inside the oven. To achieve a snap rather than a chew, we must manage how the dough spreads.
Sugar Balance: White sugar doesn't retain moisture the way brown sugar does. By increasing the proportion of white sugar, the dough thins and dries out more rapidly during baking, which results in a crispier texture.
Butter Temp: Starting with butter at 65°F/18°C allows for proper creaming without the fat melting too quickly. This prevents the cookies from flattening into one massive pancake on your baking sheet.
Testing from Serious Eats shows that a higher ratio of white sugar to brown sugar decreases the chew and boosts the snap, which is exactly the approach we are taking here.
| Method | Time | Texture | Best For |
|---|---|---|---|
| Oven Baked | 15 mins | Even, shattering crunch | Large batches, consistent color |
| Stovetop Pan | 10 mins | Fried edges, soft center | Single cravings, rustic look |
Why These Ingredients Matter
When you are on a budget, you don't need the most expensive ingredients to get a high end result. The basics do the heavy lifting here.
Plain label: All purpose flour provides the structure without making the cookie too cakey.
Sugar roles: The white sugar creates the crisp, while the light brown sugar adds a hint of caramel aroma.
Leavening: Baking soda helps the cookies spread and brown, giving them that deep gold color.
| Ingredient | Role | If You Don't Have It |
|---|---|---|
| Unsalted Butter | Fat and flavor base | Salted butter (reduce added salt by 2g) |
| White Sugar | Creates the snap | More brown sugar (will be chewier) |
| All Purpose Flour | Structure | 1:1 gluten-free blend (may be more fragile) |
| Baking Soda | Spread and browning | Baking powder (will be puffier/cakier) |
Recipe Specs
For the best results, use a kitchen scale. Volume measurements can be tricky, especially with flour.
- Butter: 225g (softened to 18°C)
- White Sugar: 150g
- Brown Sugar: 100g
- Egg: 1 large (50g), room temperature
- Vanilla: 5ml
- Flour: 250g
- Baking Soda: 5g
- Salt: 3g
- Chocolate Chips: 255g semi sweet
Chef's Note: If your butter is too soft (greasy to the touch), put it in the fridge for 10 minutes. It should be pliable but still hold its shape.
Equipment Needed
No high end gear is required. A standard bowl and a hand mixer will work perfectly.
- Large mixing bowl: For the dough.
- Electric hand mixer: To cream together the butter and sugars.
- Sifter or fine mesh strainer: To eliminate flour lumps.
- Parchment paper: Necessary to prevent sticking and scorched bottoms.
- Wire cooling rack: Keeps the bottoms from steaming and softening.
The Baking Process
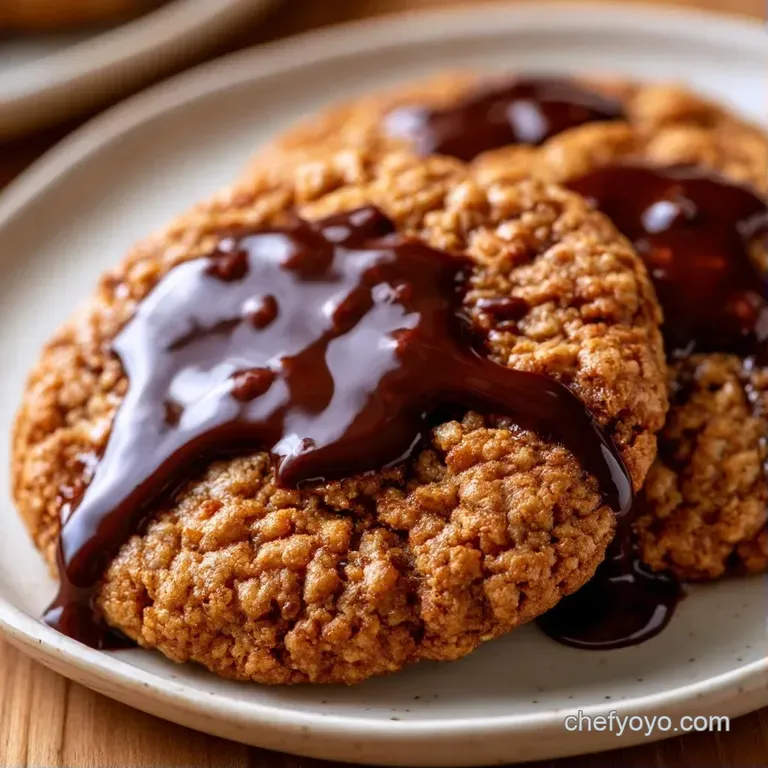
Time to start baking. Watch the cookie edges carefully, as they are your primary indicator that the cookies are done.
Phase 1: Creaming the Base
- Beat the fats and sugars. In a large bowl, cream the 225g softened butter, 150g white sugar, and 100g brown sugar. Use medium high speed for 3 minutes until the mixture is light and airy. Note: This process adds air, which improves the texture.
- Add the liquids. Mix in the 50g egg and 5ml vanilla extract on medium speed. Beat until the batter is glossy and uniform.
Phase 2: Integrating Dry Ingredients
- Sift the dry mix. Sift the 250g flour, 5g baking soda, and 3g salt directly into your mixing bowl.
- Mix on low. Set the mixer to low speed just until the flour streaks disappear. Note: Stop mixing immediately once combined to prevent a cakey consistency.
- Fold in chips. Use a spatula to stir in the 255g chocolate chips by hand. This ensures the chips are distributed evenly without overworking the dough.
Phase 3: Baking to Golden Perfection
- Prep the oven. Preheat to 175°C (350°F). Line your baking sheets with parchment paper.
- Scoop the dough. Portion out rounded tablespoons (roughly 28g each) and place them 2 inches apart.
- Bake. Bake for 12-15 minutes until the edges turn deep golden brown while the centers still appear slightly soft.
- Initial cool. Leave the cookies on the hot baking sheet for 5 minutes to let the centers set.
- Final cool. Transfer them to a wire rack to cool completely.
Fixing Common Issues
Mistakes can happen even when following a basic guide. Usually, the culprit is an incorrect measurement or temperature.
If the Cookies are Too Cakey
This typically occurs if you add too much flour or overwork the dough. Overmixing develops excess gluten, which results in a bread like consistency rather than a crisp snap. Ensure you use a scale to measure the 250g of flour.
If the Cookies Spread Too Much
Your butter was likely too soft. If the butter begins melting before it reaches the oven, the cookies may fuse into one large sheet. If this occurs, refrigerate the remaining dough for 15 minutes before starting the next tray.
If the Centers Stay Raw
Your oven may be under heating, or you removed them too quickly. Look for the edges to turn a distinct, darker brown. The centers will continue to firm up while cooling on the rack.
| Problem | Root Cause | Solution |
|---|---|---|
| Cakey Texture | Too much flour / Overmixing | Weigh flour in grams; mix on low |
| Greasy/Flat | Butter too soft | Chill dough for 15 mins |
| Pale/Soft | Oven too cold | Check temp with oven thermometer |
Changing the Batch Size
Whether you are baking for a crowd or just yourself, you can adjust the volume. Just be careful with the eggs.
Scaling Down (Half Batch) Use 112g butter, 75g white sugar, 50g brown sugar, and 125g flour. For the egg, crack one into a bowl, beat it, and use exactly 25g. Reduce bake time by about 2 minutes.
Scaling Up (Double Batch) Double the flour, sugars, and butter. Use 2 eggs. I recommend only increasing the salt and baking soda by 1.5x to keep the flavor balanced. Work in batches so your oven doesn't lose too much heat from the door being open.
| Item | Premium Choice | Budget Choice | Impact | Savings |
|---|---|---|---|---|
| Chocolate | Single origin bars | Store brand semi sweet chips | Less complex flavor | $3 - $5 |
| Butter | Grass fed salted | Generic unsalted | Slightly less richness | $2 - $4 |
| Vanilla | Pure Madagascar | Vanilla imitation | Less aromatic | $4 - $7 |
Storage and Scrap Tips
To preserve the crunch, you need to avoid humidity. Moisture is what makes a crisp cookie go soft.
Storage Guidelines Place these in a metal tin or glass jar with a secure lid. They will stay crisp for about 5 days at room temperature. Avoid using plastic bags, as they can hold onto moisture and ruin the texture.
Freezing Store these in the freezer for 3 months, ensuring they are wrapped securely in foil. To regain that crispiness, warm them in a 150°C (300°F) oven for 3 minutes.
Zero Waste If you have a small bit of leftover dough, shape it into a tiny coin and bake it. These "micro cookies" are a great snack to enjoy while the larger batch cools.
Serving Your Treats
While these are straightforward to make, a couple of minor tweaks give them a charming, rustic feel.
To achieve a bakery style finish, push some additional chocolate morsels into the surface of each cookie just before baking. This prevents the chips from sinking and keeps them visible on top.
Serve these alongside chilled milk or a bold cup of black coffee. The sharp notes of the brew provide a wonderful contrast to the rich, buttery sweetness of the Crispy Chocolate Chip Cookies.
Trying New Twists
After mastering the basic recipe, feel free to experiment with add-ins. The rich, buttery foundation pairs perfectly with various flavors.
For a Nutty Crunch Include 50g of toasted walnuts or pecans. Be sure to toast them in a skillet for 3 minutes first to release their aromatic oils.
For a Darker Flavor Profile Replace the semi sweet chips with 70% dark chocolate chunks. This adds a sophisticated bitterness that makes the cookies taste more like a treat for adults and less like a candy bar.
Different Styles If you're looking for a different vibe, try my Chocolate Crinkle Cookies for a fudgy texture, or perhaps some Peanut Butter Cookies if you prefer a thicker, saltier snack.
For gluten-free Needs Opt for a reliable 1:1 gluten-free flour blend. Note that these may not spread as much, so you might need to give them a light press with your palm before baking.
Decision Shortcut
- For a thinner snap: increase white sugar by 10g.
- For a deeper brown: bake for 14 minutes instead of 12.
- For more spread: let butter soften to 70°F/21°C.
And that is how you get these Crispy Chocolate Chip Cookies just right. You don't need specialized equipment or an overnight chill just a few simple adjustments and a close eye on the timer. Trust me, once you experience that first shattering bite, you'll forget all about those cakey, store-bought versions.
Enjoy!
Recipe FAQs
What ingredient creates the snap?
The higher ratio of granulated white sugar helps the cookies become crisp.
Tip: avoid adding extra flour, as it can make them cakey.
How to achieve a deep golden color?
Bake for 12 15 minutes until the edges are deep golden brown.
Tip: leave the centers slightly soft to avoid over drying.
Where should these be stored for maximum crunch?
Keep them in a glass jar or a metal tin with a tight lid.
Tip: steer clear of plastic bags which trap humidity.
Is it true that brown sugar makes cookies crispy?
False. White sugar creates the snap, while brown sugar adds chewiness.
Tip: use light brown sugar for a more delicate flavor.
Can white chocolate chips be substituted?
Use white chocolate chips for a sweeter, creamier taste.
Tip: if you enjoyed this buttery base, try our crumbly biscuits for another texture.
Why do these cookies spread more than soft ones?
Beating the butter and sugars for 3 minutes creates the necessary aeration and spread.
Tip: ensure your butter is exactly 65°F for consistent results.
Which mixing method prevents a cakey texture?
Mix on low speed just until the white streaks of flour disappear.
Tip: stop mixing immediately to avoid overworking the dough.
Do cookies require immediate transfer to a rack to remain crisp?
Not true. Let them cool on the baking sheet for 5 minutes to firm up.
Tip: this prevents the cookies from breaking while they are still hot.
Crispy Chocolate Chip Cookies