Cut out Sugar Cookie Recipe
- Time: Active 30 mins, Passive 2 hours, Total 2 hours 30 mins
- Flavor/Texture Hook: Shatter crisp edges with a tender, velvety center
- Perfect for: Holiday gifting, artisanal dessert platters, and beginner decorators
- The Secret Cut Out Sugar Cookie Recipe
- Science of Sharp Edges
- Core Ratios and Numbers
- Curating Your Pantry Elements
- Necessary Baking Equipment
- The Detailed Baking Process
- Fixing Common Dough Issues
- Recipe Variations and Swaps
- Storage and Waste Tips
- Three Elegant Plating Styles
- Recipe FAQs
- 📝 Recipe Card
The Secret Cut Out Sugar Cookie Recipe
Right then, let's talk about the heartbreak of the "blob" cookie. You know the one. You spend an hour meticulously cutting out perfect stars or intricate snowflakes, only for them to emerge from the oven looking like sad, puffy clouds. It's frustrating, and honestly, I've been there more times than I care to admit.
I used to think it was my oven or just bad luck, but it turns out it was all about the structural integrity of the dough.
This specific cut out sugar cookie recipe is the result of my obsession with finding a dough that behaves itself. We want a cookie that doesn't just look good, but actually tastes like high end pastry. It shouldn't be a chore to eat.
By balancing the fats and sugars just right, we get a biscuit that has enough "snap" to be satisfying but stays soft enough that it doesn't break a tooth.
We've all tried those recipes that claim to be "no chill," and frankly, they usually result in a greasy mess. This method respects the physics of butter. We’re going to use artisanal techniques - like the flash freeze - to ensure that what goes into the oven comes out with the exact same dimensions.
Trust me on this, once you see those sharp, geometric edges, you’ll never go back to the basic versions.
Science of Sharp Edges
The success of a cut out sugar cookie recipe relies on controlling the way fats and proteins react under heat.
- Lipid Solidification: Chilling the dough ensures butter stays solid longer in the oven, preventing the starch structure from collapsing and spreading.
- Protein Denaturation: Using a specific ratio of flour to moisture creates a gluten network strong enough to hold shape but weak enough to remain tender.
- Leavening Limitation: Minimal baking powder provides just enough lift to lighten the crumb without creating the gas bubbles that cause distorted edges.
Method Comparison for Shapes
| Method | Time Investment | Edge Sharpness | Best Use Case |
|---|---|---|---|
| Room Temp Dough | 10 minutes | Poor (High Spread) | Drop cookies only |
| Traditional Chill | 2 hours | Good (Clean) | Basic circles/hearts |
| The Flash Freeze | 15 minutes | Superior (Sharp) | Intricate 3D shapes |
The "Flash Freeze" is my favorite shortcut because it bypasses the long wait times of traditional chilling while providing even better results for detail heavy cutters. You simply pop the cut shapes into the freezer for a few minutes before they hit the heat.
This creates a temperature shock that sets the exterior of the cookie before the fat in the center has a chance to fully liquefy and run. It’s the same logic behind why we keep pie crust cold, and it works wonders here for maintaining those crisp corners.
Core Ratios and Numbers
When we talk about artisanal baking, precision is our best friend. This isn't like making a rustic stew where a "handful" of this or that works. For a cut out sugar cookie recipe to be consistent, we need to respect the weights. If you have a kitchen scale, use it.
If not, make sure you're spooning your flour into the measuring cup rather than dipping the cup directly into the bag, which packs it down and makes the cookies dry.
| Component | Science Role | Pro Secret |
|---|---|---|
| Unsalted Butter | Provides "short" texture | Use cool butter (65°F) to trap air during creaming |
| Granulated Sugar | Crystallizes for snap | Sift with flour to ensure a velvety, even crumb |
| Light Corn Syrup | Humectant (in glaze) | Prevents the icing from cracking when bitten |
The ratio of 375g flour to 225g butter is the "golden zone" for cut outs. It provides enough flour to create a stable dough that can be handled and re rolled, but enough fat to ensure the flavor is rich. Much like the technique used in the Classic Soft recipe, we're aiming for a specific moisture balance that keeps the dough pliable without becoming sticky.
Curating Your Pantry Elements
To get that rustic, high end flavor, we need to be picky about our ingredients. Don't settle for the cheapest vanilla you can find. A pure extract makes a world of difference when the ingredient list is this short.
- 225g (1 cup) Unsalted Butter: Slightly cool to the touch. Why this? Allows for stable air pocket formation during creaming.
- 200g (1 cup) Granulated Sugar: Standard white sugar. Why this? Provides the classic "snap" and clean sweetness.
- 1 large Egg: Room temperature. Why this? Emulsifies better with the fat for a smoother dough.
- 1.5 tsp Pure Vanilla Extract: Use the good stuff.
- 1/2 tsp Almond Extract: The "secret" flavor. Why this? Adds a professional, floral depth that mimics wedding cake.
- 375g (3 cups) All purpose Flour: Spooned and leveled.
- 3/4 tsp Baking Powder: For a tiny bit of lift.
- 1/2 tsp Fine Sea Salt: To balance the sugar.
- 250g (2 cups) Powdered Sugar: Sifted for the glaze.
- 2 tbsp Whole Milk: To thin the icing.
- 1 tbsp Light Corn Syrup: For the shine.
- 1/2 tsp Vanilla Extract: For the glaze flavor.
If you happen to run out of the finishing sugar, you can always use a How To Make recipe to whip up a fresh batch in your blender. It's a lifesaver when you're halfway through decorating and realize the pantry is bare.
Necessary Baking Equipment
You don't need a high tech lab, but a few specific tools will make this cut out sugar cookie recipe much easier to manage. I highly recommend using a stand mixer such as a KitchenAid, as the dough becomes quite heavy and can be a real workout for a hand mixer.
- Heavy Baking Sheets: Use light colored aluminum. Dark pans absorb too much heat and will scorch the bottoms of your cookies before the centers are done.
- Parchment Paper: Never grease your pans for sugar cookies. It encourages spreading. Parchment provides a "grip" for the dough.
- Rolling Pin with Rings: If you struggle with uneven thickness, use a pin with adjustable thickness rings. 1/4 inch is the sweet spot for these.
- Fine Mesh Sieve: Essential for sifting your flour and powdered sugar to avoid lumps.
The Detailed Baking Process
Phase 1: Creaming Method
In your stand mixer, beat the 225g of butter and 200g of sugar together for about 2 minutes. We aren't looking for "fluffy" like a cake, but rather a pale, smooth paste. Over creaming incorporates too much air, which causes the cookies to puff and then deflate in the oven, ruining your smooth surface.
Add the egg, vanilla, and almond extract, mixing until the streaks of yellow disappear and the aroma is floral and sweet.
Phase 2: Incorporating the Dry Goods
Whisk the 375g flour, baking powder, and salt in a separate bowl. Turn your mixer to the lowest setting and slowly add the flour. Stop mixing the moment you no longer see white patches of flour.Note: Overworking the dough at this stage develops gluten, which leads to a tough, bready cookie rather than a tender one.
Phase 3: The Rolling and Chilling
Divide the dough in half. Place one half on a sheet of parchment paper, top with another sheet, and roll it out to 1/4 inch thickness immediately. Note: It is much easier to roll dough while it is soft than after it has been chilled into a rock. Stack the rolled sheets on a tray and refrigerate for at least 1 hour 30 mins.
Phase 4: Precision Cutting and The Flash Freeze
Peel back the top parchment. Use your cutters to stamp out shapes, pressing straight down without twisting. Note: Twisting the cutter can distort the edges. Place the cut shapes on a fresh parchment lined baking sheet.
Pop the whole tray into the freezer for 15 minutes until the dough feels firm like a piece of plastic.
Phase 5: The Bake
Preheat your oven to 350°F. Bake for 8 to 11 minutes. You are looking for the edges to be set and the bottoms to be a very pale gold, while the tops remain matte and ivory. They will look slightly underdone, but carryover heat will finish the job on the pan.
Let them cool completely before you even think about the glaze.
Fixing Common Dough Issues
Preventing Dough Crumbles
If your dough is falling apart as you try to roll it, it's likely too cold or too dry. If you measured your flour by dipping the cup, you probably have too much starch in the mix. To fix this, let the dough sit at room temperature for 10 minutes, then knead it gently with a teaspoon of room temperature milk.
Avoiding Sticky Rolling Surfaces
Sometimes, despite our best efforts, the dough becomes a sticky mess. This usually happens if the butter has gotten too warm. Don't add more flour! That will just make the cookies dry. Instead, sandwich the dough between two pieces of parchment paper and slide it back into the fridge for 20 minutes.
Cold dough is easy dough.
| Problem | Root Cause | Solution |
|---|---|---|
| Puffy Surfaces | Over creaming the butter | Tap the pan on the counter halfway through baking |
| Burnt Bottoms | Using dark metal pans | Double stack your baking sheets for insulation |
| Blurred Edges | Dough was too warm | Use the "Flash Freeze" technique before baking |
Common Mistakes Checklist:
- ✓ Always use room temperature eggs to ensure proper emulsification with the butter.
- ✓ Never skip the chilling steps - temperature control is 90% of the battle.
- ✓ Avoid over flouring your work surface; use parchment paper instead.
- ✓ Rotate your pans halfway through the bake to ensure even coloring.
- ✓ Let the cookies cool on the baking sheet for 5 minutes before moving to a rack.
Recipe Variations and Swaps
The beauty of this cut out sugar cookie recipe is its versatility. While the almond and vanilla combo is my personal favorite (it gives it that "bakery smell"), you can easily pivot based on the season or your dietary needs.
| Original Ingredient | Substitute | Why It Works |
|---|---|---|
| All purpose Flour | 1:1 gluten-free Blend | Rice flour blends mimic wheat structure well. Note: Dough may be more fragile. |
| Almond Extract | Fresh Lemon Zest | Adds a bright, Mediterranean citrus note without altering moisture. |
| Granulated Sugar | Vanilla Bean Sugar | Deepens the flavor profile with visible artisanal flecks. |
If you want to make a chocolate version, replace 50g of the flour with high-quality Dutch processed cocoa powder. This keeps the fat to dry ratio stable while providing a deep, dusky color that looks incredible with white royal icing.
Storage and Waste Tips
Storage: These cookies are sturdier than they look. Once the glaze is completely dry (usually takes about 4 hours), you can stack them in an airtight container for up to 5 days at room temperature. For longer storage, they freeze beautifully for up to 3 months.
Just thaw them at room temperature for an hour before serving.
Zero Waste: Don't throw away those odd shaped scraps after your final roll! I like to gather all the leftover bits, sprinkle them with a little cinnamon sugar, and bake them as "chef's snacks." Alternatively, you can crumble the baked scraps and use them as a rustic topping for a Crockpot Applesauce recipe or fold them into homemade vanilla bean ice cream.
Three Elegant Plating Styles
Presentation is where your artisanal skills really shine. You can take the same cut out sugar cookie recipe and make it look like it came from three different levels of kitchen.
Simple Plating
Arrange the unadorned cookies on a wooden board with a small bowl of the vanilla glaze on the side. This "deconstructed" look is great for casual gatherings and highlights the rustic quality of the bake itself.
Polished Plating
Dip the tops of the cookies directly into the glaze, letting the excess drip off for a smooth, matte finish. Once set, use a contrasting color of icing to pipe a single, thin border around the edge. It’s clean, precise, and looks intentional.
Restaurant Plating
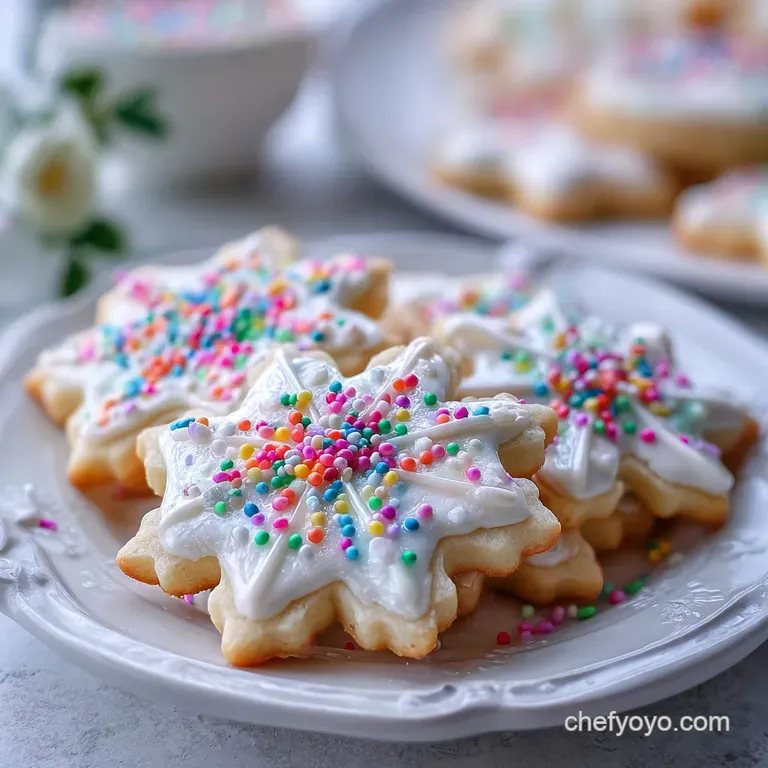
Using a "wet on-wet" technique, flood the cookie with white glaze and immediately drop tiny dots of pink or green icing into it. Use a toothpick to drag through the dots, creating a marbled, artisanal effect. Serve two cookies overlapping on a dark slate plate with a single edible flower for a high end finish.
| Style | Difficulty | Focus |
|---|---|---|
| Simple | Low | Texture and raw flavor |
| Polished | Medium | Symmetry and clean lines |
| Restaurant | High | Color theory and artistic flair |
Right then, that’s everything I’ve learned from years of "blob" cookies and flat stars. Keep your butter cool, your measurements precise, and your oven steady. You’ve got this! Let me know how the first batch turns out especially if you try that almond extract trick.
It really is the secret to making people think you’ve been to pastry school. Happy baking!

Recipe FAQs
What is the trick to cut out cookies?
Chill the dough thoroughly and use the flash freeze technique. Chilling prevents spread by keeping the butter solid longer in the oven, and a quick freeze just before baking sets the edges for sharp definition, similar to the temperature control needed for How to Make Soft and Chewy Otis Spunkmeyer Cookie Dough at Home.
How to make sugar cookie mix into cut out?
Chill the prepared dough until very firm before rolling. Mix the sugar cookie dough according to package directions, then flatten it into a disc, wrap tightly, and refrigerate for at least 2 hours until it's stiff enough to handle without sticking.
Should you refrigerate cut out sugar cookies before baking?
Yes, absolutely. Refrigerating or even freezing the cut out shapes for at least 15 minutes before baking helps them hold their shape and prevents spreading, ensuring sharp, clean edges.
What is the best thickness for cut out sugar cookies?
1/4 inch is ideal. This thickness provides a good balance between a tender cookie and one sturdy enough to hold intricate cut-out shapes and decorations without becoming too brittle.
Why do my cut out cookies spread so much?
Your dough was likely too warm or lacked sufficient chilling. For sharp edges, ensure your butter is cool and the dough is thoroughly chilled before rolling and cutting, then briefly freeze the cut shapes before baking.
Can I re-roll cut out cookie dough scraps?
Yes, but chill them again before cutting. Gently gather the scraps, form them into a disc, and chill thoroughly until firm before re-rolling to prevent excessive spreading.
How do I get crisp edges on my sugar cookies?
Use a properly chilled dough and the flash freeze method. The cold dough solidifies the butter, and the pre-bake freeze further sets the edges, allowing them to bake crisp without the center overcooking, much like the technique for achieving crisp textures in Chefs Secret How to Make Crispy Roasted Pumpkin Seeds Every Time.
Cut Out Sugar Cookies

Ingredients:
Instructions:
Nutrition Facts:
| Calories | 204 kcal |
|---|---|
| Protein | 1.8 g |
| Fat | 7.8 g |
| Carbs | 31.5 g |
| Fiber | 0.4 g |
| Sugar | 19.6 g |
| Sodium | 63 mg |
