Garlic Aioli: Creamy and Savory
- Time:5 minutes prep + 3 minutes garlic blooming = 8 minutes total
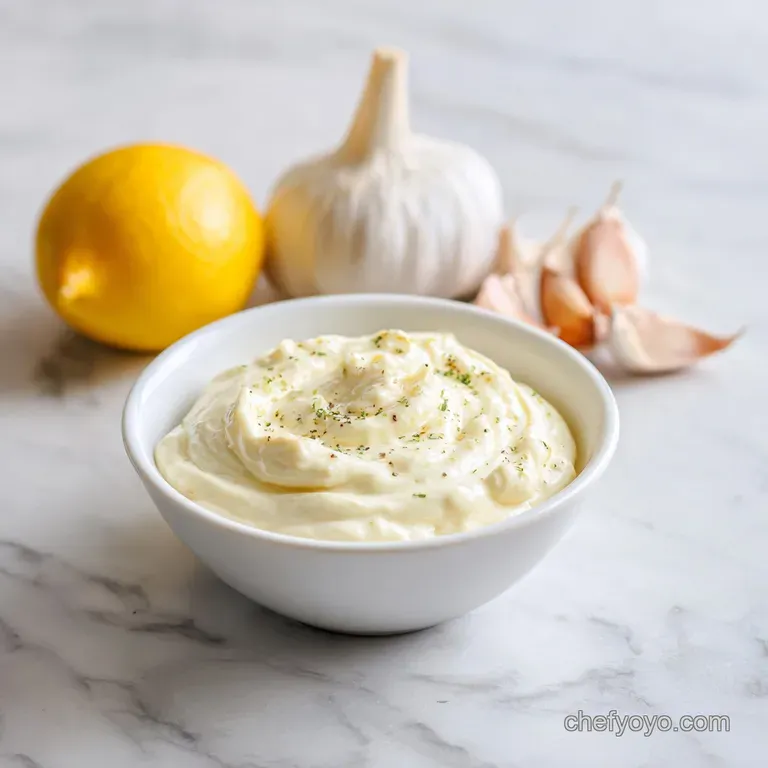
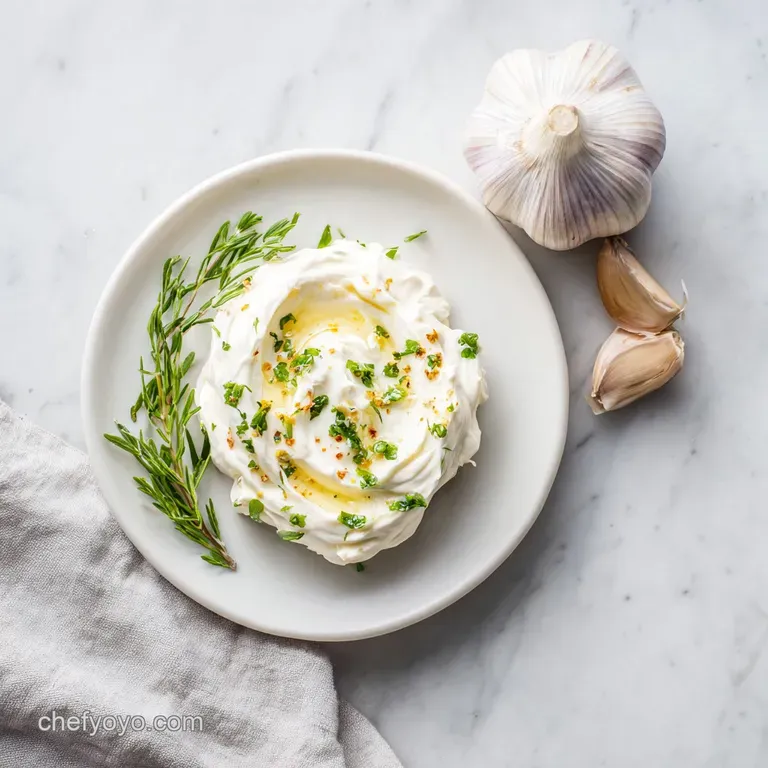
- Flavor/Texture Hook: Velvety, rich gold sauce with a gentle garlic hum
- Perfect for: Dipping crispy potatoes, spreading on artisanal sandwiches, or dressing grilled vegetables
- How to Nail the Garlic Aioli Recipe
- Specs for This Recipe
- Why This Emulsion Works
- Detailed Component Analysis
- Essential Elements for Success
- Gear for Better Results
- Your Step-by-Step Guide
- Fixes for Common Problems
- Scaling the Quantity Up
- Debunking Kitchen Rumors
- Preserving and Zero Waste
- Serving and Pairings
- Recipe FAQs
- 📝 Recipe Card
How to Nail the Garlic Aioli Recipe
The air in my kitchen always changes when I start smashing garlic cloves. There is that sharp, stinging aroma that hits the back of your throat, followed by the sticky, resinous feel of the juices on your fingertips. It is a rustic, sensory start to what I think is the most versatile sauce in a home cook's repertoire.
I used to think all aioli was just fancy mayonnaise, but then I spent a summer in a tiny kitchen where I was taught the importance of the "bloom."
We are going for a texture that is dense enough to hold its shape on a spoon but silky enough to coat a hot, salty fry. Most people rush the process, throwing everything into a bowl and hoping for the best, but the secret to a wholesome, artisanal result is patience during those first few minutes.
This isn't about professional gadgets; it's about watching the oil transform from a liquid puddle into a thick, opaque gold. It is a quiet, satisfying bit of kitchen magic that happens right before your eyes.
Specs for This Recipe
Understanding the blueprint of a recipe helps you plan your movements in the kitchen. When we talk about a homemade garlic aioli recipe, we are looking at a high fat, high flavor condiment that rewards precision over speed.
| Metric | Detail |
|---|---|
| Yield | 8 servings |
| Active Prep | 5 minutes |
| Resting Time | 3 minutes |
| Total Time | 8 minutes |
| Difficulty | Beginner to Intermediate |
Why This Emulsion Works
Success in the kitchen often comes down to understanding how ingredients talk to each other. For this specific sauce, it isn't just about mixing; it's about the structural integrity of the fat and the chemical behavior of the garlic.
- Enzymatic Mellowing: Letting the garlic sit in lemon juice for three minutes neutralizes the allicin, the compound responsible for that harsh, lingering "burn" often found in raw garlic sauces.
- Lecithin Bonding: The egg yolk acts as a natural bridge, with one end grabbing onto water based lemon juice and the other end anchoring the oil droplets so they don't slide apart.
- Viscosity Control: Starting with room temperature ingredients ensures the fats don't seize, allowing for a much smoother, velvety finish that won't break as easily.
- The Mustard Anchor: Dijon isn't just for flavor; it contains mucilage which adds a second layer of stability to the emulsion, making it much more forgiving for beginners.
| Method | Time | Texture | Best For |
|---|---|---|---|
| Whisk by Hand | 10 minutes | Thick, rustic, heavy | Traditional dipping, spreading |
| Immersion Blender | 2 minutes | Light, airy, whipped | Large batches, salad dressings |
| Mortar & Pestle | 15 minutes | Dense, concentrated | Authentic Mediterranean vibe |
The choice of method depends entirely on how much of a workout you want. If I am making a small batch for a quiet dinner, I love the rhythmic sound of a whisk against a glass bowl. For a big Sunday roast with friends, I reach for the immersion blender every single time to save my arm from the fatigue.
Detailed Component Analysis
Before we get to the steps, let's look at why we chose these specific items. A wholesome recipe is only as good as the raw materials you start with.
| Ingredient | Science Role | Pro Secret |
|---|---|---|
| Egg Yolk | Primary Emulsifier | Use a room temperature yolk; a cold yolk won't bond with the oil as quickly. |
| Neutral Oil | Bulk & Texture | Use avocado or grapeseed oil to provide the body without overpowering the garlic. |
| Fresh Garlic | Flavor Foundation | Remove the "germ" (the green sprout) inside the clove to prevent a bitter aftertaste. |
| Lemon Juice | Acid & Stability | Freshly squeezed juice provides the bright "lift" that cuts through the heavy fat. |
Essential Elements for Success
- 1 large egg yolk: Ensure this is at room temperature to allow the proteins to stretch and bond.
- 2 tsp Dijon mustard: Why this? Acts as a stabilizer to prevent the sauce from separating into an oily mess.
- 0.75 cup neutral oil: Grapeseed or avocado oils are best as they let the garlic shine.
- 0.25 cup extra virgin olive oil: Why this? Added at the end for its fruity, artisanal aroma and peppery finish.
- 4 cloves fresh garlic: Use firm, plump cloves without any soft spots or bruising.
- 1.5 tbsp freshly squeezed lemon juice: Why this? The acid breaks down the garlic's pungency while providing necessary liquid for the emulsion.
- 0.5 tsp sea salt: Enhances the savory notes and helps break down the garlic fibers.
- 0.25 tsp black pepper: Adds a subtle warmth and visual interest to the pale sauce.
Gear for Better Results
You don't need a professional kitchen, but having the right bowl and whisk makes the process much more enjoyable. A heavy bottomed glass bowl is my favorite because it stays put on the counter while I am whisking with one hand and drizzling with the other.
If you find your bowl sliding around, here is a trick: dampen a kitchen towel, twist it into a ring, and set your bowl inside it. This creates a stable "nest" that holds the bowl steady, leaving your hands free to focus on that slow, steady drizzle of oil.
You will also want a microplane or a very fine grater for the garlic. We want a paste, not chunks, so the flavor distributes evenly throughout every spoonful.
Your step-by-step Guide
- Grate the garlic cloves. Use a microplane to turn the 4 cloves into a fine paste. Note: This increases surface area, allowing the lemon juice to work its magic more effectively.
- Bloom the garlic. Combine the garlic paste and 1.5 tbsp lemon juice in your bowl. Let it sit for 3 minutes until the sharp scent turns slightly sweet.
- Add stabilizers. Whisk in the room temperature egg yolk and 2 tsp Dijon mustard. Note: Whisk until the mixture is uniform and slightly frothy.
- Begin the emulsion. Slowly drizzle in the 0.75 cup neutral oil, literally one teaspoon at a time. Whisk vigorously until the mixture thickens and turns pale.
- Establish the base. Once about a quarter of the oil is in and the sauce looks stable, you can increase the drizzle to a very thin, steady stream.
- Incorporate the olive oil. Switch to the 0.25 cup extra virgin olive oil, pouring slowly while continuing to whisk. Note: Adding this late prevents the oil from becoming bitter due to over agitation.
- Season the sauce. Fold in 0.5 tsp sea salt and 0.25 tsp black pepper. Note: Taste as you go; the salt should make the garlic "pop" without being overwhelming.
- Check the consistency. The aioli should be thick enough to hold a peak. If it feels too stiff, whisk in a few drops of warm water.
- Final rest. Let the sauce sit for 5 minutes at room temperature before serving until the flavors have fully married.
Fixes for Common Problems
We have all been there you are whisking away, and suddenly the sauce looks like curdled milk or a pool of yellow grease. Don't panic and throw it out. Most mistakes with a garlic aioli recipe are reversible if you know the mechanics of what went wrong.
Why Your Aioli Broke
If the oil was added too fast, the emulsion collapses. To fix this, put a fresh egg yolk in a clean bowl. Slowly whisk your broken, oily mixture into the new yolk, one teaspoon at a time. The new yolk will act as a fresh anchor, pulling the old mixture back into a velvety state.
Why the Taste is Too Bitter
This usually happens if you use a high powered blender with extra virgin olive oil. The blades can actually break the tiny fat molecules in the olive oil, releasing bitter polyphenols.
I always recommend using a neutral oil for the bulk of the recipe and whisking the olive oil in by hand at the very end to keep that rustic, wholesome flavor intact.
| Problem | Root Cause | Solution |
|---|---|---|
| Runny Sauce | Oil added too quickly | Whisk in a fresh yolk or a teaspoon of boiling water. |
| Biting Heat | Garlic didn't bloom | Let it sit in more lemon juice or add a pinch of sugar. |
| Greasy Mouthfeel | Poor emulsification | Increase whisking speed and slow down the oil drizzle. |
If you enjoy making creamy bases from scratch, you might also find success with my Authentic Alfredo Sauce, which uses similar principles of fat based emulsification to achieve that signature silkiness.
Common Mistakes Checklist
- ✓ Using cold eggs directly from the fridge (they won't emulsify properly).
- ✓ Skipping the 3 minute "bloom" time for the garlic (leads to a harsh, burning flavor).
- ✓ Adding oil in large glugs instead of a thin, steady stream.
- ✓ Over blending the extra virgin olive oil (creates a metallic, bitter taste).
- ✓ Using old, sprouting garlic that has turned green in the center.
Scaling the Quantity Up
If you are hosting a large gathering, doubling this recipe is straightforward, but you should be mindful of the physical effort involved if whisking by hand. When doubling, the volume of oil can become quite heavy.
For a 2x batch, I suggest using 3 egg yolks instead of 2. This provides a "buffer" of extra emulsifiers that makes the larger volume of oil much easier to incorporate. You don't necessarily need to double the garlic; 6-7 cloves are usually plenty for a double batch to keep the balance right.
If you are scaling down to just a small portion, be careful with the lemon juice it can quickly overwhelm the smaller volume of oil and make the sauce too acidic.
Debunking Kitchen Rumors
One of the biggest myths is that "real" aioli must contain egg. Historically, in parts of Spain and France, an authentic garlic aioli recipe was nothing more than garlic and oil pounded in a mortar and pestle. However, that version is incredibly temperamental and difficult to master.
Adding the egg yolk and mustard is the artisanal evolution that makes this sauce accessible and reliable for the home cook without sacrificing the rustic soul of the dish.
Another rumor is that you can't use a food processor. You absolutely can, provided you are making a large enough batch. If the blades are spinning above the level of the egg yolk, the emulsion will never start.
For the small quantities used in this specific recipe, a hand whisk or an immersion blender in a narrow jar is much more effective.
Preserving and Zero Waste
Since this recipe uses raw egg yolk, storage is something to take seriously. Keep your aioli in a clean glass jar with a tight fitting lid. It will stay fresh in the fridge for up to 3 days.
I don't recommend freezing it, as the emulsion will almost certainly break during the thawing process, leaving you with a watery, oily mess.
For a zero waste approach, don't toss those garlic skins! I keep a bag in my freezer for all my veggie scraps. Those skins add a wonderful earthy aroma to homemade stocks and broths.
Also, if you find yourself with leftover lemon halves, toss them into a jar of water in the fridge to make a quick citrus cleaner for your wooden cutting boards once you are done with the garlic prep.
Serving and Pairings
This sauce is a chameleon. It is the perfect partner for a Garlic Butter Recipe spread on crusty bread, where the creamy aioli contrasts with the herb infused butter. I love serving a big dollop alongside roasted artichokes or using it as a base for a gourmet turkey sandwich with arugula and sundried tomatoes.
If you want a creative twist, try stirring in a teaspoon of smoked paprika for a Spanish "bravas" style sauce, or fold in some finely chopped fresh herbs like chives or tarragon for a brighter, more floral profile. The wholesome nature of this sauce means it complements almost any savory dish, elevating the simple into something that feels truly artisanal. For a more intensive garlic experience, you could even mix it with the drippings from a Bavette Steak to create a hybrid pan sauce that will have everyone asking for the recipe.

Recipe FAQs
What is garlic aioli made of?
This sauce consists of a simple, high-quality base. It uses a large egg yolk, Dijon mustard, neutral oil, extra virgin olive oil, fresh garlic, lemon juice, sea salt, and black pepper.
What is the secret to good aioli?
The secret is blooming the garlic. Letting the finely grated garlic sit in lemon juice for 3 minutes before adding other ingredients removes the harsh, biting raw edge, creating a mellow and savory profile.
What is a fancy name for mayonnaise?
Aioli is often mistaken for just a fancy name for mayonnaise. While they share a similar base, authentic aioli relies on the garlic bloom and specific oil ratios to create a distinct, pungent flavor profile compared to standard store-bought condiments.
Can you just add garlic to mayo to make aioli?
No, this is a common misconception. Simply stirring garlic into pre-made mayonnaise will result in a harsh, raw garlic flavor; building the emulsion from scratch with the blooming technique is what defines a true, balanced aioli.
How to fix an aioli that has separated or failed to thicken?
Whisk a fresh egg yolk into a clean bowl, then slowly add the broken mixture into the new yolk. If you enjoyed nailing the stable emulsion here, you can use that same patient, slow drizzle whisking method to create a velvety finish in other creamy preparations.
How to store leftover aioli?
Keep it in an airtight container in the refrigerator for up to 24 hours. Because this recipe uses a fresh egg yolk, it is best enjoyed shortly after preparation while the flavor is still bright and the texture is stable.
How to control the garlic intensity?
Adjust the number of garlic cloves used in the base. If you prefer a milder flavor, start with two cloves; if you enjoy a robust, pungent bite, use the full four cloves specified in the recipe.
Homemade Garlic Aioli
Ingredients:
Instructions:
Nutrition Facts:
| Calories | 251 kcal |
|---|---|
| Protein | 0.5 g |
| Fat | 27.8 g |
| Carbs | 0.8 g |
| Fiber | 0.1 g |
| Sugar | 0.2 g |
| Sodium | 158 mg |
