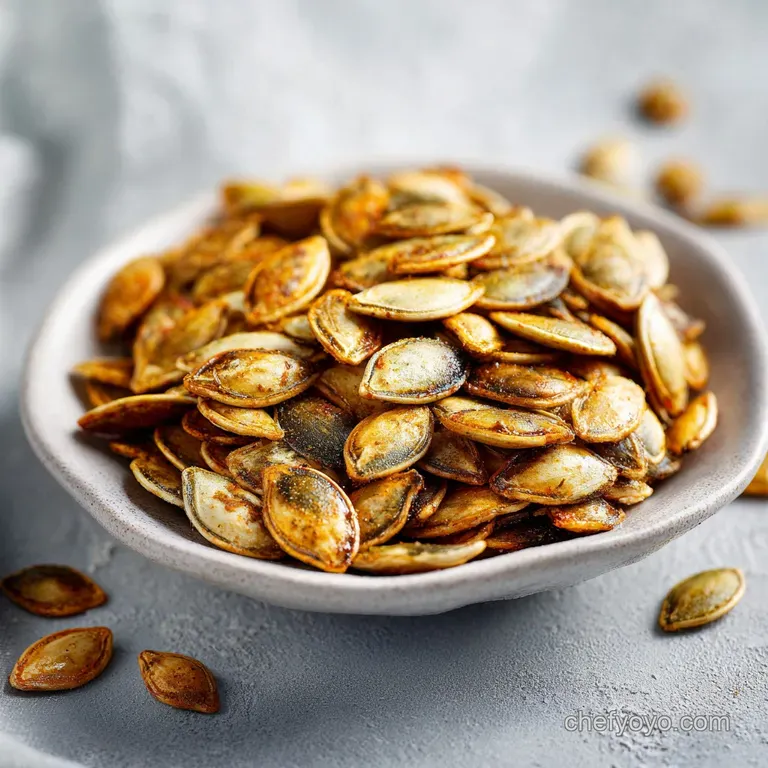
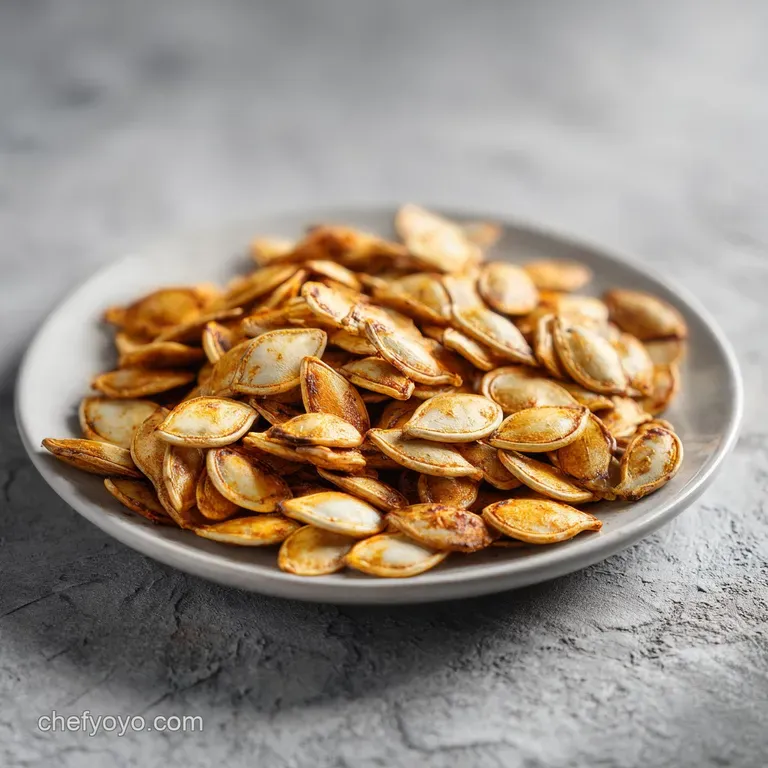
How to Roast Pumpkin Seeds: Crispy and Golden
- Learn How to Roast Pumpkin Seeds
- Why the Brining Process Works
- Simple Elements for Rustic Seeds
- Minimal Tools for Better Roasting
- Step-By-Step Path to Golden Seeds
- Avoiding Common Seed Roasting Mistakes
- Unique Spices for Your Seeds
- Storing Your Harvest for Freshness
- Delicious Ways to Serve Seeds
- Recipe FAQs
- 📝 Recipe Card
Learn How to Roast Pumpkin Seeds
Forget the myth that you can just scoop those gooey seeds from a jack o-lantern and toss them straight into a hot oven. I used to do exactly that, and honestly, the result was always a disaster. They would come out either chewy like cardboard or so hard they felt like chewing on actual wood chips.
It was frustrating because the rustic aroma filling the kitchen promised something wholesome, but the texture never delivered on that promise.
We have all been there, standing over a trash can with a handful of burnt husks, wondering where it went wrong. The truth is that most people skip the two most vital steps that transform a mediocre seed into a snack that will actually shatter with a satisfying crunch when you bite into it.
It is not about fancy equipment; it is about respecting the anatomy of the seed itself.
Right then, let's crack on with what actually works. You are about to learn a method that involves a simple simmer and a patient drying phase. This isn't just about making a snack; it's about making use of every part of the harvest.
Whether you are prepping for a cozy movie night or looking for a crunchy salad topper, this reliable approach ensures every seed is a golden, salty prize.
Why the Brining Process Works
Understanding the "why" behind the simmer is what changed my roasting game forever. Most seeds have a tough, fibrous outer shell that resists heat, while the tender kernel inside cooks much faster. Without a bit of help, the outside stays tough while the inside overcooks.
- Osmotic Seasoning: Simmering seeds in salt water allows the brine to penetrate the thick hull, seasoning the actual kernel inside rather than just the surface.
- Hull Softening: The boiling water breaks down the rigid cellulose in the pumpkin seed shell, ensuring it becomes brittle and crisp rather than chewy in the oven.
- Starch Gelatinization: Pre cooking the seeds starts the starch setting process, which leads to a more uniform "shatter" when the seeds are finally roasted.
| Servings | Seed Volume | Pan Size | Cook Time |
|---|---|---|---|
| 2 people | 1 cup seeds | 8x8 inch square pan | 20 minutes |
| 4 people | 2 cups seeds | 13x18 inch sheet pan | 25 minutes |
| 8 people | 4 cups seeds | Two 13x18 inch pans | 30 minutes |
Finding the right balance of heat and moisture is the key to that artisanal finish we all crave. By taking the time to simmer, you are ensuring that the internal moisture has a chance to escape evenly during the roast.
This prevents that dreaded "steamed" texture that happens when damp seeds are rushed into a over high heat environment.
| Component | Science Role | Pro Secret |
|---|---|---|
| Sea Salt | Protein Denaturation | Helps break down the tough outer fibers of the hull during the simmer. |
| Olive Oil | Thermal Conductivity | Provides a thin, even coat that transfers oven heat to every nook of the seed. |
| Smoked Paprika | Aromatic Volatiles | Releases earthy, wood fired notes as it toasts, mimicking a rustic outdoor fire. |
Simple Elements for Rustic Seeds
To get that perfect, wholesome snack, you only need a few high-quality staples from your pantry. I always recommend using a good sea salt because the mineral complexity adds a layer of flavor that standard table salt just cannot touch.
For the fat, a high-quality extra virgin olive oil provides a fruity, artisanal base that carries the spices beautifully.
- 2 cups raw pumpkin seeds: Harvested fresh from your pumpkin. Why this? Fresh seeds retain more natural oils than store-bought varieties.
- 4 cups water: For the brining step. Why this? Enough volume is needed to allow seeds to circulate freely while simmering.
- 2 tbsp sea salt: For the boiling water. Why this? This high concentration ensures the inner kernels get properly seasoned.
- 1.5 tbsp extra virgin olive oil: The roasting medium. Why this? Provides the fat needed to achieve a deep golden color and crispy hull.
- 0.5 tsp garlic powder: For savory depth. Why this? Powder sticks better than fresh garlic and won't burn at roasting temps.
- 0.25 tsp smoked paprika: For a rustic touch. Why this? Adds a beautiful mahogany hue and subtle smoky aroma.
- 0.25 tsp fine sea salt: For the final seasoning. Why this? Sticks to the oiled seeds for an immediate salty hit on the tongue.
| Original Ingredient | Substitute | Why It Works |
|---|---|---|
| Extra Virgin Olive Oil | Melted Ghee | Ghee has a higher smoke point and offers a rich, buttery, artisanal finish. |
| Smoked Paprika | Chipotle Powder | Adds a similar smoky profile but with a significantly higher spice kick. |
| Garlic Powder | Onion Powder | Provides a savory, earthy base but with a slightly sweeter flavor profile. |
If you find yourself with an abundance of autumn produce, you might consider how these savory seeds complement other seasonal treats. For instance, the crunch of these seeds is a fantastic textural contrast if you are also serving a creamy pumpkin pie at your next gathering.
Minimal Tools for Better Roasting
You don't need a kitchen full of gadgets to learn how to roast pumpkin seeds like a pro. In fact, sticking to a few reliable, basic tools actually makes the process smoother and the results more consistent.
I prefer using a heavy rimmed baking sheet because it prevents warping in the oven, which can lead to uneven roasting.
A simple colander is essential for that initial rinse. You want to get the bulk of the "pumpkin brains" off, but don't stress about every single orange string; those bits actually caramelize and add a sweet, rustic character to the final mix. A sturdy saucepan is your next best friend for the brining phase.
Chef's Tip: Use a clean kitchen towel instead of paper towels for the drying phase. Paper towels tend to pill and stick to the wet seeds, leaving you with a fuzzy mess that is nearly impossible to clean off.
Finally, parchment paper is a non negotiable for me. It prevents sticking and ensures that your spices stay on the seeds rather than glued to the bottom of the pan. Plus, it makes cleanup a breeze, which is a huge win when you’re busy with other kitchen projects.
step-by-step Path to Golden Seeds
- Clean and simmer: Pull the seeds from the pumpkin pulp and rinse in a colander. Place seeds in a saucepan with 4 cups of water and 2 tablespoons of sea salt. Bring to a boil, then simmer for 10 minutes until the seeds look slightly translucent. Note: This seasons the inside and softens the tough hull.
- Dry the seeds: Drain the seeds and spread them onto a clean kitchen towel. Pat dry and allow to air dry for at least 30 minutes until they no longer feel tacky. Note: Bone dry seeds are the only way to get a true shatter crisp texture.
- Season: In a medium bowl, toss the dry seeds with 1.5 tablespoons of olive oil, garlic powder, and smoked paprika until every seed is glistening and red.
- Preheat: Set your oven to 300°F (150°C). Note: A lower temperature prevents the delicate oils from smoking and the spices from scorching.
- Spread: Arrange seeds in a single layer on a parchment lined baking sheet. Note: Crowding the pan will cause the seeds to steam instead of roast.
- Roast: Bake for 20–30 minutes, tossing halfway through, until they turn a deep mahogany brown.
- Listen: Listen for a faint sizzle and popping sound near the end of the cook time; this indicates moisture is leaving the hull.
- Cool: Remove from the oven and let seeds cool completely on the tray until they are firm and brittle. Note: Seeds carry over heat and finish crisping as they reach room temperature.
Eating roasted pumpkin seeds provides fiber and is an excellent source of zinc from the shell and the nutrients phosphor, according to USDA data. This makes them more than just a tasty snack; they are a wholesome addition to your diet.
Avoiding Common Seed Roasting Mistakes
One of the biggest disasters I've faced is the "leathery seed" syndrome. This usually happens because I was too impatient and didn't let the seeds dry properly after the simmer. If there is water trapped on the surface, the oil won't stick, and the oven will just steam the seeds.
They might look brown, but they will be tough to chew.
Why Your Seeds Are Chewy
This almost always comes down to the drying phase. When seeds go into the oven wet, the heat has to work through the water before it can start crisping the hull. By the time the water evaporates, the internal kernel is often overcooked and bitter.
Give them at least 30 minutes on a towel, or even use a hair dryer on a cool setting if you're in a rush.
| Problem | Root Cause | Solution |
|---|---|---|
| Uneven Browning | Crowded Baking Sheet | Spread seeds in a single layer or use two pans to allow airflow. |
| Burnt Spices | Oven Temperature Too High | Reduce heat to 300°F and check seeds 5 minutes earlier than suggested. |
| Bitter Aftertaste | Over roasting | Remove seeds when they are mahogany brown, not black; they darken as they cool. |
Why Your Spices Won't Stick
If you find all your delicious garlic and paprika sitting at the bottom of the bowl instead of on the seeds, it's a sign they weren't dry enough. Oil and water don't mix, so any moisture on the hull acts as a barrier. Make sure the seeds are bone dry to the touch before adding the oil and spices.
- ✓ Pat seeds completely dry with a lint free towel (prevents steaming)
- ✓ Simmer for the full 10 minutes to season the inner kernel
- ✓ Use parchment paper to prevent seeds from sticking to the metal pan
- ✓ Let the seeds cool entirely on the baking sheet to reach maximum crispness
- ✓ Rotate the pan halfway through the bake to account for oven hot spots
If you are looking for a main course to follow this rustic snack, this dish pairs perfectly with a perfectly roasted beef dinner, bringing those warm, autumn aromas full circle.
Unique Spices for Your Seeds
While garlic and paprika are my go to rustic staples, you can easily scale or vary this recipe to suit your mood. If you want to double the batch for a party, just remember to use two separate baking sheets. Overcrowding is the enemy of the crunch.
For the spices, I usually stick to 1.5x the amount when doubling the seeds to ensure the flavor isn't overwhelming.
If you are scaling down to just one cup of seeds, reduce the roasting time by about 20% and keep a close eye on the oven. Smaller batches tend to brown much faster because there is more hot air circulating around a smaller mass.
- Sweet & Spicy: Swap the garlic and paprika for 1 tbsp of maple syrup and a pinch of cayenne pepper. Note: These will brown faster due to the sugar.
- The Everything Bagel: Use 1 tbsp of everything bagel seasoning after the oil toss for an artisanal, savory crunch.
- Zesty Herb: Use dried rosemary and lemon zest for a bright, wholesome flavor that feels very garden fresh.
| Method | Time | Texture | Best For |
|---|---|---|---|
| Standard Oven | 25 minutes | Uniformly brittle | Large batches and meal prep |
| Air Fryer | 12 minutes | Extra shatter crisp | Quick snacks for 1-2 people |
| Slow Roast | 45 minutes | Deeply toasted flavor | Thicker seeds with heavy hulls |
Storing Your Harvest for Freshness
To keep that hard earned shatter crisp texture, you must store your seeds correctly. Once they have cooled completely (and I mean completely—any residual warmth creates steam in a container), move them to a glass jar with a tight fitting lid.
They will stay fresh at room temperature for about 2 weeks, though they rarely last that long in my house.
If you want to keep them longer, you can actually freeze roasted pumpkin seeds for up to 3 months. Just pop them in a freezer bag and squeeze out as much air as possible. When you're ready to eat, a quick 5 minute toast in a 300°F oven will bring back that rustic, just roasted aroma and crunch.
For zero waste enthusiasts, don't toss the liquid from your simmer! If you use a lower salt concentration, that pumpkin infused water can be added to vegetable stocks for a subtle, earthy depth.
Any leftover pulp from the cleaning process can be composted or even blended into a garden grade fertilizer for next year's pumpkins.
Delicious Ways to Serve Seeds
These seeds are far more versatile than just a bowl on-the counter snack. One of my favorite ways to use them is as a wholesome garnish for autumn soups. A velvety butternut squash soup topped with a handful of these mahogany brown seeds adds a necessary textural "shatter" that makes the meal feel truly artisanal.
They also make a fantastic addition to a rustic salad. Think bitter greens like arugula, some sliced pears, and a generous sprinkle of these salty, smoky seeds. The fat from the olive oil on the seeds acts as a flavor bridge between the fruit and the greens.
Finally, don't overlook them as a topping for savory porridges or even yogurt. It might sound unusual, but that hit of garlic and smoke against a creamy base is surprisingly sophisticated. However you choose to serve them, the key is to ensure they stay dry and crisp right until the moment they hit the plate.
Whether you're making a small batch for yourself or scaling up for a neighborhood bonfire, the process remains the same. Focus on the simmer, respect the drying time, and keep the oven low. You'll never go back to those chewy, unseasoned seeds again.
Trust me, your taste buds and your jaw will thank you for the extra effort.

Recipe FAQs
How can I roast pumpkin seeds?
Simmer, dry, season, and roast. First, boil the seeds in salted water for 10 minutes to soften the hulls. After drying them for 30 minutes, toss with olive oil, garlic powder, and smoked paprika, then roast at 300°F for 20 30 minutes until mahogany brown.
Do pumpkin seeds help with anemia?
Yes, they are a source of iron. Pumpkin seeds provide a plant based boost of this essential mineral, making them a nutritious snack to incorporate into your diet alongside iron rich meals like our classic prime rib.
Do pumpkin seeds need to be completely dry before roasting?
Yes, ensuring the seeds are bone dry is essential. Any residual moisture will steam the seeds instead of roasting them, preventing that signature crispy texture.
Do pumpkin seeds help enlarged prostate?
Yes, research suggests they may support prostate health. Many practitioners recommend them as a dietary aid due to their specific phytonutrients and zinc content.
Is it true I can skip the simmering step if I'm in a rush?
No, this is a common misconception. Skipping the 10-minute boil prevents the seasoning from penetrating the hull and makes the final texture significantly tougher rather than crisp.
How to tell when the seeds are perfectly roasted?
Watch for a deep mahogany brown color and aromatic scent. You should toss them halfway through the 20 30 minute roasting time to ensure even browning and prevent scorching.
How to store seeds to keep them crunchy?
Cool them completely on the tray before moving them to an airtight glass jar. Any trapped warmth will create steam inside the container, which quickly ruins their crispness.
How To Roast Pumpkin Seeds

Ingredients:
Instructions:
Nutrition Facts:
| Calories | 358 calories |
|---|---|
| Protein | 13.2 g |
| Fat | 18.2 g |
| Carbs | 38.1 g |
| Fiber | 12.8 g |
| Sugar | 0.8 g |
| Sodium | 685 mg |
