Roasted Sweet Potato Pie Recipe
- Time: Active 20 minutes, Passive 1 hours 15 mins, Total 1 hours 35 mins
- Flavor/Texture Hook: Velvety spiced custard with a flaky, buttery crust
- Perfect for: Holiday gatherings or Sunday family dinners
- The Physics of the Custard Set
- Techniques for a Rustic Shattering Crust
- Component Analysis Deep Dive
- Quick Specs for Your Baking Session
- Wholesome Ingredients for the Perfect Filling
- Simple Tools for an Artisanal Finish
- Steps to a Velvety Smooth Filling
- Fixing Texture and Crust Issues Fast
- Swaps for Different Dietary Needs
- Searing and Boiling Myths
- Keeping Your Pie Fresh and Tasty
- Creative Ways to Present Your Slice
- Recipe FAQs
- 📝 Recipe Card
The first time I tried making a sweet potato pie, I followed a recipe that asked me to boil the potatoes. It was a disaster. The filling turned out watery and fibrous, a far cry from the velvety slices I remembered from my childhood.
I learned quickly that the secret isn't in the sugar, but in how you treat the vegetable itself. When you roast them whole in their skins, the natural sugars caramelize, and the moisture evaporates, leaving behind a concentrated, earthy sweetness that boiling simply washes away.
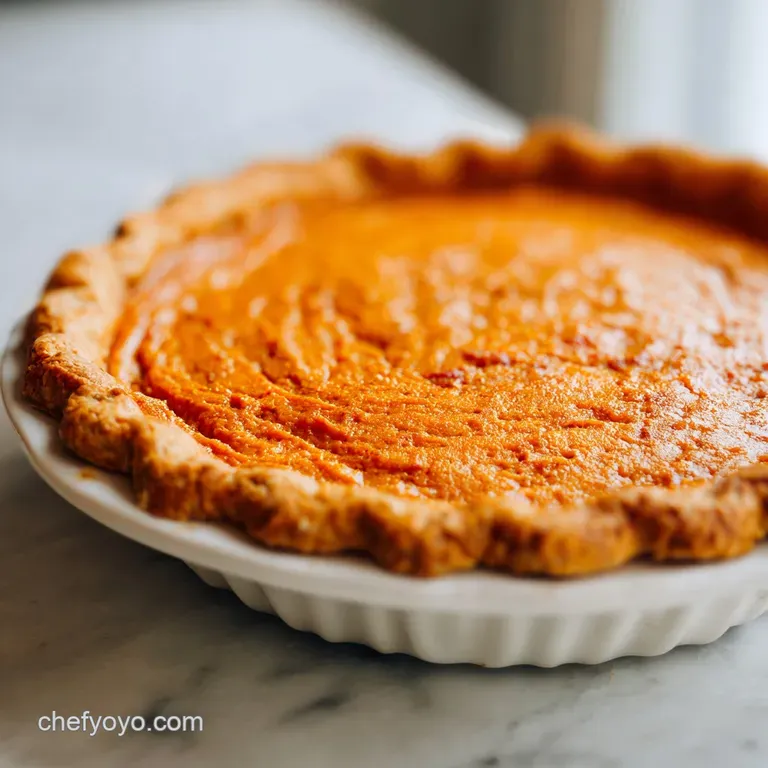
Now, whenever I pull a tray of roasted sweet potatoes out of the oven, the aroma alone tells me I’m on the right track. There's this specific smell a mix of toasted caramel and warm earth that fills the kitchen.
It's a wholesome scent that brings everyone to the table before the pie is even assembled. We're going for that rustic, artisanal feel here, where the crust has a visible crumb and the filling holds its shape with a gentle wobble.
You'll find that this method is actually easier for busy cooks. There's no peeling raw, rock hard potatoes or wrestling with a heavy pot of boiling water. We're keeping things simple, using minimal tools like a hand masher or a sturdy fork to keep the texture interesting.
This isn't about factory made precision; it's about making something that feels like home.
The Physics of the Custard Set
Protein Coagulation: The eggs and evaporated milk create a protein matrix that traps moisture as it heats. This ensures the filling transforms from a liquid slurry into a stable, velvety custard that slices cleanly without collapsing.
If you enjoy playing with different potato textures in your baking, you might find the technique in my How to Make recipe for Murasaki mash quite interesting, as it uses a similar focus on moisture control.
| Premium Ingredient | Budget Alternative | Flavor Impact | Savings |
|---|---|---|---|
| Pure Vanilla Extract | Vanillin Essence | Slightly less floral, more "baked" sugar scent | Save $5-8 |
| Grass fed Butter | Store brand Unsalted Butter | Less nutty richness but still very flaky | Save $3-4 |
| Fresh Nutmeg | Pre ground Nutmeg | Loses the sharp, woody "bite" of fresh spice | Save $2 |
Using store brand butter is a smart move if you're making multiple pies for a crowd. Just make sure it stays ice cold until it hits the flour. This keeps the fat from melting too early, which is what gives us those beautiful layers.
Techniques for a Rustic Shattering Crust
For the Shattering Crust
The key to a crust that offers a loud shatter when you bite into it is temperature. I always freeze my 0.5 cup (113g) of unsalted butter for about 10 minutes before grating it directly into the flour. This creates tiny "flavor pockets" of fat.
When the high heat of the oven hits these cold bits, the water in the butter turns to steam instantly, puffing up the dough into hundreds of microscopic layers.
To Maximize Natural Caramelization
Instead of just roasting the potatoes, try roasting them on a bed of coarse salt. It sounds odd, but the salt draws out even more moisture and prevents the bottoms from steaming. You'll end up with a 2 cups (450g) roasted sweet potato puree that is thick, dark, and intensely flavorful.
It’s a small extra step that makes a massive difference in the final depth of the pie.
Component Analysis Deep Dive
| Ingredient | Science Role | Pro Secret |
|---|---|---|
| Evaporated Milk (0.5 cup) | Provides fat and protein without excess water | Use full fat for the creamiest, most stable mouthfeel |
| Eggs (2 large) | Binds the puree into a sliceable custard | Room temperature eggs emulsify much faster into the sugar |
| Granulated Sugar (0.75 cup) | Hygroscopic properties keep the filling moist | Whisk with eggs first to ensure it fully dissolves |
Whisking the sugar and eggs together until they lighten slightly creates a more stable structure. This prevents the sugar from settling at the bottom, which can sometimes cause a sticky, gummy layer between the crust and the filling.
Quick Specs for Your Baking Session
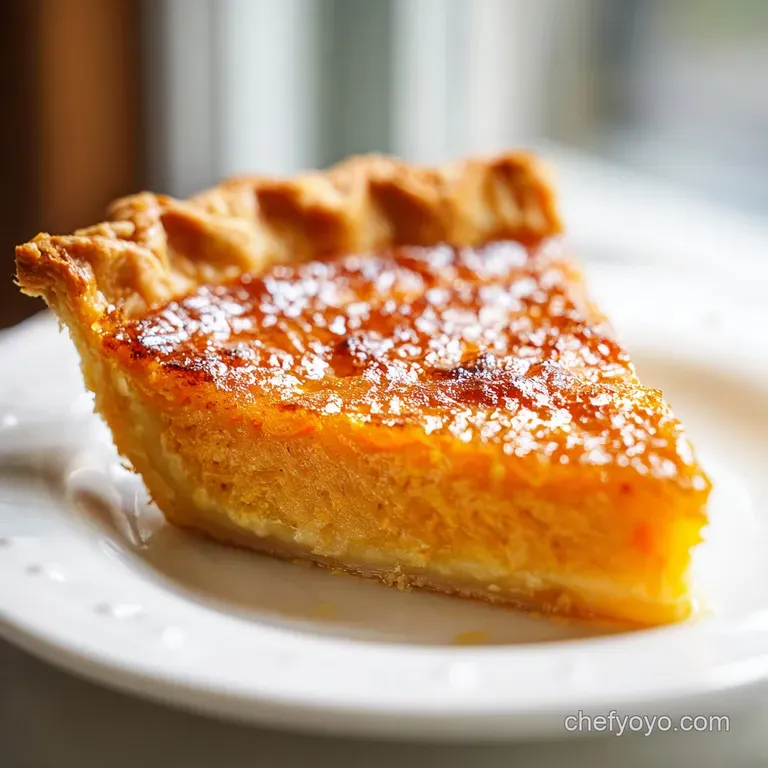
For this sweet potato pie recipe, we are looking for a few specific visual markers. Your oven should be preheated to 350°F (180°C). The total bake time is 1 hour 15 mins, but you need to start checking for "the jiggle" around the hour mark.
The center should move slightly like gelatin, but the edges should be puffed and set.
| Thickness | Internal Temp | Rest Time | Visual Cue |
|---|---|---|---|
| 1.5 inches | 175°F (80°C) | 2 hours | Domed edges, slight center jiggle |
Wholesome Ingredients for the Perfect Filling
- 1.5 cups (190g) All purpose flour Why this? Provides enough structure for a sturdy, flaky crust.
- 0.5 tsp (3g) Fine sea salt
- 0.5 cup (113g) Unsalted butter, frozen and cubed
- 4 tbsp (60ml) Ice water
- 2 cups (450g) Roasted sweet potato puree Why this? Roasting concentrates sugars better than boiling.
- 0.5 cup (113g) Unsalted butter, melted
- 0.75 cup (150g) Granulated sugar
- 0.5 cup (120ml) Evaporated milk
- 2 large Eggs, room temperature
- 1 tsp (5ml) Pure vanilla extract
- 1 tsp (2g) Ground cinnamon
- 0.5 tsp (1g) Ground nutmeg
- 0.25 tsp (0.5g) Ground ginger
- 0.25 tsp (1.5g) Salt
If you find yourself short on sweet potatoes, you can actually use the base of my Pumpkin Pie recipe and swap the spices; the custard mechanics are very similar.
Simple Tools for an Artisanal Finish
You don't need a fancy food processor for this. In fact, I prefer using a simple hand held pastry cutter or even two forks to work the butter into the flour. This ensures you don't overwork the gluten, which would make the crust tough. For the filling, a large mixing bowl and a sturdy whisk are all you need.
If you like a very smooth texture, a standard potato masher works perfectly on the roasted potatoes before you mix in the liquids.
Steps to a Velvety Smooth Filling
Phase 1: The Roasted Foundation
- Roast whole sweet potatoes at 400°F (200°C) for 45-60 minutes until skins are charred and insides are soft.
- Peel and mash the warm potatoes to get 2 cups (450g) of puree. Note: Warm potatoes blend more easily with butter.
Phase 2: The Hand Rubbed Crust
- Mix 1.5 cups (190g) flour and salt, then rub in the frozen cubed butter until it looks like coarse crumbs.
- Add ice water 1 tbsp at a time, mixing until the dough just holds together. Note: Don't overmix; visible butter chunks are good.
- Roll out the dough, fit it into a 9 inch pie plate, and chill for 30 minutes until the dough feels firm.
Phase 3: Aerating the Filling
- Whisk the 0.75 cup (150g) sugar and 2 eggs in a large bowl until the mixture is pale and frothy.
- Fold in the 2 cups (450g) sweet potato puree, 0.5 cup (113g) melted butter, and 0.5 cup (120ml) evaporated milk.
- Stir in the vanilla, cinnamon, nutmeg, ginger, and salt until the color is uniform and warm.
Phase 4: The Precision Bake
- Pour the filling into the chilled crust and bake at 350°F (180°C) for 1 hour 15 mins until the edges are golden and crackling.
- Cool completely on a wire rack until the center is fully set and firm.
Fixing Texture and Crust Issues Fast
Why Your Filling Is Grainy
If your sweet potato pie has a stringy or grainy texture, it usually means the potatoes weren't mashed thoroughly while they were still warm. As sweet potatoes cool, their starches become more resistant and harder to break down.
Why Your Crust Is Soggy
The "soggy bottom" usually happens when the oven temperature isn't consistent or the crust wasn't chilled before filling. A cold crust hitting a hot oven is what triggers that immediate steam release needed for crispness.
| Problem | Root Cause | Solution |
|---|---|---|
| Cracked Surface | Overbaked/Cooling too fast | Turn off oven, crack door, let cool inside |
| Weeping Crust | Too much moisture in potatoes | Roast potatoes instead of boiling next time |
| Bland Flavor | Spices are old/stale | Toast your spices in a dry pan for 30 seconds |
Common Mistakes Checklist
- ✓ Ensure butter is truly frozen, not just "fridge cold," to get those flaky layers.
- ✓ Don't skip the chilling step for the dough; it relaxes the gluten and prevents shrinking.
- ✓ Roast the potatoes whole to keep the flavor concentrated and the texture dense.
- ✓ Let the pie cool for at least 2 hours; the residual heat finishes the setting process.
- ✓ Use room temperature eggs so they blend smoothly without curdling the melted butter.
Swaps for Different Dietary Needs
Scaling Down
If you only need a small treat, you can halve this recipe easily. Use a 6 inch small pie tin and reduce the bake time by about 20%. For the egg, whisk one whole egg and use roughly half of it.
Scaling Up
When making two or three pies, you can roast all the potatoes at once. However, don't just double the spices. Start with 1.5x the amount of cinnamon and nutmeg and taste the filling. Spices can become overwhelming when scaled linearly.
Also, bake the pies on separate racks and rotate them halfway through to ensure even browning.
| Feature | Fast Method | Classic Method |
|---|---|---|
| Prep Time | 10 mins (Canned puree) | 45 mins (Fresh roasting) |
| Texture | Uniformly smooth | Rustic, complex depth |
| Flavor | One dimensional sweet | Deep caramel and earth |
Searing and Boiling Myths
One common myth is that boiling sweet potatoes is faster. While the actual cooking time might be slightly shorter, you spend more time peeling and chopping, and you end up with a watery filling. Another myth is that you must use a blender for the filling.
A blender can actually overwork the starches, making the pie gummy. A simple whisk or masher keeps that wholesome, artisanal texture we love.
Keeping Your Pie Fresh and Tasty
Storage: This pie is best kept in the fridge. Once it has cooled to room temperature, wrap it tightly in plastic wrap or foil. It will stay fresh and velvety for up to 4 days.
Freezing: You can freeze the baked pie for up to 2 months. Thaw it overnight in the fridge before serving. Avoid microwaving it to thaw, as this can make the crust chewy instead of crispy.
Zero Waste: Don't throw away those charred sweet potato skins! They are full of nutrients. You can crisp them up in the oven with a little salt and olive oil for a rustic kitchen snack while the pie bakes.
Creative Ways to Present Your Slice
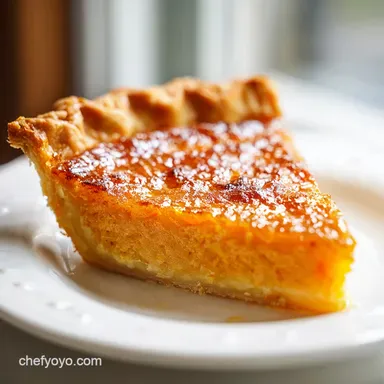
I love serving this with a dollop of whipped cream that has a tiny pinch of sea salt in it. The salt cuts through the richness of the 444 kcal per serving and highlights the cinnamon. For a more artisanal look, you can sprinkle a little extra nutmeg over the top right before serving.
If you have leftovers, they make a brilliant breakfast with a cup of strong coffee. The flavors actually deepen after a night in the fridge, making the second day almost better than the first. Just remember to keep it cold until you're ready to eat!

Recipe FAQs
What are the ingredients in a sweet potato pie?
Essential components include: roasted sweet potato puree, all-purpose flour for the crust, eggs, evaporated milk, butter, sugar, cinnamon, nutmeg, ginger, and salt. The ratio of these ingredients creates the signature smooth, custardy filling against a flaky pastry base.
What are some common mistakes when making sweet potato pie?
The most common errors are using boiled potatoes and overmixing the filling. Boiling adds excess water, leading to a watery pie, while overmixing develops gluten in the filling, making it tough rather than velvety.
What does Patti LaBelle put in her sweet potato pie?
Patti LaBelle’s famous recipe typically uses a mix of spices, including cinnamon, nutmeg, and allspice, often featuring vanilla extract and sometimes a splash of bourbon or rum. Her secret often lies in using high-quality, deeply caramelized sweet potatoes for intense flavor.
Is it better to bake or boil sweet potatoes for pie?
Baking whole is significantly better for flavor concentration. Roasting the potatoes in their skin draws out moisture and caramelizes the natural sugars, resulting in a much deeper, earthier flavor profile for your custard base.
How do I prevent my sweet potato pie filling from cracking on top?
Reduce the oven temperature slowly during the final 15 minutes of baking and allow the pie to cool gradually inside the turned off oven with the door slightly ajar. Rapid temperature changes cause the custard surface to contract too quickly, leading to fissures.
How do I ensure my pie crust is flaky and not tough?
Use ice-cold, grated butter rubbed into the dry ingredients quickly until coarse crumbs form. Handle the dough minimally once the water is added to prevent gluten development; this technique is similar to achieving the perfect texture in a Classic St. Louis recipe.
My filling set fine, but it separated into a layer of liquid during cooling; what happened?
This separation, or "weeping," usually means the eggs were under whisked or the pie was removed from the oven too soon. You must ensure the egg proteins fully bond with the sugar and milk; for even consistency, practice whisking your eggs and sugar until they lighten in color, a step vital for
successful custard setting.
Roasted Sweet Potato Pie
Ingredients:
Instructions:
Nutrition Facts:
| Calories | 444 kcal |
|---|---|
| Protein | 6.4 g |
| Fat | 25.7 g |
| Carbs | 49.1 g |
| Fiber | 2.8 g |
| Sugar | 28.5 g |
| Sodium | 438 mg |
