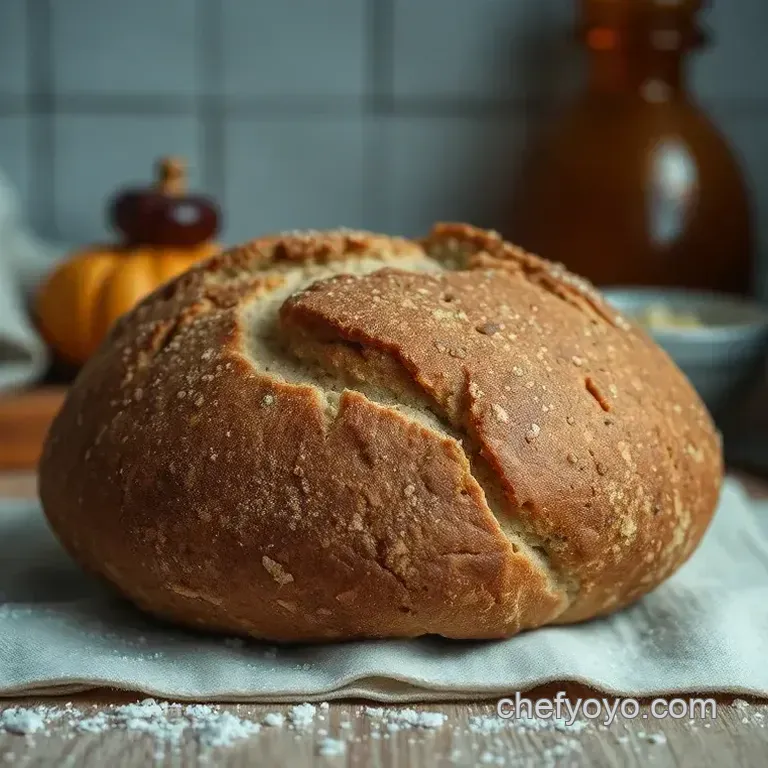
Rustic Rye Bread: a Slice of Tradition
- The Joy of Baking: A Slice of Tradition
- What’s This Recipe All About?
- Benefits Worth Toasting To
- The Essential Ingredients Guide: Your Go-To for Rye Bread and Beyond!
- Mastering the Art of Professional Cooking: How to Bake Rye Bread Like a Pro
- Pro Tips & Secrets
- Perfect Presentation
- Storage & Make-Ahead
- Creative Variations
- Complete Nutrition Guide
- Frequently Asked Questions
- 📝 Recipe Card
The Joy of Baking: A Slice of Tradition
Oh my gosh, have you ever walked into a kitchen where freshly baked rye bread was cooling? that aroma hits you like a cozy hug on a chilly day! i remember the first time i tried to bake my own.
I was in my tiny apartment, surrounded by flour dust and excited anticipation. i can’t tell you how many times i thought, “what if it flops?” but trust me, the reward is absolutely worth it!
If you’re curious about how to bake rye bread, you’re in for a treat both literally and figuratively!
Rye bread has roots deep in eastern european culinary traditions and brings a unique earthiness that just warms your soul.
From what i've read and experienced, baking it yourself ties you to that history, making it even more special. plus, it pairs beautifully with everything from robust cheeses to a simple blob of butter.
It’s a win-win! rugbrod anyone?
What’s This Recipe All About?
So here’s the scoop: this rustic rye bread recipe is a great mix of tradition and modern taste. it’s one of those nordic recipes that’s grabbing attention lately, thanks to the surge of interest in the nordic diet .
Whole grains like rye grain are not only tasty, they’re packed with health benefits. seriously!
Now, don't let the medium difficulty level scare you off. sure, there are a few steps involved, like letting the dough rise but it’s all about the patience , my friend!
Prepping takes about 20 minutes, and while it may seem like a long wait, it’s totally fine to sit on the couch, binge watch your favorite show, and let the magic happen.
When all’s said and done, you’ll have about an hour and 50 minutes invested, yielding one glorious loaf. and guess what? it’s wallet friendly too!
Benefits Worth Toasting To
Let’s chat about why you should totally be baking rye bread at home. first off, it’s loaded with health benefits .
Rye bread is high in fiber, which is great for digestion, and lower on the glycemic index. this means you won’t have those crazy sugar spikes! plus, you get a nice boost of protein without the heavy carbs of white bread.
Honestly, what's not to love?
Another reason i adore baking this bread? it’s perfect for special occasions or casual get-togethers. imagine serving up intricate open sandwiches at a brunch or dinner.
You can dress them up with anything you fancy! cream cheese and smoked salmon? yes, please! or maybe just a slice with good ol' butter.
The more, the merrier!
And let’s not forget, homemade rye bread recipes always kick the store-bought stuff to the curb. those loaves often have a ton of preservatives, while yours is as fresh as it gets.
Plus, baking it yourself is just fun! honestly, try a bread machine rye bread recipe if you're feeling lazy; it’s super easy! but there’s something rewarding about kneading the dough yourself trust me on that one.
In a nutshell, baking your own rye bread isn’t just about making something delicious. It’s about connecting to a tradition, encouraging creativity, and getting a little messy in your kitchen! So are you ready to roll up your sleeves and start baking?
Let’s dive into the ingredients you’ll need for this post!
The Essential Ingredients Guide: Your Go-To for Rye Bread and Beyond!
Alright, friend! let’s dive into the magic of ingredients . it’s way more than just throwing stuff together in a bowl.
When you bake, like when you whip up some danish rye bread , you're creating something awesome. so, let’s break down what you need yeah, we’re talking essential kitchen must haves here.
Premium Core Components
First things first, you gotta measure like a pro . for this rugbrod recipe, you'll need 2 cups (240g) of rye flour and 1 cup (120g) of all-purpose flour.
You see, precise measurements are key. if you’re more into grams over cups, that’s cool too just remember to keep it consistent .
Quality matters! look for quality indicators like freshness in your flour. those dusty bags sitting on the shelf? eeeek! check the expiration dates if it's too far gone, toss it.
Store your flour in a cool, dark place and it'll last longer. a tip? use an airtight container; it keeps critters out and your flour in prime shape for that perfect rye bread!
Signature Seasoning Blend
Now, seasoning is what jazzes things up! grab your caraway seeds these little seeds are the secret weapon in a solid rye bread recipe! you can also mix up some herbs like dill or thyme for other recipes.
Ever thought about how a touch of garlic could enhance your open sandwiches? just a hint can brighten everything up.
Each region has its own spin too! Like, in Sweden, they might add a bit of molasses —yum! Feel free to play around with those spices until you find your perfect blend.
Smart Substitutions
Sometimes life throws curveballs, and that’s when smart substitutions come into play. don’t have rye flour? no problem! use whole wheat flour instead.
It might not taste exactly the same, but it’ll still work.
If you’re on a Nordic diet journey and find yourself needing a gluten-free option, try a mix of almond flour and coconut flour. Play around and see what works for you!
And hey, if you find yourself in a pinch with no honey? Grab that brown sugar or even maple syrup. Baking should be fun, so keep it flexible!
Kitchen Equipment Essentials
Listen up, because you don’t need to break the bank to make great bread! essentials include a mixing bowl , measuring cups, and a loaf pan.
A simple wooden spoon or dough whisk can become your best friend.
But what if you want to go fancy ? consider investing in a decent kitchen scale to make your life way easier.
Trust me, it helps when you’re starting to make rye bread recipes shine!
When storing tools, a drawer or small container can keep them in line. Nothing like digging through kitchen chaos when your dough is rising!
Putting It All Together
So here’s the deal. when you’re gearing up for your first adventure in baking rye bread , the right mix of ingredients, some clever substitutes, and a few trusty tools can make all the difference.
You know, i once tried using expired yeast and wondered why my dough wouldn’t rise! lesson learned always check those dates.
Are you ready to take on the rye bread recipe challenge? keep those essentials in mind, organize your kitchen, and don’t forget to have fun! soon enough, you'll be the go-to friend for all things bake worthy.
Now, let’s roll up our sleeves and dive into the step-by-step instructions for baking that scrumptious loaf of Rustic Rye Bread !
Mastering the Art of Professional Cooking: How to Bake Rye Bread Like a Pro
When it comes to cooking like a professional, there's a certain sense of pride that comes with creating something from scratch.
Baking rye bread is not just about combining ingredients; it’s about embracing a tradition that stretches back generations. today, i’m taking you through how to bake rye bread a simple process that’ll leave your kitchen smelling heavenly and your taste buds tingling!
Essential Preparation Steps
Before you dive into baking, let’s set the stage with some essential prep work. it’s that classic french term mise en place and it’s crucial.
This means having everything ready to go: ingredients measured, tools in hand, and your space tidy. trust me, there’s nothing worse than realizing you’re missing honey mid-recipe!
Time management is key too! give yourself a solid 20 minutes for prep and about 1 hour for the dough to rise.
Organize your tasks so you’re not rushing around. keeping your workspace clean also helps with organization. there's a satisfaction that comes from a well kept kitchen.
And let’s not forget about safety. Always wash your hands and surfaces after handling raw ingredients. A clean kitchen means healthy cooking!
Step-by-step Process
Now here's where the magic happens. Are you ready for the fun part?
Activate yeast: mix 1 cup (240ml) of warm water (about 110° f/ 43° c ), 2 teaspoons active dry yeast, and 1 tablespoon of honey.
Let it froth for about 5- 10 minutes . this step is crucial without it, your bread won’t rise.
Combine Dry Ingredients: While the yeast awakens, mix 2 cups (240g) of rye flour and 1 cup (120g) of all-purpose flour with 1 teaspoon of salt in a bowl.
Dough time: blend the dry ingredients with that bubbly yeast. aim for a smooth mixture after about 5- 7 minutes of kneading on a floured surface.
If it’s sticking like a clingy ex, add a little more all-purpose flour.
Rising Time: Grease a bowl, throw in your dough, and let it hang out in a warm spot for about 1 hour , or until it doubles in size.
Shape Your Loaf: After the rise, punch that dough down (yes, it’s therapeutic), shape it into a loaf, and put it in a greased loaf pan.
Second Rising: Cover it and let it rise again for about 30- 45 minutes while you preheat your oven to 375° F ( 190° C) .
Bake It Pretty: Pop that beauty in the oven for 30 minutes . You’ll know it’s done when it sounds hollow if you tap on the bottom. Voilà!
Expert Techniques
Now, let’s get a little pro with it. feel free to mess around! add caraway seeds (about 1 tablespoon ) for that classic rye flavor.
Use a thermometer if you're an overthinker; the bread should hit around 190° f ( 88° c) inside when fully baked.
Are you worried about density? If your loaf doesn’t rise well, it’s often because the yeast didn’t activate properly. Next time, double check that your water is warm but not hot think cozy bath, not hot springs!
Success Strategies
Heads up! here’s where many folks trip up. not measuring accurately can lead to flat bread. also, don't rush it! bread's best when you treat it with care.
If you want to prep ahead, you can make the dough, let it rise, then refrigerate. just take it out and let it come back to room temp before shaping.
Wrapping Up
And there you have it! you’re ready to tackle this danish rye bread masterpiece, whether it’s for sandwich bases or a simple slice with butter.
Just imagine whipping up the best open sandwiches your friends and fam have ever tasted. so go ahead, bake that rye bread , and don’t forget to enjoy every moment of the process!
Additional Information…
If you’re looking to dive deeper into this world of Nordic recipes or want to explore variations of rye bread like the classic Rugbrod recipe stay tuned for more tips, tricks, and maybe even a couple of disasters I’ve turned into triumphs! Now let’s get baking!
Pro Tips & Secrets
Let’s be real: baking your own rye bread is as much an adventure as it is a task. i’ve had my share of flops in the kitchen, and let me tell you, it’s a learning curve! when you’re figuring out how to bake rye bread , there are a few secrets i've picked up along the way.
First, activate your yeast properly . mix that warm water, honey (or sugar), and yeast. wait until it’s all frothy like a little yeast party in your bowl! this step is crucial; otherwise, your bread might end up flatter than a pancake.
Wanna save some time? While your dough rises, get your oven prepped. Preheat it to 375° F ( 190° C) so that bread can meet the heat right after that second rise.
Want to enhance the flavor? Add a tablespoon of caraway seeds for that earthy twist. It’s a game changer!
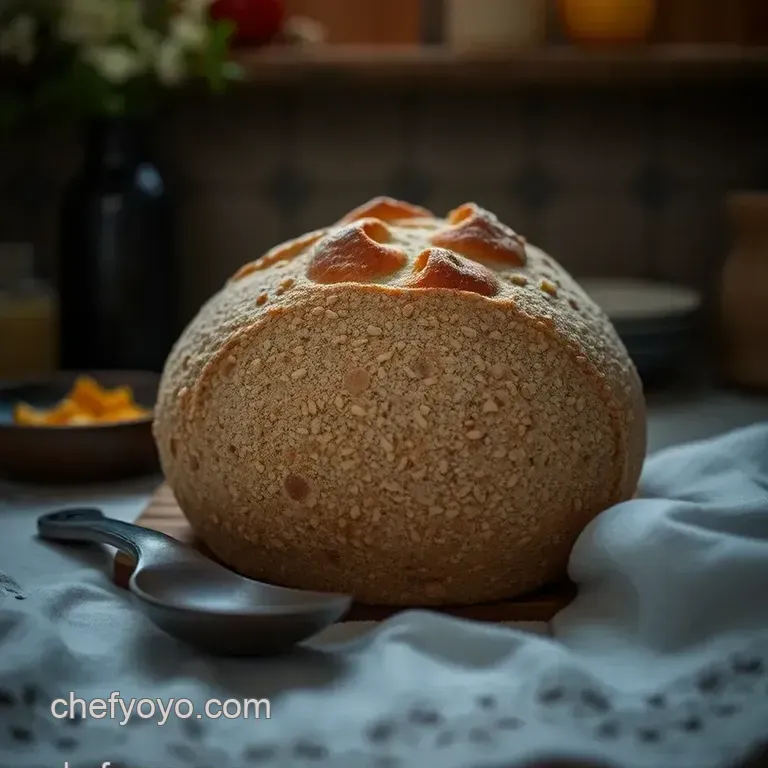
Perfect Presentation
Alright, bread lovers, let’s talk presentation . the way you plate a dish can turn the ordinary into the extraordinary. once your danish rye bread has cooled, slice it carefully.
A serrated knife works wonders. to show off those delicious layers, try stacking the slices on a wooden board.
For a garnish, fresh herbs like dill or parsley create a striking contrast. you can also drizzle some olive oil over the top for a bit of sheen.
Or, if you feel fancy, a sprinkle of flaky sea salt really makes those flavors pop!
Keep in mind the color combinations too. Serve your rugbrod recipe with vibrant colors think sliced radishes or colorful heirloom tomatoes. Eye appeal is just as important as taste!
Storage & make-ahead
So here’s the lowdown on storage . your homemade rye bread is best enjoyed fresh, but no one’s judging if you want to make it ahead of time.
Just wrap it tightly in plastic wrap once it’s completely cooled. it'll last at room temperature for about 3-4 days.
Pop it in the fridge? it can hang on for about a week. but seriously, who wants cold bread?
If you're feeling super smart and want to bake in bulk, freeze the slices! use a freezer safe bag, and your bread can last for 3 months.
For reheating, just toast the slices or microwave for about 10-15 seconds perfect for quick open sandwiches !
Creative Variations
Don’t be shy to mix things up! creative variations can turn a classic rye bread recipe into something entirely different.
Want a sweeter loaf? add some dried fruits like cranberries or raisins. for something spicy, consider tossing in some roasted garlic.
Dietary needs? no problem! if you're going gluten-free, try a mix of gluten-free all-purpose flour and some ground flax in place of rye.
And for a seasonal twist, try adding pumpkin puree in the fall. it gives the bread a subtle sweetness and a beautiful orange hue.
Complete Nutrition Guide
Now, if you’re curious about the nutrition behind all this goodness, you’re in luck. a single slice of this delightful bread packs about 150 calories , 5 grams of protein, and plenty of fiber.
That means you can indulge in those danish bread delights without the guilty conscience!
It's a fantastic addition to a nordic diet . rye grains are rich in antioxidants and can help maintain steady blood sugar levels.
Plus, the fiber can keep your gut happy. when it comes to portion guidance , two slices make a satisfying meal, especially when heaped with your favorite toppings!
So go ahead, give yourself a pat on the back! you've turned something as simple as flour and water into a bonding experience with your kitchen.
Whether you pair this lovely loaf with a nice piece of cheese or dunk it into your soup, making your own rye bread is the perfect way to bring some warmth and joy into your home.
So, roll up those sleeves and let the baking magic happen! Happy baking, my friends! You deserve it!
Frequently Asked Questions
How do I know when my rye bread is fully baked?
You can check if your rye bread is done by tapping the bottom of the loaf; it should sound hollow. Another great trick is to use a thermometer the internal temperature should reach around 190°F (88°C). If it looks golden brown and passes these tests, you’re good to go!
Can I use whole wheat flour instead of rye flour when learning how to bake rye bread?
You certainly can! While using whole wheat flour will give you a different flavor profile and texture, it can still lead to a delicious loaf. Just remember that it might not have the same earthy tang as traditional rye, but it’ll still be great for sandwiches or toast!
What are some variations for baking rye bread?
You can jazz up your rye bread by adding ingredients like caraway seeds for an authentic flavour, or even poppy and sunflower seeds for added texture. Mixing in fresh herbs or a sourdough starter can also give a lovely unique twist to your loaf!
How long can I store my rye bread and what's the best way to do so?
To keep your rye bread fresh, store it in a breadbox or a paper bag at room temperature for up to three days. For longer storage, slice it and wrap the slices tightly in plastic wrap, then place them in a freezer bag.
This way, you can enjoy a slice anytime just pop it straight from the freezer into the toaster!
Is rye bread healthier than white bread?
Yes, rye bread is generally considered a healthier option! It has a higher fiber content which aids digestion and keeps you feeling fuller longer. Plus, it tends to be lower on the glycemic index, making it a better choice for blood sugar control.
A bread to feel great about, especially when topping with a bit of butter and cheese!
What’s the best way to serve rye bread?
Rye bread pairs beautifully with robust toppings! Try it with smoked salmon and cream cheese for a delicious brunch, or serve it alongside hearty soups like borscht. It’s also a fantastic companion to a good pint of ale for those cozy British pub vibes!
Rustic Rye Bread A Slice Of Tradition