The Ultimate Cut-Out Sugar Cookie Recipe for Decorating
- The Architect’s Biscuit: Designing the Ultimate Cut-Out Dough
- The Science of Spread: Why This Recipe Holds Its Form
- Essential Components for the Ideal Baking Canvas
- Method: Achieving the Silkiest Dough and Sharpest Cuts
- The Advanced Baker’s Toolkit: Troubleshooting & Optimization
- Post-Bake Care: Storage, Freezing, and Longevity
- Finishing Touches: Serving and Presentation Ideas
- Recipe FAQs
- 📝 Recipe Card
The Architect’s Biscuit: Designing the Ultimate Cut-Out Dough
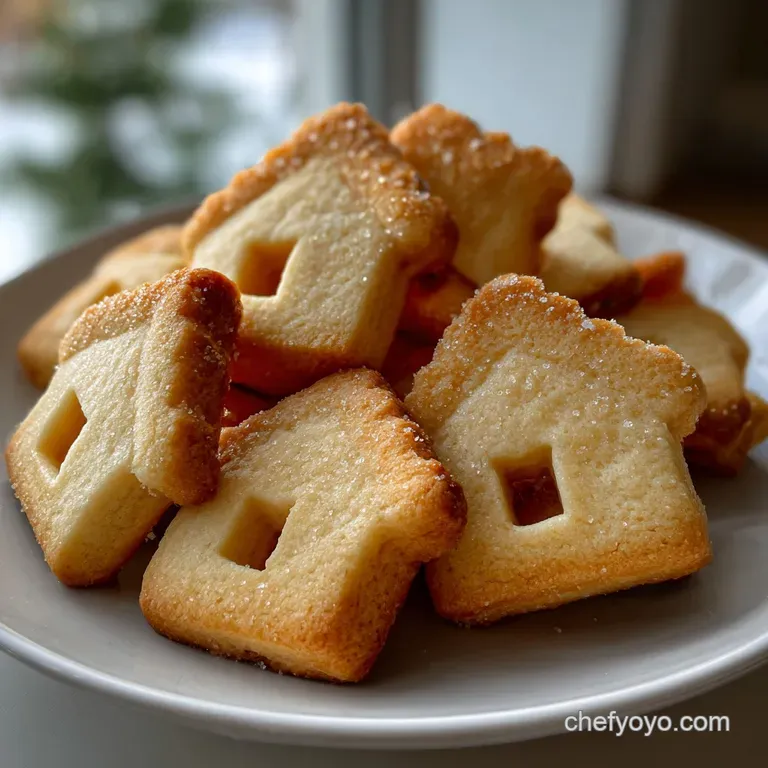
That scent the second the pure vanilla and warm butter hit the oven heat that’s the true start to the holiday season, or frankly, any great Tuesday. Achieving the perfect Sugar Cookie is a rite of passage for any home baker, but many fail right at the spread stage.
You start with a perfect heart shape and end up with a brown puddle; we’ve all been there.
This specific technique is a total lifesaver because it focuses on structure. A Sugar Cookie should be sturdy enough to handle robust icing, stack neatly, and never, ever lose its defined edges. It’s cheap, incredibly cheerful, and the ultimate blank canvas for creativity.
Forget those dry, cardboard tasting versions you find at the grocery store. I'm going to walk you through the precise temperature tricks and ingredient ratios needed to produce a structurally sound biscuit that is tender in the middle and perfectly crisp around the perimeter.
This Sugar Cookie recipe is foolproof if you commit to the chilling time.
The Science of Spread: Why This Recipe Holds Its Form
Everyone wonders why their beautiful shapes turn into pools of butter. It's simply thermodynamics, my friend. When you master the delicate balance of cold fat, controlled gluten development, and precise oven temperature, making the best Sugar Cookie is simple.
We are optimizing for structural integrity, which is why chilling is non-negotiable.
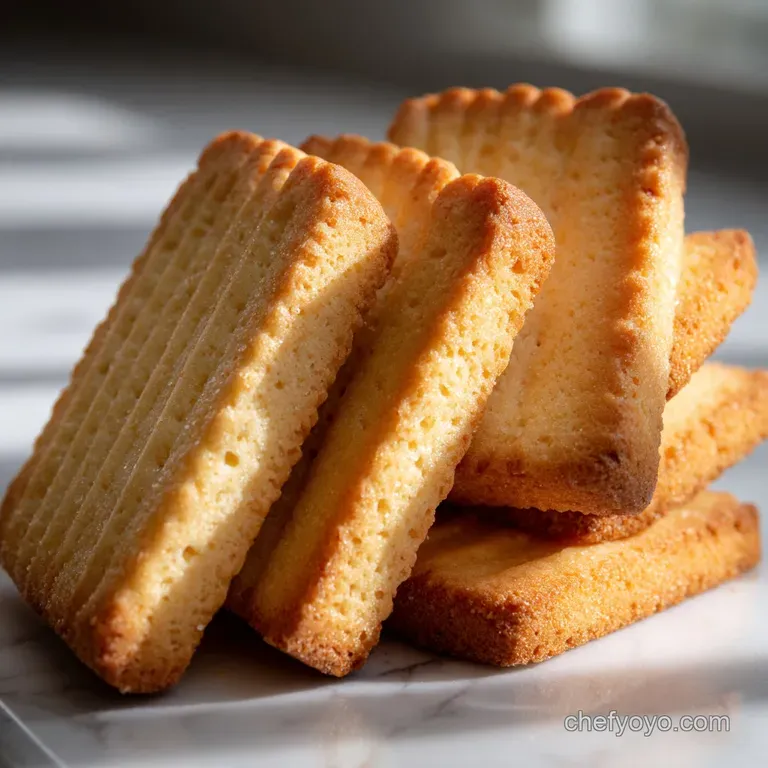
The Anatomy of a Perfect Cookie: Crisp Edges vs. Tender Centre
The goal here is duality: a thin, snapping edge that gives way to a soft, almost melt-in-your mouth interior. We achieve this by baking at a slightly lower temperature (350°F / 175°C) for a longer time, which allows the edges to set and dehydrate slightly while the center retains just enough moisture. If you want a Super Soft Sugar Cookies Recipe (Cloud Nine Chewy Centres) you need a different formulation, but for decorating, this structural recipe is superior.
Controlling the Gluten Matrix for Sharp, Defined Edges
Gluten is the enemy of tenderness, but we need just enough to hold the dough together. Overmixing is the biggest mistake people make when preparing Sugar Cookie dough. When you incorporate the flour, stop the mixer the second the last visible streak of white flour disappears.
If you mix beyond that point, your cookies will be tough, dry, and chewy in a bad way.
Harnessing Butter Temperature for Structural Stability
This whole process pivots on the state of your fat. We start with softened butter to incorporate air during the creaming process, which gives lift. But then, we must chill the resulting dough.
When cold butter hits the oven, it takes longer to melt than warm butter, giving the flour matrix time to set before the fat can cause excessive spreading. This is the ultimate secret to a no-spread Sugar Cookie .
The Signature Flavour Profile: Pure Vanilla and Buttery Depth
While the structure matters, the taste must be flawless. I highly recommend spending a little extra on high-quality vanilla extract. That pure, sweet aroma is what separates a truly great Sugar Cookie from a mediocre one.
The addition of a tiny bit of almond extract, as listed in the ingredients, really enhances the complexity and depth without screaming "almond."
Essential Components for the Ideal Baking Canvas
Before we get our hands sticky, let's talk ingredients. Getting the best sugar cookie recipe cutout means starting with precise measurements, ideally using a kitchen scale. Baking is chemistry, not cooking!
The Butter Paradox: Temperature Control for Optimal Creaming
Your butter should be perfectly softened not melted, not greasy, but pliable. If you press it gently with your finger, it should leave an indentation without your finger sinking all the way through. This state ensures it can trap air during creaming with the sugar.
Cold butter leads to lumpy, dense dough, ruining your chances of an excellent cut-out Sugar Cookie .
Flour Selection: Optimizing for Structure and Tenderness
We use all-purpose flour here because it offers the perfect balance of protein content. Make sure you spoon the flour lightly into your measuring cup, then level it off. Scooping directly from the bag packs the flour too tightly, adding too much and resulting in a dry, crumbly Sugar Cookie dough that cracks when you try to roll it.
Leavening Agent Strategy: Achieving Zero Spread
We use baking powder (not baking soda) in this Sugar Cookie recipe. Baking powder provides lift straight out of the gate without needing an acid (like buttermilk or vinegar) to react. This subtle rise helps prevent the dough from being dense while still maintaining that crisp shape.
If you use too much, the cookie will puff up and then immediately collapse, leading to spread.
Sustainable Substitutions for Dairy and Gluten
If you need to make adjustments, here are my tried and true swaps for a successful Sugar Cookie bake:
| Ingredient to Sub | Substitution | Notes |
|---|---|---|
| Butter | high-quality vegan butter sticks (high fat content) | Avoid margarines, stick to butter like blocks. |
| All-Purpose Flour | 1:1 gluten-free Blend with Xanthan Gum | The dough might be softer; chill longer, maybe 2 hours. |
| Granulated Sugar | Brown Sugar (for a chewier, darker result) | See my tips for Brown Sugar: Golden Treacle Tarts With Buttery Shortcrust for handling brown sugar dough. |
Method: Achieving the Silkiest Dough and Sharpest Cuts
Okay, time to make some magic. When learning how to make the best sugar cookies , precision in the method matters as much as the ingredients.
Phase 1: Creaming and Hydration (Preventing Curdling)
Start by creaming the softened butter and sugar until the mixture is visibly lighter in colour and texture it should look pale yellow and fluffy, taking about four minutes in a stand mixer. You are literally incorporating tiny bubbles of air. Next, add the room temperature egg and extracts.
Scrape down the bowl thoroughly. If your egg is cold, the mixture might look slightly curdled, but don't panic! It will come back together when the flour is added.
Phase 2: The Critical Roll and Chill Strategy
Once the shaggy dough forms, gather it gently. Don't knead it excessively! Divide it into two discs. Pro Tip: Roll the dough before chilling. If you try to roll cold, rock hard dough, you’ll struggle and potentially crack the discs.
Roll each disc between two sheets of parchment paper to a perfect ¼ inch thickness. Rolling now ensures fast, even chilling and makes cutting later a breeze. Wrap the flattened sheet tightly, and now, put it away for at least 60 minutes.
Phase 3: Cutting and Transferring the Delicate Shapes
Your dough should feel firm and cold, almost stiff. Place the chilled sheet on your counter and peel back the top parchment layer. Cut your shapes quickly. The key to preserving those gorgeous sharp edges is moving fast before the dough warms up. Use a thin spatula to transfer the shapes to your lined baking sheet.
Chef's Note: If you are cutting intricate shapes for holiday baking, chill the entire baking sheet, complete with the cut dough, in the freezer for 10 minutes immediately before baking. This extra cold shock guarantees the dough sets perfectly before the fat can spread. This is a game changer for Christmas sugar cookies recipe cut outs .
Baking Protocol: The Visual Cues for Doneness
Bake the cookies at 350°F / 175°C for 10– 12 minutes. The sign they are done is visual, not just time based. The edges will look set and perhaps whisper a pale gold colour, but the centers must remain soft and distinctly pale.
If you wait until the centers look golden, you’ve overbaked them, and you’ll lose that tender interior.
The Advanced Baker’s Toolkit: Troubleshooting & Optimization
Even experienced bakers face issues. Understanding the fix is key to getting the best sugar cookie recipe cutout results every single time.
The Competitor Angle: Why Dough Rests Twice for Perfection
What about the scraps? When you gather the scraps from your first roll, the dough has been handled, which means the butter is warming up and the gluten is tightening. You absolutely must gently press the scraps together, form a disc, and pop it back in the freezer for 10– 15 minutes before rolling and cutting again.
Skipping this step is why your second batch always spreads more than the first.
Fixing Cracks and Sticky Dough (Common Mistakes)
If your chilled dough cracks immediately upon rolling, it's either too cold or you added too much flour initially. Let it sit out for three minutes before trying again. If your dough is too sticky and clinging to the rolling pin, you can dust the top with a tiny bit more flour, but be sparing.
Too much flour ruins the final texture of the Sugar Cookie .
Oven Hotspots: Calibrating Rotation for Even Colour
Every oven lies about its temperature and has hotspots. To ensure your cookies bake evenly and have that uniform, beautiful pale color, rotate the baking sheet 180 degrees halfway through the baking time. Set a timer for the five minute mark, and swap those trays!
Post Bake Care: Storage, Freezing, and Longevity
You’ve created beautiful, sturdy biscuits! Now, how do we keep them that way? This is crucial for maintaining the freshness of your Sugar cookies for decorating .
Short Term Storage for Peak Freshness
Once the Sugar Cookie is completely cool (and any icing you applied is bone dry), store them in an airtight container at room temperature. They will stay fresh and crisp for up to one week. Layer them between sheets of parchment paper to prevent chipping if they are iced.
How to Freeze Sugar Cookie Dough Properly
Freezing the dough is a fantastic time saver. After rolling the dough and cutting the shapes (before baking), stack the raw shapes between parchment paper in a freezer safe container. The raw shapes can last up to three months.
Bake them directly from frozen, adding 2– 4 minutes to the total baking time. Alternatively, you can freeze the unrolled discs tightly wrapped in plastic wrap. This is essential for large batch baking.
Re-crisping Day-Old Biscuits
If your Sugar Cookie starts feeling a little soft after a few days, don't despair! Place them on a baking sheet and pop them in a 300°F (150°C) oven for about 5 minutes. This dries out the exterior slightly, bringing back that satisfying snap.
Finishing Touches: Serving and Presentation Ideas
Whether you’re keeping them simple or mastering royal icing, these chewy sugar cookie recipe cut out biscuits are the foundation of spectacular desserts. They pair beautifully with rich, strong flavours.
We often serve them simply dusted with powdered sugar, which highlights the vanilla notes. But if you’re using them for a display, remember that the uniform shape of this Sugar Cookie is its greatest asset. Decorate them to reflect the season! If you loved this foundational recipe, you might enjoy mastering my Butter Cookie Recipe: The Best Homemade Crumbly Biscuits next, as they share similar structural principles. It's a slightly different fat ratio, resulting in even more melt-in-your mouth tenderness.
This recipe delivers a guaranteed win. Enjoy your perfectly shaped, tender centered, utterly delicious Sugar Cookie . Now go grab that rolling pin!

Recipe FAQs
Why did my perfectly cut cookies lose their shape and spread while baking?
Spreading is usually caused by insufficient chilling of the butter or dough being too warm before baking. Ensure the dough is thoroughly chilled (30 60 minutes) and, crucially, measure your flour precisely using the spoon and-level method to maintain the correct fat-to-flour ratio.
If your kitchen is warm, consider chilling the cut-out shapes again briefly before placing them in the hot oven.
My dough feels very dry and crumbly, making it hard to roll. What went wrong?
The most common cause is adding too much flour, which happens easily if you scoop directly from the bag. If the dough seems overly dry after mixing, try incorporating one teaspoon of cold milk or water at a time until the mixture just comes together.
Be careful not to overwork the dough at this stage, as excessive kneading develops gluten and can result in tough cookies.
How long can I store the sugar cookie dough or the baked cookies?
Unbaked dough should be wrapped tightly in plastic and can be refrigerated for up to 5 days, or frozen for up to 3 months. Baked, unfrosted cookies store exceptionally well in an airtight container at room temperature for about one week.
If they are frosted, the storage duration will depend on the type of icing used (e.g., royal icing preserves them longer than buttercream).
Can I easily make this recipe gluten-free or dairy-free?
This recipe adapts well to a gluten-free diet by substituting the standard flour with a reliable 1:1 gluten-free baking blend that includes xanthan gum. For a dairy-free variation, substitute the butter with a high-quality plant based butter alternative that has a high fat content.
Be aware that non-dairy versions may require slightly longer chilling times.
I want to change the flavour profile. What extracts work best besides vanilla?
Almond extract is a sophisticated classic, often replacing half of the vanilla quantity for an enhanced depth of flavour. For a bright, seasonal taste, incorporate fresh lemon or orange zest into the butter and sugar creaming stage.
Remember that highly potent extracts, like peppermint, should be used sparingly to avoid overpowering the delicate buttery base.
Why is chilling the dough absolutely crucial for achieving crisp edges and zero spread?
Chilling is the key architectural step because it solidifies the fat, which drastically slows down the spread when the cookie hits the high heat of the oven. This stabilization maintains the sharp edges of your cut-outs, giving you that 'architectural' structure promised by the recipe.
It also allows the gluten structure to relax, making the dough less sticky and easier to roll without tearing.
How do I know when the sugar cookies are perfectly finished baking?
The cookies are done when the edges are just set and have developed a very subtle, pale gold coloring, but the centers still look soft and slightly matte. Avoid waiting for significant browning, as this will lead to a dry, brittle cookie rather than a tender one.
The cookies will firm up further on the warm baking sheet for the first few minutes after removal from the oven.
Ultimate Cut Out Sugar Cookie Recipe 2
Ingredients:
Instructions:
Nutrition Facts:
| Calories | 1160 kcal |
|---|---|
| Protein | 2.4 g |
| Fat | 47.1 g |
| Carbs | 181.8 g |
