Artisanal Apples for Pie Recipe
- Time: Active 40 minutes, Passive 55 minutes, Total 1 hour 35 minutes
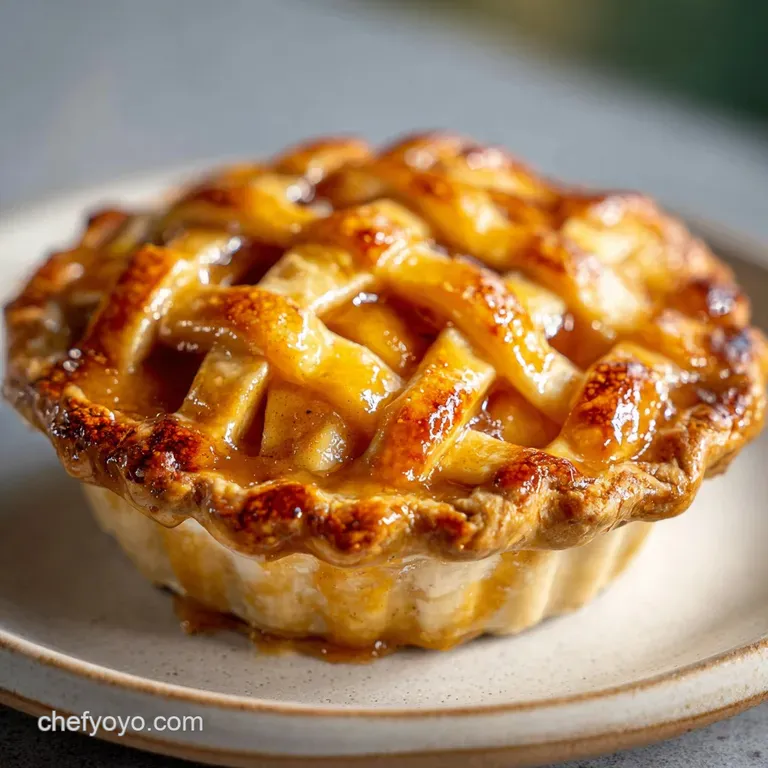
- Flavor/Texture Hook: A shattering, buttery crust enclosing a velvety, spiced cinnamon apple center.
- Perfect for: Wholesome Sunday family dinners or a rustic holiday centerpiece.
- The Most Authentic Way to Master Your Apples for Pie Recipe
- Essential Specs for This Rustic Autumn Bake
- Sourcing Wholesome Ingredients for a Budget-Friendly Pie
- Minimalist Tools for Artisanal Baking Results
- Step-by-Step Guide to a Shattering Golden Crust
- How to Avoid a Soggy Bottom Crust
- Simple Tweaks for a Unique Custom Flavor
- Keeping Your Handcrafted Pie Fresh and Crisp
- What to Serve with This Warm Spiced Treat
- Recipe FAQs
- 📝 Recipe Card
The Most Authentic Way to Master Your Apples for Pie Recipe
The kitchen is quiet, save for the rhythmic thwack of the knife against the wooden board and the bright, citrusy scent of fresh Granny Smiths hitting the air. I remember the first time I tried to tackle this.
I was so worried about the crust that I ignored the fruit, ended up with a literal soup inside a soggy shell, and felt like a total failure. But then I learned the secret: it is all about how you treat the fruit before it ever touches the oven.
We are going for that rustic, artisanal feel here the kind of pie that looks like it belongs on a farmhouse windowsill. It’s not about perfection; it’s about the way the cinnamon stains the wooden spoon and how the butter smells like toasted hazelnuts as it bakes.
This is a reliable, budget smart method that uses common pantry staples to create something that tastes like a million bucks.
We are going to use two different apple varieties to get the texture just right. One stays firm, one softens slightly to create a natural sauce. This is the heart of a great apples for pie recipe, and honestly, once you see how easy it is to get that "shatter crisp" crust, you’ll never look back at those store-bought tins again.
Essential Specs for This Rustic Autumn Bake
The Science of the Firm Bite: Macerating apples in sugar draws out excess moisture through osmosis before baking, preventing a watery filling. This pre shrinks the fruit so the crust doesn't collapse into an empty cavern during the bake.
- Numeric Checkpoint 1: Slice your apples to exactly 1/4 inch thickness for even softening.
- Numeric Checkpoint 2: Ensure your butter is chilled to 35°F before working it into the flour.
- Numeric Checkpoint 3: The internal temperature of a finished pie should hit 190°F to ensure the cornstarch has fully thickened.
| Cook Method | Prep Time | Texture Result | Best For |
|---|---|---|---|
| Stovetop Pre cook | 15 mins | Jammy and soft | Deep dish pies with no "gap" |
| Traditional Oven | 5 mins | Fresh with a slight bite | Classic rustic texture |
| Slow Roasted | 10 mins | Concentrated and caramelized | Intensive apple flavor |
This rustic texture reminds me of the Grandmas Secret Homemade recipe that started my baking obsession. While the stovetop method is great for preventing shrinkage, the traditional oven method we are using here preserves that wholesome, fresh from the orchard snap that I personally love.
Sourcing Wholesome Ingredients for a Budget Friendly Pie
| Ingredient | Science Role | Pro Secret |
|---|---|---|
| Cornstarch | Thickening agent | Mix with sugar first to prevent lumps in the juice. |
| Lemon Juice | pH Balancer | Prevents oxidation and brightens the dullness of baked sugars. |
| Unsalted Butter | Fat & Flakiness | Use "European style" for higher fat content and less water. |
When you are looking for the best apples for pie recipe, you don't need to spend a fortune on exotic fruit. Stick to the basics. Granny Smiths provide the structural integrity and that sharp tang that cuts through the sugar. Honeycrisps or Jonagolds add a floral sweetness and a softer mouthfeel.
If you are watching your budget, even a bag of "utility" apples works if you balance the sugar correctly.
For the Fresh Apple Filling
- 4 Large Granny Smith Apples (800g): Why this? They hold their shape perfectly under high heat.
- 3 Large Honeycrisp or Jonagold Apples (600g): Why this? They provide sweetness and a velvety juice.
- 0.75 cup (150g) granulated sugar
- 0.25 cup (50g) light brown sugar: Why this? Adds a hint of molasses for depth.
- 2 tablespoons cornstarch
- 1.5 teaspoons ground cinnamon
- 0.25 teaspoon ground nutmeg
- 1 tablespoon lemon juice
For the Shattering Crust
- 2.5 cups (315g) all purpose flour
- 1 cup (225g) unsalted butter, cold and cubed
- 1 teaspoon salt
- 1 tablespoon granulated sugar
- 6-8 tablespoons ice water
| Original Ingredient | Substitute | Why It Works |
|---|---|---|
| Honeycrisp Apples | Fuji or Gala | Similar sweetness, though slightly softer after baking. |
| Light Brown Sugar | Granulated Sugar + 1 tsp Molasses | Replicates the moisture and flavor profile of brown sugar. |
| Unsalted Butter | Solid Coconut Oil (chilled) | Provides a flaky texture, though adds a slight tropical note. |
If you're short on time, you might prefer a Classic Apple Crisp recipe instead, but there is something so rewarding about rolling out your own dough. Just remember to keep everything cold. If the kitchen is getting too warm, pop your flour bowl in the fridge for ten minutes. Trust me on this.
Minimalist Tools for Artisanal Baking Results
You really don't need fancy gadgets. A heavy glass rolling pin or even a smooth wine bottle works in a pinch. However, a glass pie dish is my secret weapon because it lets you see if the bottom crust is actually browning. Metal tins reflect heat differently and can sometimes leave you with a pale, soft base.
Chef Tip: Freeze your butter for 15 minutes, then use a box grater to shred it into the flour. This creates tiny, uniform "shards" of fat that result in an incredibly flaky, layered crust without overworking the dough.
step-by-step Guide to a Shattering Golden Crust
Step 1: Prepare the Apple Foundation
Peel, core, and slice your 800g of Granny Smiths and 600g of Honeycrisps into 1/4 inch slices. Toss them in a large bowl with the lemon juice, both sugars, cinnamon, nutmeg, and cornstarch. Note: Let them sit for 30 minutes to draw out the juices.
Step 2: Craft the Beginner Friendly Crust
Whisk the 315g of flour, 1 tablespoon sugar, and salt together. Work in the cold cubed butter with your fingers or a pastry cutter until the mixture looks like coarse crumbs with some pea sized chunks.
Step 3: Hydrate the Dough
Add ice water one tablespoon at a time, tossing with a fork. Stop when the dough just holds together when squeezed. Divide into two discs, wrap in plastic, and chill for at least 1 hour.
Step 4: Roll and Fit
On a floured surface, roll one disc into a 12 inch circle. Drape it over your pie dish, leaving an inch of overhang. Note: Don't stretch the dough or it will shrink back while baking.
Step 5: Fill the Shell
Pile the macerated apples into the bottom crust, mounding them slightly in the center. Pour only half of the accumulated liquid over the fruit to prevent a soggy bottom.
Step 6: Create the Lattice or Top
Roll out the second disc. You can do a full top with steam vents or a simple lattice. Seal the edges by crimping them with your thumb or a fork until tightly closed and decorative.
Step 7: The High Low Bake
Brush the top with a little water or egg wash and sprinkle with the remaining tablespoon of sugar. Place on a preheated baking sheet at 425°F (220°C).
Step 8: Final Temperature Adjustment
Bake for 20 minutes, then lower the oven to 375°F (190°C). Continue baking for 35 minutes until the crust is deep golden and the filling bubbles through the vents.
How to Avoid a Soggy Bottom Crust
The Soggy Bottom Problem
This usually happens because the juices from the fruit soak into the raw dough before it has a chance to crisp up. If you see a pale, translucent base, the heat wasn't high enough or the fruit was too wet.
Collapsed Filling Fixes
If you have a giant air gap under your top crust, it's because the apples shrank more than expected. Slicing them thinner and letting them macerate (sit in sugar) longer helps them "pre shrink" so they stay packed together.
Fast Browning Solutions
Sometimes the thin fluted edges of the crust turn dark brown while the center is still raw. This is where a simple ring of aluminum foil comes in handy to shield those edges.
| Problem | Root Cause | Solution |
|---|---|---|
| Leaking Filling | Edges not sealed | Crimp the edges with water and press firmly with a fork. |
| Tough Crust | Overworked dough | Use ice cold water and stop mixing as soon as it clumps. |
| Dull Color | No wash used | Brush the top with milk or egg wash before the sugar sprinkle. |
Common Mistakes Checklist:
- ✓ Always use ice cold water (warm water melts the fat bits).
- ✓ Don't skip the chilling time for the dough; it relaxes the gluten.
- ✓ Bake the pie on a preheated baking sheet to kickstart the bottom crust.
- ✓ Let the pie cool for at least 4 hours before slicing (this is the hardest part!).
For those chilly nights, this pairs beautifully with a Cozy Spiced Baked recipe served on the side.
Simple Tweaks for a Unique Custom Flavor
If you want X, do Y:If you want a deeper caramel flavor, swap the granulated sugar in the filling for all dark brown sugar. If you want a nutty crunch, add 1/2 cup of toasted chopped pecans to the apple mixture.
If you want an extra flaky crust, replace 2 tablespoons of the ice water with cold vodka (the alcohol doesn't develop gluten).
| Premium Ingredient | Budget Alternative | Flavor Impact | Savings |
|---|---|---|---|
| Vanilla Bean Paste | Pure Vanilla Extract | Minimal; paste has seeds | $5-10 |
| Fancy European Butter | Store Brand Butter | Slightly less "shatter" | $3-4 |
| Organic Jonagold | Gala or Fuji | Sweeter, less tart | $2-3 |
Scaling this recipe is straightforward. If you want to make a deep dish version, increase the apples by 30% but keep the crust measurements the same, as you'll just roll it slightly thinner. For a half recipe (mini pies), use a muffin tin and reduce the baking time to about 25 minutes.
If you are doubling the recipe for a crowd, work in two separate batches for the dough to keep everything cold and manageable.
Keeping Your Handcrafted Pie Fresh and Crisp
Don't even bother putting a fresh pie in the fridge the first day. The humidity will turn that beautiful crust into a damp sponge. Keep it on the counter, covered loosely with a clean kitchen towel. It stays perfect for up to 2 days at room temperature.
After that, you can move it to the fridge for another 3 days, but you'll want to reheat a slice in the oven at 350°F (180°C) for 10 minutes to bring back the "shatter" factor.
For zero waste, take those apple peels and cores and simmer them with a bit of water and cinnamon to make a quick stovetop apple tea. Or, if you have leftover dough scraps, roll them out with cinnamon sugar and bake them alongside the pie for "pie fries." It’s the best part of baking day.
What to Serve with This Warm Spiced Treat
One big myth is that you have to use shortening for a flaky crust. Pure butter actually provides better flavor and, when handled correctly (kept cold!), creates even better layers. Another myth is that the "best" apples are always the most expensive ones.
Truly, the best results come from the contrast between any tart and sweet variety you find on sale.
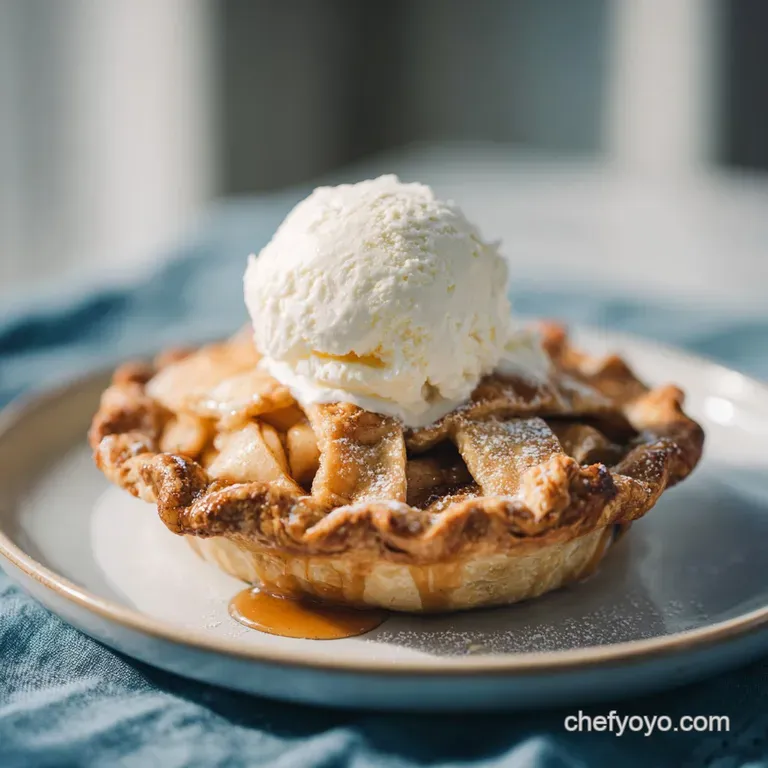
This pie is a star on its own, but a scoop of high-quality vanilla bean ice cream is the classic move. If you want something less sweet, a sharp wedge of cheddar cheese on the side is a traditional artisanal pairing that really highlights the acidity of the Granny Smiths. If you're looking for something different, you could try a Classic Apple Crisp recipe for a different texture profile. Enjoy every bite!

Recipe FAQs
What type of apples are best for making apple pies?
A mix of tart and sweet apples is best. Use firm, tart apples like Granny Smith for structure, and slightly sweeter apples like Honeycrisp or Jonagold for flavor balance.
What type of apple is most commonly used for baking and pie making?
Granny Smith is the most common base apple. It maintains its shape well during the long baking process and provides necessary acidity to cut through the sugar.
Can I use any apples to make apple pie?
No, soft, mushy apples should be avoided entirely. Very soft varieties break down too much, leading to a soupy filling or a large gap between the crust and the fruit.
What's the secret to a good apple pie?
Macerate the apples before assembly to remove excess moisture. Drawing out the liquid prevents a soggy bottom crust and ensures the filling sets up densely.
How do I prevent my pie crust from shrinking while baking?
Chill the dough thoroughly for at least one hour before rolling. Overworking the dough develops gluten, which contracts aggressively when exposed to high heat.
Should I use only one type of apple for the best flavor?
No, combining two varieties yields superior results. Using one apple that stays firm (like Granny Smith) and one that softens slightly creates textural contrast and complexity, much like we balance flavors in our Classic Homemade Orange recipe.
Is it true I must pre-cook the apples before putting them in the pie?
No, this is generally unnecessary if you macerate them properly. Pre-cooking adds time and often results in a mushier texture; macerating draws out liquid without softening the structure too much.
Artisanal Apples For Pie Filling

Ingredients:
Instructions:
Nutrition Facts:
| Calories | 546 calories |
|---|---|
| Protein | 4 grams |
| Fat | 23 grams |
| Carbs | 81 grams |
| Fiber | 5 grams |
| Sugar | 45 grams |
| Sodium | 288 milligrams |
