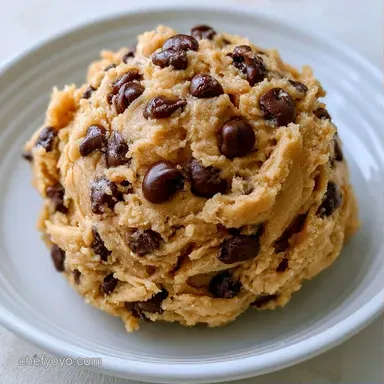
Ben and Jerrys Chocolate Chip Cookie in 20 Minutes
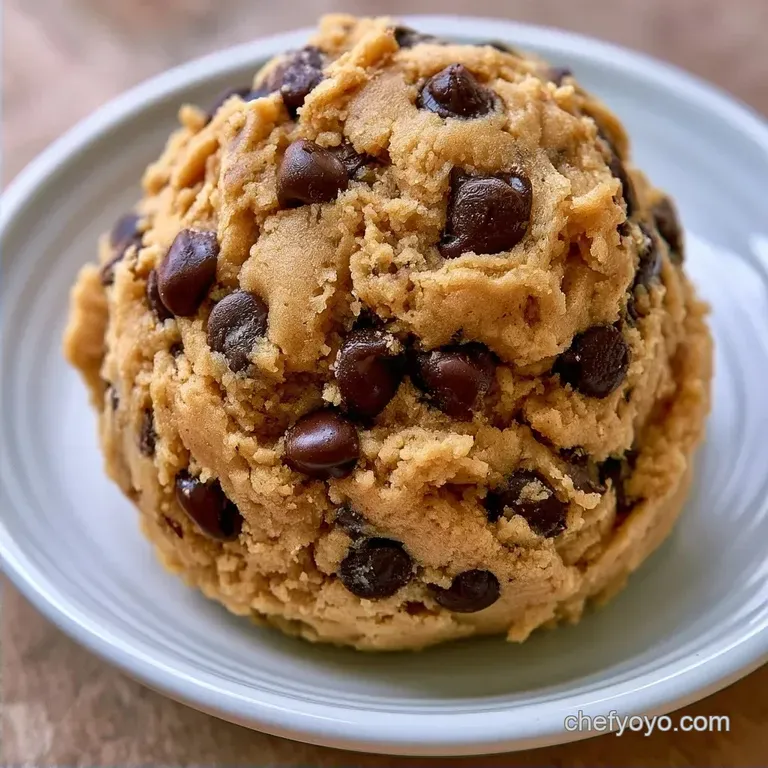
- Time: 15 min active + 5 min cooking
- Flavor/Texture Hook: Rich, buttery dough with dense chocolate chunks
- Perfect for: Quick cravings, ice cream toppings, or a kid friendly snack
Making Ben and Jerrys Chocolate Chip Cookie
Ever wondered why the little dough chunks in premium ice cream taste different from the dough you make at home? It's usually the lack of eggs and the specific way the fat and sugar bind. Most home recipes are meant for baking, but this one is designed specifically for the spoon.
This is the ultimate recipe for Ben and Jerrys Chocolate Chip Cookie Dough Ice Cream. I used to think skipping the heat treatment on the flour was fine, but then I realized that raw flour can actually carry bacteria.
Once I started roasting the flour for a few minutes, I noticed the flavor shifted from "raw grain" to something slightly nutty and toasted.
You can expect a thick, scoopable dough that doesn't spread. It has that classic, nostalgic taste that reminds you of licking the bowl, but it's actually safe to eat. We'll keep the ingredients simple and budget friendly while keeping the quality high.
Key Tricks for the Dough
Heat Treated Flour: Roasting the flour kills pathogens and removes the raw taste. This makes the dough safe without needing to bake it into a cookie.
No Eggs: Removing eggs prevents the dough from needing to be cooked and stops it from becoming too runny. This ensures the dough stays in distinct chunks when mixed into other things.
Brown Sugar Ratio: Using a high amount of brown sugar provides that deep, molasses like flavor. It creates a denser, more fudgy texture compared to white sugar.
| Method | Time | Texture | Best For |
|---|---|---|---|
| Fast (No Bake) | 20 mins | Soft and fudgy | Raw snacking/Ice cream |
| Classic (Baked) | 45 mins | Crispy edges | Traditional cookies |
Recipe Specs
I’ve balanced the fat and sugar in this recipe to ensure the consistency is spot on. If you're craving more raw treats, this Greek yogurt cookie dough is a great lighter option.
Everything depends on hitting the "cohesive" stage. Once the dough pulls away from the bowl, it will be sturdy yet melt-in-your mouth tender. Remember, this should be a heavy dough, not a batter.
The Essential Ingredients
The flour is the backbone. By roasting it, we change the starch structure slightly, which helps it absorb the butter and cream without becoming gummy.
Brown sugar is non negotiable here. It provides the moisture and the specific mahogany color. If you use granulated sugar, the dough will be too grainy and pale.
Butter provides the richness. Room temperature butter is key because it emulsifies with the sugar. If the butter is melted, the dough will be greasy.
Heavy cream acts as the binder. Since there are no eggs, the cream provides the necessary liquid to turn a crumbly mix into a smooth dough.
Gear for Easy Mixing
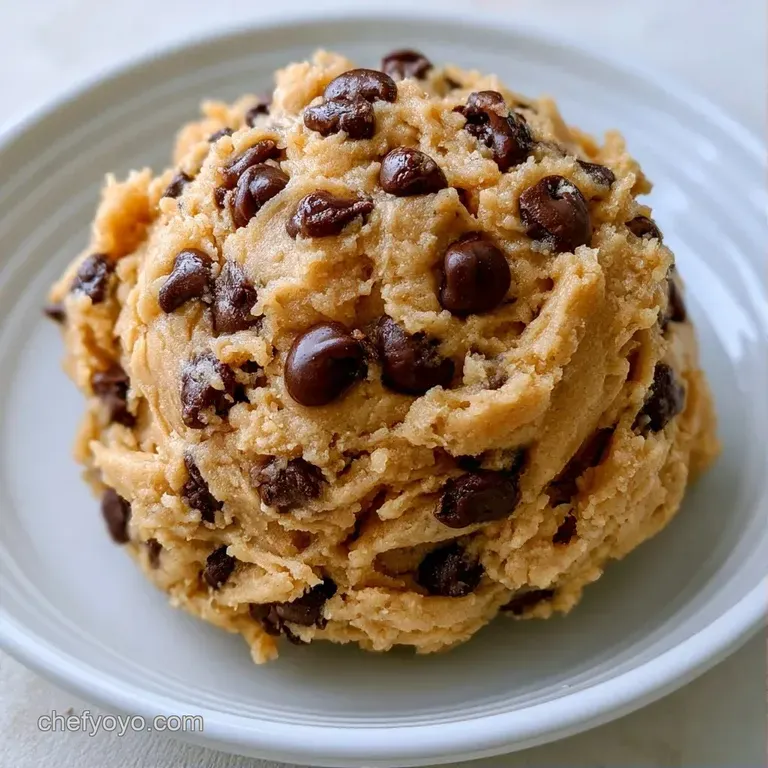
Basic tools are all you'll need. A standard mixing bowl and a sturdy spoon or electric hand mixer are perfectly sufficient. While a stand mixer (like a KitchenAid) can accelerate the process of creaming the butter and sugar, it is entirely optional.
You will also need a baking sheet to roast the flour. Ensure the pan is flat so the flour spreads out evenly and doesn't burn in concentrated piles.
Putting the Dough Together
Phase 1: Sterilizing the Flour
- Set your oven to 350°F (175°C).
- Spread 1 cup (120g) of flour in a thin layer on a baking sheet. Note: A thin layer helps avoid hot spots.
- Bake for 5 minutes, stirring halfway through, until it has a nutty aroma but remains white.
- Let the treated flour cool completely. Note: Incorporating hot flour will melt the butter and compromise the texture.
Phase 2: Creating the Creamy Base
- In a mixing bowl, cream 8 tbsp (113g) of softened butter and 1 cup (200g) of brown sugar until the mixture is smooth and mahogany tan in color.
- Stir in 1 tsp (5ml) of vanilla extract and 1/4 tsp (1.5g) of salt.
Phase 3: Folding in the Flavor
- Gradually add the cooled, sterilized flour to the butter mixture.
- Stir in 2 tbsp (30ml) of heavy cream and mix until a thick, cohesive dough forms and detaches from the edges of the bowl.
- Gently fold in 1/2 cup (85g) of semi sweet chocolate chips by hand until evenly distributed.
Fixing Texture Issues
If the Dough is Too Crumbly
This happens when the flour is too dry or the butter wasn't soft enough to blend. The fix is simple: add heavy cream one teaspoon at a time. Stir after each addition until the dough clings together and stops breaking apart.
If the Dough is Too Soft
If the dough feels greasy or too soft to scoop, your butter might have been too warm. To fix this, pop the bowl in the fridge for 15-20 minutes. This firms up the fats and gives it that stable, chunky feel.
If the Flour Browns Too Fast
If the flour turns golden or brown during the roast, it will taste like a cooked biscuit rather than raw dough. If this happens, you can still use it, but the flavor will be more "baked." Next time, stir more frequently or check it at 4 minutes.
Serving and Pairing Ideas
This is a fantastic addition to vanilla bean ice cream. To achieve those signature chunks, scoop small balls of dough and freeze them for 30 minutes before folding them into softened ice cream; this ensures the dough stays distinct rather than blending into the base.
Alternatively, these work wonderfully as energy bites. Just roll them into small spheres and store them in a jar for a convenient sweet snack.
For an extra indulgence, pair these with a glass of cold milk or a bold espresso. The coffee's roast helps balance the rich sweetness of the brown sugar. If you enjoy this flavor combination, you should try my Cream in 35 Minutes recipe for a complete frozen dessert.
Storage and Waste Tips
Place the dough in a plastic container or glass jar and keep it refrigerated for 5 days. If you need it to last longer, the freezer is the way to go; it remains fresh for 2 months, allowing you to scoop out only what you need.
To prevent waste, flatten any tiny amounts of leftover dough into a thin disc and freeze it. You can then grate the frozen disc over yogurt or ice cream for a "shaved chocolate chip" effect.
Any leftover heavy cream can be used to whip up a quick topping or added to your morning coffee.
Fun Dough Variations
| Original Ingredient | Substitute | Why It Works |
|---|---|---|
| Brown Sugar (1 cup) | Coconut Sugar (1 cup) | Similar color and moisture. Note: Adds a subtle caramel/coconut hint |
| Heavy Cream (2 tbsp) | Almond Milk (2 tbsp) | Provides liquid. Note: Less rich, may require an extra tsp of butter |
| Semi sweet Chips (1/2 cup) | Dark Chocolate Chunks | Bolder cocoa profile. Note: Lowers the perceived sweetness |
For a Peanut Butter Kick
Swap 2 tablespoons of the butter for creamy peanut butter. This introduces a salty depth that pairs beautifully with the chocolate chips.
For an "Everything" Cookie
Instead of using only chocolate chips, try a mix of mini chips, crushed pretzels, and a dash of cinnamon for a complex, sweet and-salty flavor.
For a Lower Sugar Alternative
You can use a brown sugar substitute, but keep an eye on the volume. Since some alternatives don't offer the same moisture as real sugar, you might need an extra splash of heavy cream to prevent the dough from drying out.
For a Vegan Version
Opt for a plant based butter alternative and coconut cream instead of heavy cream. Testing by Serious Eats suggests that coconut cream provides a fat profile similar to dairy, which helps maintain the dough's thickness.
Budget Friendly Quick Tips: More richness? → add 1 tsp melted butter Less sweet? → use 70% dark chocolate chunks Thicker chunks? → freeze dough 20 mins before using
- 1. Flour Temp
- Ensure flour reaches 160°F (71°C) for safety.
- 2. Color Check
- Butter and sugar must be mahogany tan, not pale yellow.
- 3. Weight Check
- 120g of flour is the limit; adding more makes it cakey.
There you have it a safe, tasty, and cost effective chocolate chip cookie dough inspired by Ben & Jerry's. It all comes down to the heat treated flour and the perfect amount of cream. I'll be honest, waiting for the flour to cool requires patience, but it is vital for the right texture.
Now, let's get to snacking!
Recipe FAQs
How to make chocolate chip cookie dough?
Beat softened butter with brown sugar, stir in vanilla and salt, then combine with heat treated flour, heavy cream, and chips.
Tip: Let the heat treated flour cool fully to avoid melting the butter during mixing.
Can I freeze chocolate chip cookie dough?
Store the dough in a glass jar or plastic container in the freezer for up to 2 months.
Tip: If you enjoyed managing this dough consistency, try the same technique for thick chewy peanut butter cookies.
Is it true that frozen baked cookies lose their quality?
Not true. Baked cookies preserve their texture well when sealed tightly.
Tip: Allow them to reach room temperature before eating to restore the best chew.
What's the trick to baking cookies that stay spherical?
Chill the dough thoroughly before baking to minimize spread.
Tip: Shape the dough into tall mounds instead of flat discs for a more rounded finish.
Ben And Jerrys Cookie Dough