Selfrising Flour: the Secret to Fluffy Buttermilk Scones
- The Secret to Royal-Worthy Scones: The Simplicity Revolution
- The Fluffy Factor: Harnessing the Power of Self-Rising Flour
- Essential Components for the Ideal Scone Structure
- Crafting Your Dough: A Baker’s Guide to Ultra-Fluffy Scones
- Troubleshooting and Expert Secrets from the Baker's Bench
- Preservation and Presentation: Finishing Your Culinary Masterpiece
- Recipe FAQs
- 📝 Recipe Card
The Secret to Royal Worthy Scones: The Simplicity Revolution
Who needs perfectly baked goods? I do! The smell of hot butter and baking powder hitting the air is pure comfort, right? That tall, craggy, golden brown peak is the hallmark of a perfect scone, and we are achieving it effortlessly today thanks to SelfRising Flour .
Forget complicated measuring of salt, baking powder, and baking soda. This recipe is an absolute lifesaver when you need a delicate, fancy treat, fast. It’s cheap, uses pantry staples, and cuts the prep time in half, giving you maximum fluff for minimal effort.
I used to fail at scones constantly they were tough, dry, and refused to rise, resembling sad disks instead of glorious peaks. But I finally cracked the code, and the secret weapon is simplicity. Let's dive into making the ultra fluffy buttermilk scones that will change your afternoon tea game forever.
What is "Elevenses," and Why Do I Need This Scone?
Elevenses is that delightful, unapologetically British mid-morning snack time, usually around 11 am. It’s too late for breakfast and too early for lunch, making it the ideal moment for a warm baked good.
These fluffy scones, powered by SelfRising Flour , are elegant enough for a special occasion but truly easy enough for a Tuesday treat.
Beyond Dry: Achieving the Perfect, Featherlight Crumb
The texture is absolutely everything here. We aren't aiming for a heavy cake; we want flaky, distinct layers that practically melt in your mouth when you bite into them. The key is cold, coarse butter combined with the rapid, instant lift provided by the pre-mixed agents in SelfRising Flour .
That combination guarantees those airy, cloud like pockets every single time.
The Ease of Baking: Why This Recipe is Truly Beginner Friendly
I swear, baking powder measurement is where most new bakers crash and burn it’s always either too much (metallic taste) or too little (no rise). Skip that drama entirely! The convenience of using a prepared SelfRising Flour mix means one less critical chance for error.
This brilliant shortcut allows us to focus entirely on technique: keeping the dough icy cold and handling it as little as humanly possible.
The Fluffy Factor: Harnessing the Power of Self Rising Flour
The reason this recipe works so flawlessly is rooted in a simple acid base reaction. Buttermilk provides the necessary acid that instantly reacts with the baking powder already present in the SelfRising Flour . This chemical reaction starts producing gas (CO2) immediately upon mixing.
The gas then dramatically expands (or explodes, if we're being dramatic!) when it hits the oven’s high heat. This dual action leavening, coupled with the steam from melting cold fat, is the fundamental reason we achieve phenomenal height.
Essential Components for the Ideal Scone Structure
Eliminating Leavening Stress: Perfect Rise Guaranteed
When I was learning to bake, I constantly used old, ineffective baking powder, leading to flat, sad disks that tasted faintly of cardboard. Switching to high-quality SelfRising Flour resolved 90% of my rising failures instantly.
This is a non-negotiable shortcut for consistently amazing texture; it takes the guesswork completely out of the equation.
The Buttermilk Balance: Acidity Meets Self Raising Agents
Buttermilk is tangy and acidic, right? That acidity is what activates the baking soda component in the SelfRising Flour into overdrive. You need that tangy liquid; swapping it for plain milk just won't give you the same beautiful lift and depth of flavor.
The acid tenderizes the tiny amount of gluten we do develop, yielding an incredibly soft interior.
Sourcing the Best Buttermilk (And Dairy Alternatives)
Always use cold, full fat buttermilk if you can find it; it results in the richest, most luxurious scone. But hey, life happens! If you absolutely cannot find buttermilk, you still have options to ensure this amazing SelfRising Flour recipe works.
| Ingredient | Recommended Substitute | Notes |
|---|---|---|
| Buttermilk | Milk + Lemon Juice/Vinegar | Use 1 tbsp acid per 1 cup milk, let stand 5 min. |
| Self Rising Flour | AP Flour + BP + Salt | 1 cup AP flour + 1.5 tsp BP + 0.5 tsp salt. |
| Butter | Cold Coconut Oil | Ensure it is solid and chilled, or grate it quickly. |
A Note on Sugar and Salt Content in Self Raising Mixes
Commercial SelfRising Flour already contains salt, which is why we only add a tiny extra pinch here. We do this to balance the slight sweetness of the sugar and enhance the flavor, but be careful not to oversalt.
Since different brands of self rising mixes vary slightly in their precise salt ratio, stick strictly to the recommended small amount in the recipe card.
Crafting Your Dough: A Baker’s Guide to Ultra Fluffy Scones
How Temperature Impacts Your Fats and Flour
I cannot emphasize this enough: everything must be cold. Seriously. I sometimes toss my pre-measured SelfRising Flour into the freezer for 10 minutes before I even start incorporating the butter.
This extreme cold prevents the butter from melting into the flour too early, which would yield a dense, cake like structure instead of those desired flaky layers.
Achieving the "Shaggy" Mix (The Gentle Hand Technique)
We are going for a rough, shaggy, borderline messy dough not a smooth, elastic bread dough. Use a butter knife or a rubber spatula to gently stir in the buttermilk; this simple tool change prevents you from over developing the gluten.
The second you see no dry flour streaks remaining, stop mixing immediately. Trust me, a little rough appearance is exactly what you want when working with SelfRising Flour .
The Importance of Scone Thickness and Cutting Methods
Do not roll your dough thin like a cookie sheet! You want the initial dough block to be at least three quarters of an inch thick (2 cm). Thinner scones simply won't achieve that majestic, dramatic upward rise that makes them so satisfying.
Remember that absolutely crucial instruction about the cutter: press straight down and lift straight up. Twisting seals the dough edges and stops the leavening action of the SelfRising Flour mixture from fully realizing its magic.
Baking Time Calibration: Doneness Indicators
We bake these beauties relatively hot, at 425°F (220°C). That burst of intense heat makes the cold butter create steam immediately, giving a massive boost to the lift started by the leavening in the SelfRising Flour .
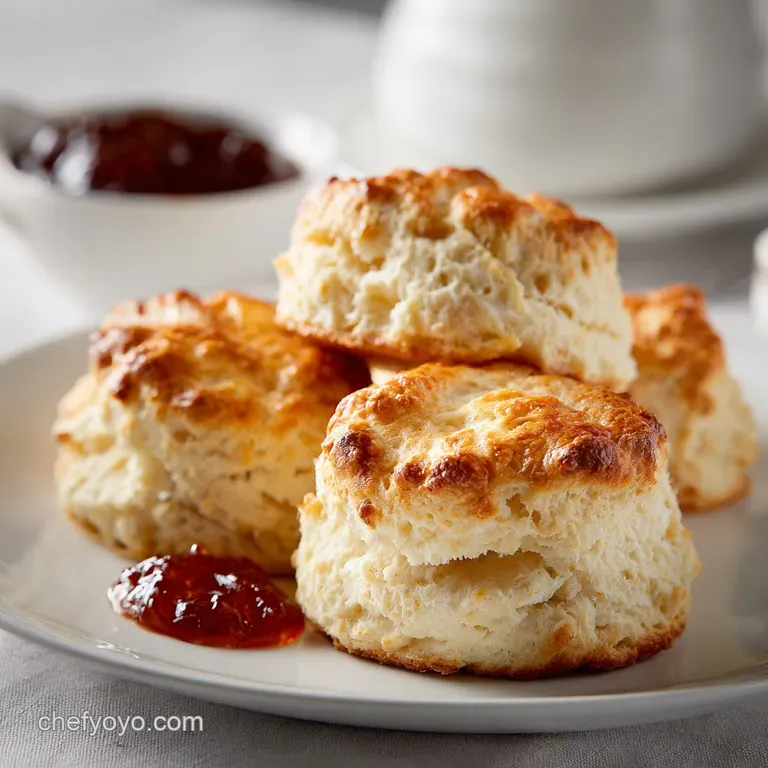
They should be deeply golden, completely risen, and sound slightly hollow when tapped on the bottom.
Troubleshooting and Expert Secrets from the Baker's Bench
Why Your Scones Are Dense (The Overworking Trap)
If your finished product resembles a hockey puck more than a fluffy cloud, you almost certainly mixed the dough too long, developing too much gluten. Next time, remind yourself that minimal handling is key, almost counting the folds on your fingers.
Another major culprit is warm ingredients, so ensure you chill your mixing bowl and your SelfRising Flour mixture if your hands or kitchen are particularly warm.
The Trick to Achieving Scone "Shoulders" (Close Baking)
Did you notice the instruction to place the cut scones close together on the tray? This is entirely intentional and highly effective! Baking the scones shoulder-to-shoulder forces them to rise vertically rather than spreading horizontally.
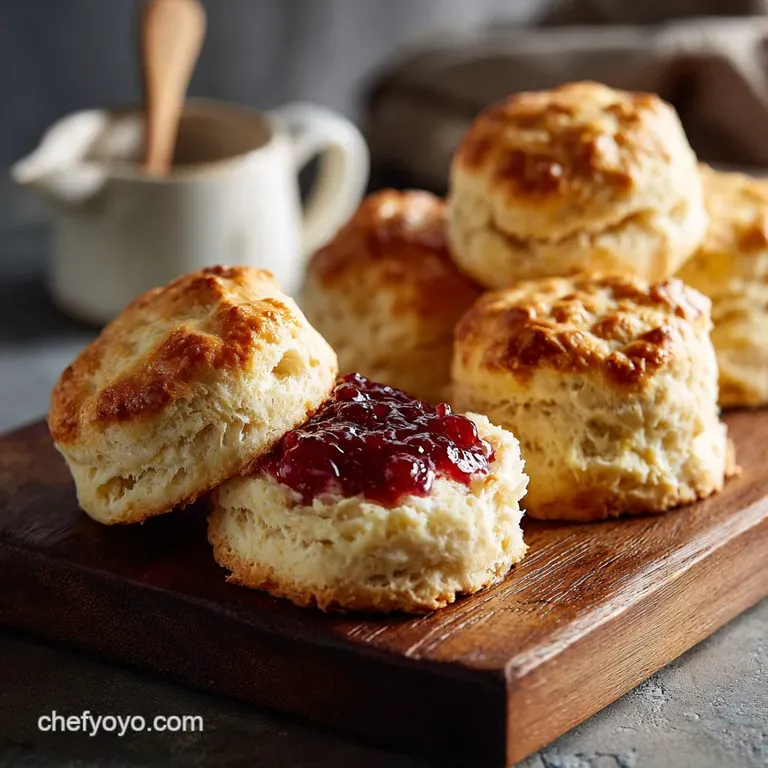
This technique guarantees tall, proud structures perfect for splitting and loading up with jam.
Pre-Baking Chill: Is It Necessary for Self Raising Dough?
Yes, absolutely necessary. The mandatory 15 minute chill after cutting is critical to success. It firms up the butter again, ensuring maximum steam production when the dough hits the hot oven.
Never skip this rest step if you want the best possible, skyscraper high results from your SelfRising Flour batch.
Chef’s Note: I once tried to substitute brown sugar in this recipe to add moisture, and the resulting scones were too dense and completely collapsed mid-bake.
Stick strictly to the granulated sugar recommended here; it keeps the dough structure lighter, which works perfectly with the fast, airy rise characteristic of the SelfRising Flour .
Preservation and Presentation: Finishing Your Culinary Masterpiece
Keeping Freshness: Short Term Storage Solutions
Scones are truly best served fresh and warm, ideally within a few hours of emerging from the oven. If you must store them, keep them in an airtight container at room temperature for up to two days. To revive them, cut them open and reheat them quickly in a toaster oven for that satisfying "just baked" texture.
How to Freeze Scone Dough (The Unbaked Method)
This is my favorite trick for being ready for company! Cut the dough rounds, arrange them on a tray, and freeze until they are rock solid. Once frozen, transfer them to a freezer bag. They keep wonderfully for up to 3 months. To bake, pull them straight from the freezer and bake (add about 5– 7 minutes to the total cooking time). Baking from frozen ensures the best possible rise, as the butter is guaranteed to be rock solid. This is a total game changer for spontaneous baking, using your amazing homemade SelfRising Flour mixture when guests drop by unexpectedly. If you love quick breads like this, you might also enjoy making my How to Make My Grandmother's English Muffin Recipe with Einkorn Flour , though those require a much longer proofing process!
Traditional Pairings: Clotted Cream and Jam
Don't be shy with the toppings, please. Whether you go Devon style (cream first) or Cornish style (jam first), the classic accompaniments are non-negotiable for a reason. If you want a fun, bright alternative, try them with warm lemon curd it contrasts beautifully with the slight tang of the buttermilk we used alongside the SelfRising Flour . If you're looking for other easy recipes that celebrate simple ingredients, remember that sometimes just pairing a perfect baked good with a slice of my Sunshine Flourless Lemon Cake This Recipe Is Pure Joy makes the day.
So there you have it: the perfect, ultra fluffy scone, achieved with minimal fuss and maximum lift. This recipe proves that baking doesn't need to be complicated or stressful; sometimes, the best results come from leaning into a brilliant shortcut ingredient like SelfRising Flour .
Go ahead and whip up a batch this weekend. Your afternoon tea is about to get a major, feathery upgrade, and you’ll never settle for those dense, flat bakery versions again.

Recipe FAQs
My scones came out tough and dry. What did I do wrong?
The most common culprit for tough scones is overmixing or overhandling the dough after the liquid is added. Too much kneading develops the gluten, preventing the scone from achieving that desired tender, crumbly texture.
Ensure you mix the dough just until it comes together and avoid twisting the cutter when shaping, as this seals the edges and inhibits a good rise.
Can I use regular milk instead of buttermilk?
While regular milk will technically work, it will result in scones that are less fluffy and slightly heavier, as buttermilk is crucial for activation and flavor. Buttermilk’s acidity reacts with the leavening agents in the self rising flour, providing superior lift and a tangy richness.
To replicate buttermilk, mix 1 cup of whole milk with 1 tablespoon of white vinegar or lemon juice, and let it sit for five minutes until it slightly thickens before incorporating it into the recipe.
My scones didn't rise properly. How can I fix this next time?
First, ensure your self rising flour is fresh, as the baking powder incorporated within it loses its efficacy over time once the bag is opened.
Also, make sure your butter is extremely cold when mixing, as the steam released from melting butter pockets is essential for lift. Finally, verify your oven temperature is accurate and hot enough to set the dough quickly.
I only have all-purpose flour. Can I use that instead of self rising flour?
Yes, you can easily create a substitute for self rising flour if you have plain flour, baking powder, and salt. For every cup of all-purpose flour, you will need to whisk in 1.5 teaspoons of baking powder and 1/4 teaspoon of fine table salt.
Be sure to whisk these ingredients together thoroughly before adding the cold butter to ensure the leavening agents are evenly distributed throughout the dough.
How should I store leftover scones to keep them fresh?
Scones are best eaten the day they are baked, but they can be stored in an airtight container at room temperature for up to two days.
To refresh them, place the cold scones in a 300°F (150°C) oven or a toaster oven for about five to seven minutes. This warms the butter pockets and restores some of their original tenderness.
Can I freeze the scone dough or the baked scones?
You can successfully freeze both the baked scones and the cut dough rounds. To freeze the dough, cut the shapes, place them on a parchment lined tray, and freeze until solid, then transfer them to a freezer bag.
Bake frozen dough directly from the freezer, adding 5 8 minutes to the total baking time. Baked scones can be frozen for up to three months; thaw them at room temperature and reheat gently before serving.
Can this recipe be made vegan?
Yes, you can easily adapt this recipe to be vegan by swapping the dairy ingredients. Substitute the chilled butter with a good quality, solid plant based butter block or chilled vegetable shortening for the fat.
Replace the buttermilk with an equal amount of plant based milk, such as soy or oat milk, combined with a tablespoon of apple cider vinegar to achieve the necessary acidity and tang.
Fluffy Buttermilk Scones Secret

Ingredients:
Instructions:
Nutrition Facts:
| Calories | 110 kcal |
|---|---|
| Protein | 4.0 g |
| Fat | 0.0 g |
| Carbs | 24.0 g |
