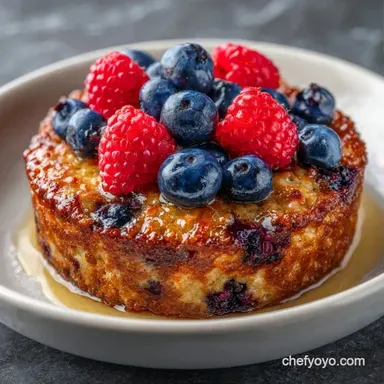
Gluten Free Berry Baked Oats: Golden and Wholesome
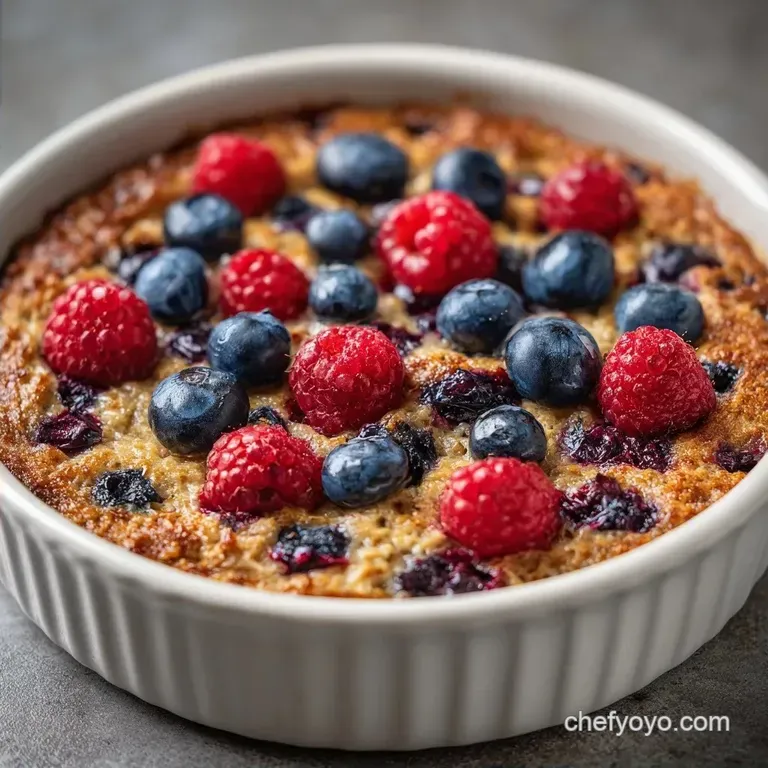
- Time: 10 min active + 40 min baking
- Flavor/Texture Hook: Velvety center with a golden, almond crusted top
- Perfect for: Sunday meal prep or a cozy weekend brunch
- Easy Gluten Free Berry Baked Oats
- Why the Texture Hits Right
- The Essential Recipe Specs
- The Wholesome Building Blocks
- Must Have Kitchen Tools
- Step-by-Step Baking Guide
- Preventing Common Baking Fails
- Troubleshooting Common Issues
- Fun Flavor Twists
- Keeping and Reheating Tips
- Best Ways to Serve
- Recipe FAQs
- 📝 Recipe Card
Ever wonder why some baked oats feel like a fluffy cake while others just feel like warm, wet mush? I spent a long time wondering that, usually while staring at a pan of oats that looked more like porridge than a breakfast bake.
The secret isn't some fancy ingredient, but rather how the oats actually handle the liquid before they hit the heat.
I remember one specific morning where I rushed the process, skipped the resting time, and ended up with a texture that felt like chewing on wet cardboard. It was a disaster. But once I started treating the oats like a sponge that needs time to soak, everything changed.
This recipe for gluten free Berry Baked Oats is all about that balance. You get the wholesome, rustic feel of a traditional oat bake, but with a texture that's actually satisfying. It's the kind of breakfast that fills the kitchen with a warm, cinnamon sugar aroma that practically pulls you out of bed.
Easy gluten free Berry Baked Oats
The real magic here happens when the berries start to burst. As they heat up, they release their juices into the surrounding oats, creating these little pockets of jammy sweetness. It's a huge contrast to the nutty crunch of the sliced almonds on top.
When you first pull these out of the oven, they might look a bit too soft in the middle. Trust me on this, don't put them back in. The carryover heat does the heavy lifting during the cooling phase. If you overbake them, you lose that velvety interior and end up with something too dense.
Whether you're making these for a crowd or just prepping your own breakfasts for the week, the goal is a bake that holds its shape but stays moist. It's a simple process, but the details make it feel artisanal.
Why the Texture Hits Right
Instead of a long lecture, here is the actual reason this works:
- The Soak: Letting the batter sit for 5 minutes allows the GF oats to absorb the almond milk, preventing that "grainy" mouthfeel common in gluten-free baking.
- The Binder: The egg acts as the structural glue, creating a lift that mimics a cake without needing wheat flour.
- The Sugar Ratio: Maple syrup provides moisture and a deep flavor that granulated sugar can't match, keeping the crumb tender.
- The Berry Placement: Folding the berries in last prevents them from breaking and turning the whole batter purple.
| Method | Time | Texture | Best For |
|---|---|---|---|
| Fast (Microwave) | 5 minutes | Soft, porridge like | Single serving, rush |
| Classic (Baked) | 40 minutes | Cake like, golden crust | Meal prep, guests |
The Essential Recipe Specs
Before we get into the gear, let's talk about the flow. This is a "plan based" bake, meaning we organize the wet and dry components separately to ensure the baking powder is evenly distributed.
- 1. Prep Flow (10 mins)
- Preheat oven, grease pan, mix dry, then stir in wet.
- 2. Cooking Flow (45 mins)
- 5 minute hydration rest, 40 minute bake.
- 3. Finish Flow (10 mins)
- Cool in pan to set the structure.
Precision Checkpoints:
- Oven Temp: Steady 350°F (175°C).
- Hydration Window: Exactly 5 minutes.
- Doneness Cue: Edges must be golden brown, and the center should give slightly when pressed.
The Wholesome Building Blocks
The quality of your oats determines the final result. I always recommend using certified gluten-free rolled oats to avoid cross contamination, as noted by Serious Eats, which helps maintain that classic chewy texture.
| Ingredient | Science Role | Pro Secret |
|---|---|---|
| GF Rolled Oats | Structure/Fiber | Use thick cut oats for more chew |
| Baking Powder | Lift/Aeration | Fresh powder prevents "flat" bakes |
| Egg | Emulsifier/Bind | Room temperature eggs blend better |
| Mixed Berries | Moisture/Acidity | Toss in a bit of cornstarch to stop sinking |
The Ingredients List:
- 2 cups (180g) gluten-free rolled oatsWhy this? Provides the rustic, hearty base.
- 1 tsp (5g) Baking powderWhy this? Gives the bake a slight rise.
- 1 tsp (2g) Ground cinnamonWhy this? Essential for that warm aroma.
- ¼ tsp (1.5g) SaltWhy this? Balances the sweetness of the maple.
- 1 cup (240ml) Unsweetened almond milkWhy this? Keeps it light and dairy-free.
- ¼ cup (60ml) Pure maple syrupWhy this? Adds a rich, woody sweetness.
- 1 large (50g) EggWhy this? Binds the GF ingredients together.
- 1 tsp (5ml) Vanilla extractWhy this? Enhances the berry flavors.
- 1 ½ cups (225g) Mixed berriesWhy this? Adds tartness and color.
- ¼ cup (30g) Sliced almondsWhy this? Adds a necessary nutty crunch.
Quick Substitutions:
- Milk: Soy or Oat milk works well; coconut milk makes it creamier.
- Syrup: Honey is a great swap, though it's a bit sweeter.
- Berries: Fresh or frozen both work. If using frozen, don't thaw them first.
- Egg: A flax egg (1 tbsp ground flax + 3 tbsp water) works for a vegan version.
Must Have Kitchen Tools
You don't need a professional kitchen for this, but a few specific tools make the process smoother.
- 8x8 inch Baking Dish: This is the gold standard. A larger pan will make the bake too thin and dry it out.
- Large Mixing Bowl: You need enough room to fold in the berries without smashing them.
- Silicone Spatula: Better than a spoon for getting the batter off the sides of the bowl.
- Parchment Paper: If you want a clean release, line the pan. Otherwise, a good grease of oil works.
Step-by-step Baking Guide
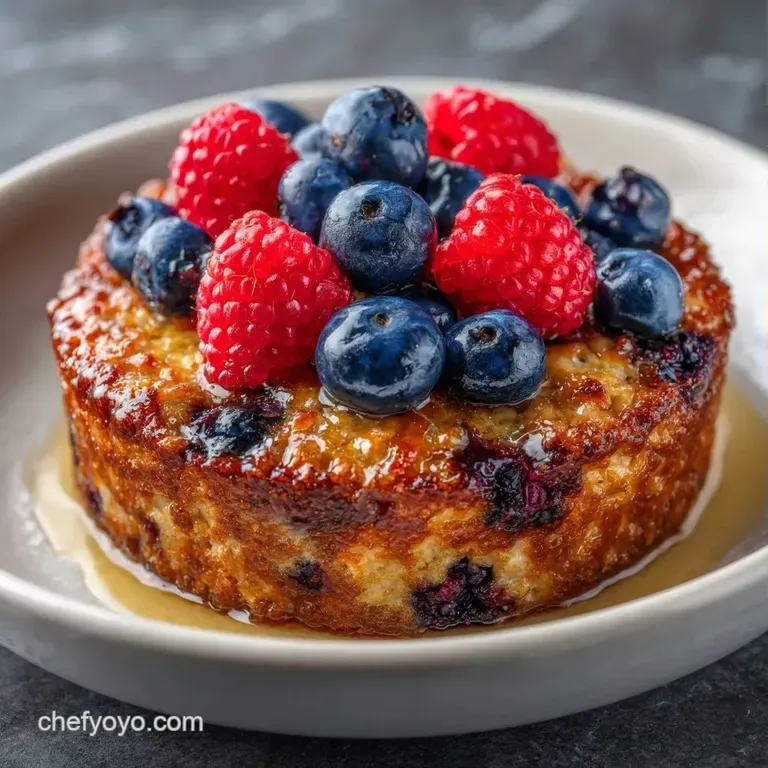
Right then, let's get into it. Follow these steps and you'll avoid the dreaded "mushy center" syndrome.
1. Prepare and Combine
Preheat your oven to 350°F (175°C). Grease your 8x8 inch baking dish with oil or line it with parchment paper. In a large mixing bowl, whisk together the gluten-free rolled oats, baking powder, ground cinnamon, and salt.
Stir them until you don't see any clumps of cinnamon or baking powder.
2. Emulsify the Batter
Pour the unsweetened almond milk, pure maple syrup, egg, and vanilla extract directly into the dry mix. Using your spatula, stir until the mixture is a thick, well combined slurry. You want it consistent, with no dry pockets of flour or oats hiding at the bottom.
3. The Hydration Rest
Now, stop. Let the batter sit for 5 minutes. This is the part most people skip, but it's the most important. The oats need this time to absorb the liquid, which ensures the final bake isn't gritty.
4. Fold and Bake
Gently fold in the mixed berries. Be careful here if you stir too aggressively, the berries will burst and dye the batter. Transfer the batter to the baking dish and smooth the top with your spatula. Sprinkle the sliced almonds evenly across the surface.
5. The Heat Phase
Bake for 35-40 minutes. You're looking for the edges to be golden brown and the center to feel firm to a light touch. It should smell like a cozy bakery.
6. The Set Phase
Remove the pan from the oven. Let it cool for at least 10 minutes. This allows the internal steam to settle and the structure to firm up, ensuring you get a clean slice.
Chef's Note: If you're using frozen berries, they might release more juice. I find adding an extra tablespoon of oats helps soak up that extra liquid so the bottom doesn't get soggy.
Preventing Common Baking Fails
Baked oats can be tricky because GF oats don't behave like wheat. If yours aren't coming out right, it's usually a moisture or temperature issue.
Troubleshooting Common Issues
| Issue | Solution |
|---|---|
| Why Your Oats Feel Gritty | This happens when the oats aren't fully hydrated. If you skip the 5 minute rest, the liquid stays on the surface and the core of the oat remains hard. |
| Why Your Berries Sank | Berries are heavy. If your batter is too thin or if you stir the berries in too vigorously, they'll migrate to the bottom of the pan. |
| Why the Center is Mushy | This is often a result of using too many frozen berries or underbaking. Remember, the center should be firm, not jiggly. |
Common Mistakes Checklist:
- ✓ Did you grease the pan? (Prevents sticking)
- ✓ Did you let the batter rest? (Prevents grittiness)
- ✓ Are the berries folded in gently? (Prevents "bleeding")
- ✓ Did you cool the pan for 10 mins? (Sets the center)
- ✓ Is the oven actually at 350°F? (Ensures even cook)
Fun Flavor Twists
Once you've nailed the base, you can play around with the ingredients. This is where you can make the recipe your own.
For a Zesty Twist: Add the zest of one lemon to the dry ingredients. Lemon and blueberries are a classic match. You can also swap the maple syrup for a bit of honey to lean into that bright, citrusy profile.
For a Chocolate Berry Fusion: Fold in 1/4 cup of dark chocolate chips along with the berries. The chocolate melts into the oats, creating a rich contrast to the tart berries. If you love this, you might also enjoy my Banana Bread recipe for another cozy, fruit forward treat.
For a Vegan Version: Replace the egg with a flax egg. Use 1 tablespoon of ground flaxseed meal mixed with 3 tablespoons of water; let it sit for 5 minutes before adding it to the wet ingredients. The texture is slightly denser but still very satisfying.
For Added Protein: Stir in two tablespoons of almond butter or a scoop of vanilla pea protein. If you add protein powder, you might need an extra splash of almond milk to keep the batter from becoming too thick.
Decision Shortcut:
- If you want a cake like feel → use the egg and full baking powder.
- If you want it more rustic → use more almonds and slightly fewer berries.
- If you want a sweeter treat → add a drizzle of honey after baking.
Keeping and Reheating Tips
This is the ultimate meal prep breakfast. You don't have to make this every morning; one pan lasts most of the week.
Storage Guidelines: Store your slices in an airtight container in the fridge for up to 5 days. I recommend placing a piece of parchment paper between layers if you're stacking them to prevent them from sticking together.
Freezing Instructions: You can freeze individual slices for up to 3 months. Wrap them tightly in foil and then put them in a freezer bag. This stops freezer burn and keeps the berry flavor fresh.
Reheating Method: For a "fresh out of the oven" feel, pop a slice in the toaster oven for 3-5 minutes. If you're in a rush, a microwave for 30-45 seconds works, but you'll lose the crispiness of the almonds.
Zero Waste Tip: If you have leftover almond milk or maple syrup, don't toss them. I often use the remaining syrup to glaze carrots or roast sprouts. If you're looking for other fruit based snacks to prep, my Homemade Fig Bars recipe is another great way to use up pantry staples.
Best Ways to Serve
While these are great on their own, adding a topping makes them feel like a restaurant brunch.
The Classic Topping: A dollop of Greek yogurt or coconut cream adds a creamy tang that cuts through the sweetness of the maple syrup. A few fresh berries on top add a pop of color and freshness.
The Indulgent Route: Warm up a slice and add a pat of salted butter and a drizzle of extra maple syrup. The butter melts into the warm oats, making the whole thing feel velvety and rich.
The Healthy Pair: Serve a slice alongside two hard boiled eggs or some sliced avocado. The added protein and healthy fats make this a balanced meal that keeps you full until lunch.
A Note on Nutrition: According to USDA FoodData, mixed berries are packed with antioxidants, making this a wholesome start to the day. By using almond milk and maple syrup, you're keeping the ingredients natural and avoiding refined sugars.
Recipe FAQs
Is it true that all oats are naturally gluten-free?
No, this is a common misconception. While the grain itself is gluten-free, many are processed on shared equipment with wheat, so you must use certified gluten-free rolled oats.
Is this berry baked oats recipe a healthy breakfast option?
Yes, it is highly nutritious. It provides a balance of complex carbohydrates from oats, antioxidants from mixed berries, and protein from the egg.
Can I use these gluten-free oats for other baked treats?
Yes, they are incredibly versatile. If you enjoyed the texture here, the same ingredient logic applies to a basic muffin recipe for a similar gluten-free swap.
Why is the center of my baked oats mushy?
This usually happens from underbaking or using too many frozen berries. Ensure the center is firm to a light touch and let the dish cool for 10 minutes to allow the structure to set.
How to prevent the oats from feeling gritty?
Let the batter sit for 5 minutes before baking. This crucial rest period allows the gluten-free rolled oats to hydrate so the cores don't remain hard.
How to stop the berries from sinking to the bottom?
Gently fold the mixed berries into the slurry at the end. Stirring too vigorously or using a batter that is too thin causes the heavy fruit to migrate downward.
How to store and reheat the leftovers?
Store portions in an airtight container in the refrigerator for up to 5 days. Reheat individual slices in the microwave or oven until warmed through.
gluten free Berry Baked Oats