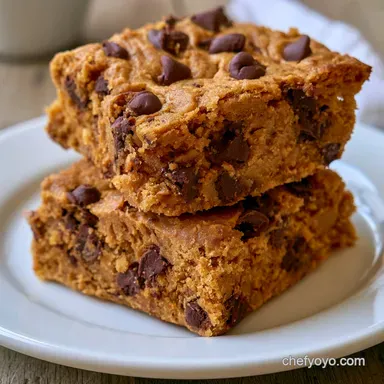
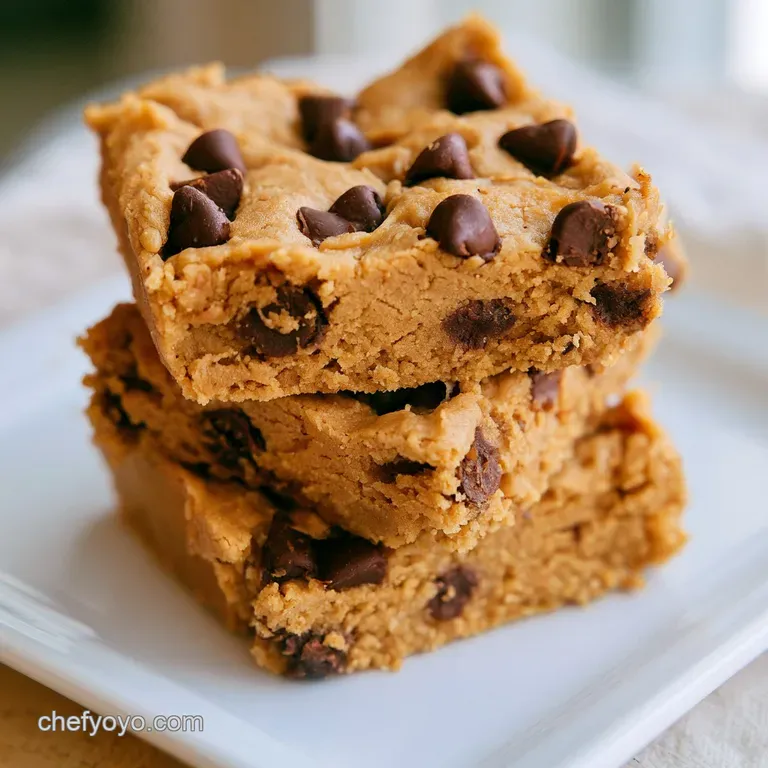
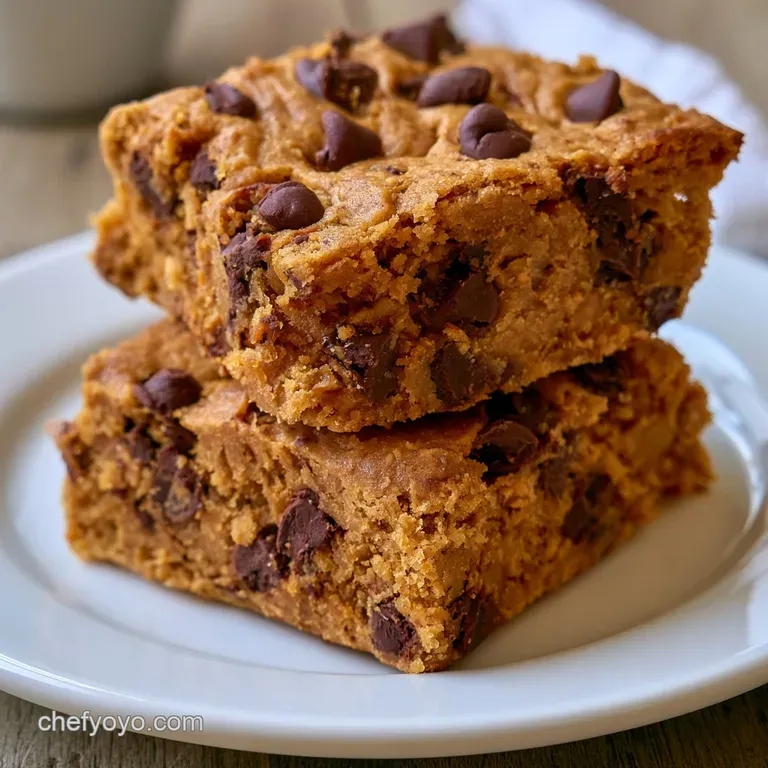
Protein Bars: Chewy and No Bake
- Time:15 minutes active + 2 hours chilling = Total 2 hours 15 mins
- Flavor/Texture Hook: Shatter crisp dark chocolate over a fudgy, peanut butter base
- Perfect for: Post workout fuel or a wholesome mid afternoon snack
- Easy No Bake Protein Bars for Busy Mornings
- Why the Texture Works
- Component Analysis
- Gathering Your Essentials
- Minimal Equipment Needed
- The Assembly Process
- Fixing Common Issues
- Flexible Dietary Swaps
- Scaling Adjustments
- Truths About Protein Snacks
- Storage and Waste
- Best Pairing Ideas
- Recipe FAQs
- 📝 Recipe Card
Easy No Bake Protein Bars for Busy Mornings
That first scent of warmed peanut butter and honey hitting the air is honestly the best part of my morning. I remember the first time I tried to make a healthy snack at home, and I ended up with something that had the consistency of a literal brick.
I had used too much protein powder and not enough binder, and I'm pretty sure I nearly chipped a tooth. It was a humbling experience that taught me that "healthy" doesn't have to mean "tasteless" or "impossible to chew."
Since then, I've leaned into the beauty of creamy peanut butter. It's the real hero here because it provides that rustic, satiny mouthfeel that separates a home cooked treat from the chalky, store-bought versions.
By using a combination of almond flour and a bit of heat to liquefy the honey, we create a dough that feels more like a confection than a supplement.
You can expect these Protein Bars to be dense, satisfying, and rich. They aren't airy like a granola bar, but rather fudgy and substantial. We're aiming for a contrast between the soft, chewy center and the snap of the dark chocolate topping.
Trust me on this, the wait for them to set in the fridge is the hardest part, but it's what makes the texture spot on.
Why the Texture Works
Understanding how these components interact helps you avoid the "brick" scenario I mentioned earlier. According to Serious Eats, the balance of fats to dry solids is what dictates whether a snack stays chewy or becomes crumbly.
- The Honey Bind: Honey acts as a humectant, meaning it holds onto water and keeps the bars from drying out.
- Fat Lubrication: The oils in peanut butter and almond flour coat the protein particles, preventing that dreaded "chalky" feeling.
- Chocolate Tempering: Adding a touch of coconut oil to the chocolate prevents it from cracking into a million pieces when you bite into it.
- Protein Structure: The powder provides the bulk, but the almond flour softens the edges, making the bite more velvety.
| Method | Time | Texture | Best For |
|---|---|---|---|
| Stovetop/No Bake | 15 mins | Chewy & Fudgy | Quick meal prep |
| Oven Baked | 30 mins | Cakey & Firm | Long term shelf life |
Component Analysis
Before we get into the mixing, it's helpful to know exactly what each part is doing. I don't just throw things in a bowl; I want to know why they're there.
| Ingredient | Science Role | Pro Secret |
|---|---|---|
| Peanut Butter | Structural Binder | Use a brand with no added palm oil for a cleaner taste |
| Honey | Moisture Lock | Warm it slightly to ensure it blends without lumps |
| Protein Powder | Protein Base | Sift it if your powder tends to clump |
| Coconut Oil | Texture Modifier | Keeps the chocolate glaze glossy and supple |
Gathering Your Essentials
Right then, let's look at what you'll need. I've kept this list short and wholesome. Please use the specific measurements to ensure the dough doesn't end up too sticky to press into the pan.
- 1 cup (250g) creamy peanut butter Why this? Provides the primary fat and binding power
- 1/2 cup (170g) honey Why this? Natural sweetener that keeps the bar moist
- 1 cup (110g) vanilla protein powder Why this? The core protein source; vanilla pairs best with chocolate
- 1/2 cup (60g) almond flour Why this? Adds a subtle nuttiness and softens the texture
- 1/4 tsp (1.5g) sea salt Why this? Cuts through the richness of the peanut butter
- 1/2 cup (90g) dark chocolate chips Why this? Provides the rich, bitter contrast to the sweet base
- 1 tbsp (15ml) coconut oil Why this? Ensures the chocolate is smooth and easy to bite
| Original Ingredient | Substitute | Why It Works |
|---|---|---|
| Peanut Butter | Almond Butter | Same fat profile. Note: Lighter, more subtle flavor |
| Honey | Maple Syrup | Liquid sweetener. Note: Slightly thinner consistency |
| Vanilla Protein | Chocolate Protein | Same structure. Note: Makes it a double chocolate bar |
| Almond Flour | Oat Flour | Good binder. Note: Heavier, more "bready" texture |
Minimal Equipment Needed
You don't need a fancy kitchen to pull this off. In fact, using too many bowls just means more cleanup. I prefer a simple setup that keeps things efficient.
- Large mixing bowl: Something sturdy enough to handle a thick dough.
- Microwave safe bowl: For warming the honey and melting the chocolate.
- 8x8 inch square baking pan: The standard size for these batches.
- Parchment paper: Non negotiable if you want to lift the bars out without a struggle.
- Spatula or flat bottomed glass: To press the dough into the corners firmly.
The Assembly Process
Let's crack on. The key here is not to overwork the dough, but to make sure it's fully incorporated. If you see streaks of honey, keep stirring.
- Combine the peanut butter and honey in a large bowl. Microwave for 30 seconds until the mixture is fluid and glossy. Note: This ensures the honey doesn't stay in one clump.
- Stir in the protein powder, almond flour, and salt. Mix until the dough transforms from a sticky paste into a thick, pliable clay.
- Line an 8x8 inch square baking pan with parchment paper, leaving an overhang on the sides. Note: This makes removal much easier later.
- Transfer the dough to the pan. Press the mixture firmly and evenly into the corners using a spatula until the surface is flat and dense.
- Place dark chocolate chips and coconut oil in a small bowl. Microwave in 30 second intervals until the chocolate is smooth and velvety. Note: Avoid overheating or the chocolate will seize.
- Pour the melted chocolate over the peanut butter base and spread it evenly to the edges.
- Place the pan in the refrigerator for at least 2 hours until the chocolate is hard and the base is firm.
- Lift the parchment paper out and slice into 12 even bars using a sharp knife.
Chef's Note: To get those clean, professional looking edges, dip your knife in hot water and wipe it dry between every single cut. It prevents the chocolate from cracking.
Fixing Common Issues
Even with a simple recipe, things can go sideways. Usually, it comes down to the temperature of your ingredients or the brand of protein powder you're using.
Dough is too crumbly?
If your Protein Bars are falling apart, it's usually because the protein powder absorbed too much moisture. This happens often with whey casein blends which are thirstier than pure whey. Add a teaspoon of honey or melted peanut butter at a time until it holds together.
Mixture is too sticky?
This is the opposite problem. If the dough is sticking to everything, you likely have too much honey or your peanut butter is very runny. Stir in an extra tablespoon of almond flour or protein powder to tighten the structure.
Chocolate is streaky or dull?
This happens when the chocolate "seizes" due to moisture or overheating. Adding the coconut oil usually prevents this, but if it happens, you can't really "fix" the look, though it will still taste great.
| Problem | Root Cause | Solution |
|---|---|---|
| Base is too soft | Not chilled long enough | Return to fridge for another hour |
| Chocolate cracks | No coconut oil used | Add 1 tsp coconut oil next time |
| Bitter aftertaste | Low quality protein powder | Add a pinch more salt or honey |
Common Mistakes Checklist
- ✓ Did you leave the parchment overhang? (Essential for lifting)
- ✓ Did you press the base firmly? (Prevents air pockets)
- ✓ Did you melt chocolate in short bursts? (Prevents burning)
- ✓ Did you wait the full 2 hours? (Crucial for the set)
Flexible Dietary Swaps
I love that these Protein Bars are naturally gluten-free, but you can tweak them further. If you're making a vegan version, pairing these with homemade almond milk makes for a wholesome breakfast.
For those avoiding honey, maple syrup works well, though you might need an extra tablespoon of almond flour to compensate for the thinner consistency. If you want a no sugar option, you can use an allulose based syrup, but be warned that the texture won't be as "chewy" and may feel slightly more brittle.
If you're looking for a texture boost, try adding a handful of chia seeds or hemp hearts to the dough. This adds a rustic crunch and boosts the omega-3 content without changing the flavor profile too much.
Scaling Adjustments
If you're making these for a whole gym group or just for yourself, you'll need to adjust.
Scaling Down (Half Batch): Use a 4x8 inch loaf pan if you have one. Reduce the chilling time by about 30 minutes, as a smaller mass cools faster. If you're using a recipe that requires eggs (not this one), remember to beat the egg first and use half.
Scaling Up (Double Batch): I recommend working in batches rather than one giant bowl, as stirring a double batch of this thick dough is a real forearm workout. Use two 8x8 pans rather than one large sheet pan to keep the thickness consistent.
For spices and salt, only increase to 1.5x initially, then taste before adding the full amount.
| Target | Pan Size | Chill Time | Note |
|---|---|---|---|
| Single | 8x8 inch | 2 hours | Standard result |
| Half | 4x8 inch | 1.5 hours | Use a smaller pan |
| Double | 2x (8x8) | 2.5 hours | Don't overcrowd one pan |
Truths About Protein Snacks
There are a few things people get wrong when it comes to homemade Protein Bars. Let's clear those up.
The Chalky Myth: Many believe that all protein powder makes a snack taste like chalk. The truth is that the "chalkiness" comes from a lack of fats. By using peanut butter and almond flour, we encapsulate the powder, removing that dry sensation.
The Baking Myth: Some think you must bake a bar to make it "stable." In reality, no bake bars are often more nutrient dense because the heat doesn't degrade the protein or the healthy fats in the nut butters.
Storage and Waste
To keep these fresh, store them in an airtight container in the fridge. They'll stay velvety and fresh for about 10 days. For longer storage, you can pop them in the freezer for up to 3 months. Just let them thaw for 10 minutes before eating so the chocolate doesn't shatter too aggressively.
For another quick, no bake treat, you might like my Greek yogurt cookie dough. Both make great meal prep options.
Regarding zero waste, if you have a little bit of dough left over that didn't make it into the pan, don't toss it! Roll it into small "protein truffles," dip them in the leftover chocolate, and keep them as a little treat for the cook.
Best Pairing Ideas
Since these are quite rich, you want something to cut through the density. A cup of black coffee or a strong espresso is the best match, as the acidity balances the sweetness of the honey and peanut butter.
If you're eating these as a meal replacement, I suggest pairing them with a piece of fresh fruit, like a sliced apple or a handful of raspberries. The freshness of the fruit provides a bright contrast to the deep, roasted notes of the peanut butter. For a late night snack, a glass of cold almond milk is the way to go.
Recipe FAQs
What is the healthiest protein bar to eat?
Homemade bars with minimal processed ingredients. Using natural honey and almond flour avoids the artificial fillers found in commercial brands. For another nutritious snack, try roasting pumpkin seeds for a savory crunch.
Are protein bars really good for you?
Yes, as a convenient protein supplement. They are effective for quick energy or post workout recovery when balanced with a diet of whole foods.
Can dialysis patients have protein bars?
Consult a healthcare provider first. Ingredients like peanut butter and almond flour contain minerals that must be strictly monitored based on a patient's medical requirements.
What is the #1 protein bar?
The best choice depends on your specific dietary goals. A homemade version using vanilla protein powder and dark chocolate typically offers the best balance of flavor and ingredient control.
How to store these bars?
Store them in an airtight container in the fridge. They remain fresh for 10 days, or up to 3 months in the freezer if thawed for 10 minutes before eating.
Is it true that these bars must be baked to set?
No, this is a common misconception. These are no-bake treats that firm up completely after refrigerating for at least 2 hours.
How to fix the dough if it is too sticky?
Stir in a small amount of additional almond flour. Mix until the texture transforms from a sticky paste into a thick, pliable clay.
Homemade Protein Bars