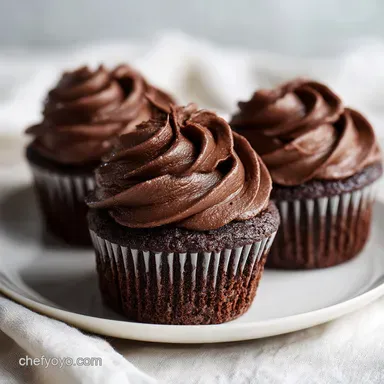
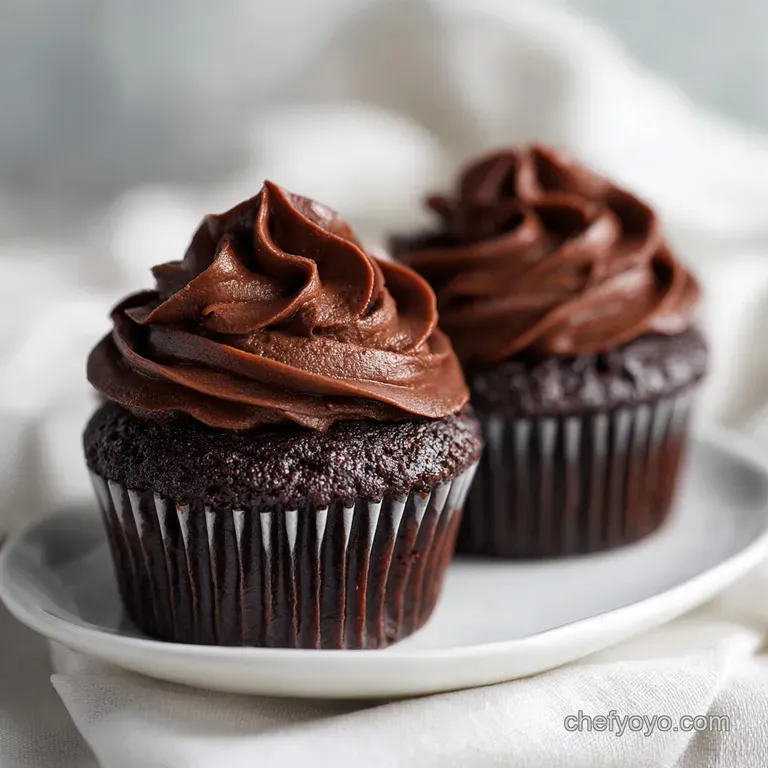
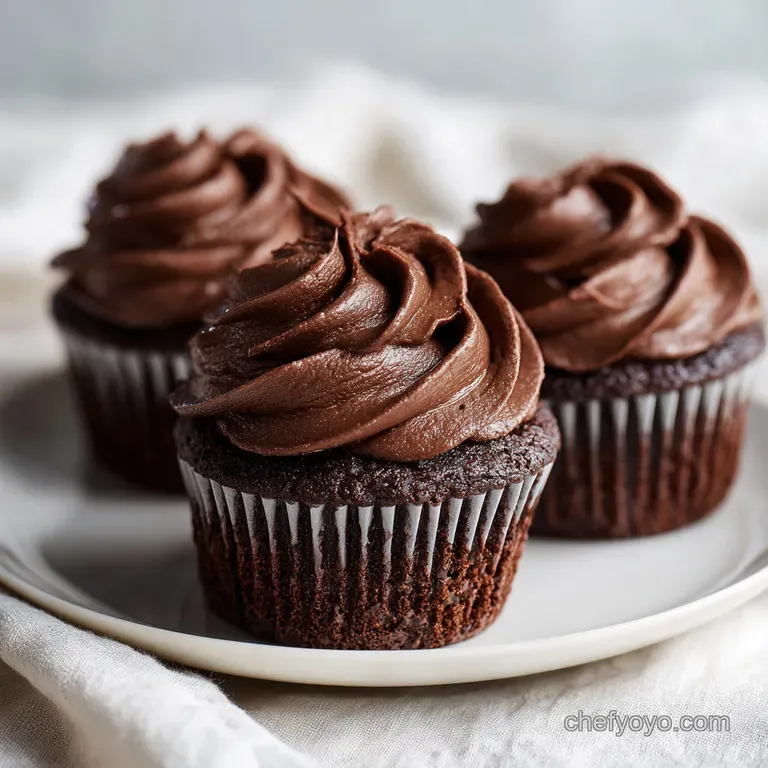
Chocolate Cupcakes: Velvety and Moist
- Time:15 minutes active + 17 minutes baking = Total 32 minutes
- Flavor/Texture Hook: Intensely fudgy sponge with a silky, tangy cream cheese swirl
- Perfect for: Last minute birthday treats or a cozy weekend bake for the family
- The Secret to Fudgy Chocolate Cupcakes
- Forget the Overcomplicated Baking Rules
- Quick Details and Timing
- Choosing Your Pantry Staples
- Minimal Tools for Success
- Bringing the Batter Together
- Avoiding Common Baking Blunders
- Twists on the Classic
- Keep Them Fresh Longer
- Making Them Look Professional
- Recipe FAQs
- 📝 Recipe Card
The Secret to Fudgy Chocolate Cupcakes
The smell of cocoa hitting boiling water is something you never forget. It's this instant, heavy aroma that fills the entire kitchen, smelling less like a boxed mix and more like a high end chocolate shop. I remember the first time I saw boiling water in a cake recipe, I actually panicked.
I thought I was going to cook the eggs or ruin the rise, but it turns out that's the exact trick that makes these so moist.
Most people think you need a fancy stand mixer or a degree in pastry arts to get that professional, bakery style texture. But honestly, you don't. This is a "bowl and whisk" kind of recipe.
We're skipping the over beating and the complicated temperature tempering, focusing instead on a few smart ingredient choices that do the heavy lifting for us.
You can expect a cupcake that doesn't just taste like sugar, but has a genuine, dark chocolate depth. The cream cheese frosting adds that necessary tang to cut through the richness, making it a balanced treat rather than a sugar bomb.
It's the kind of recipe you keep on a stained index card because it works every single time, no matter how chaotic your kitchen is.
Forget the Overcomplicated Baking Rules
For a long time, I believed the myth that you had to cream butter and sugar for ten minutes to get a light cake. Then I discovered the magic of oil based sponges. Oil stays liquid at room temperature, which means these stay soft and velvety even if they've been sitting on the counter for a day.
Butter is great for flavor, but for a moist chocolate cupcake, oil is the real hero.
Another thing we're ignoring is the "room temperature everything" rule. While it's helpful for some cakes, this specific method is much more forgiving. The boiling water manages the temperature of the batter, ensuring the cocoa is fully dissolved and the fats are well integrated.
It simplifies the whole process, meaning you can go from craving chocolate to eating a cupcake in about half an hour.
I've also noticed people obsessing over sifting every single ingredient. While sifting is great for flour, you can honestly just whisk the dry ingredients vigorously in a bowl to get rid of cocoa lumps. It saves a dish and three minutes of your life without changing the final result.
This is about reliable, wholesome baking that fits into a busy day.
Quick Details and Timing
Before we jump into the batter, it's helpful to know exactly how this fits into your schedule. This recipe is designed for speed and reliability, using the most direct path to a finished dessert.
Precision Checkpoints:
- Batter Consistency: Should be thin, almost like heavy cream, after adding the boiling water.
- Bake Temp: Stable at 350°F (175°C).
- Internal Texture: Toothpick should come out with 2-3 moist crumbs, not completely clean (which means they're overbaked).
| Servings | Ingredient Adjustments | Pan Size | Cook Time |
|---|---|---|---|
| 12 cupcakes | Standard (as listed) | 12 slot cupcake tin | 17-20 minutes |
| 24 cupcakes | Double all ingredients | Two 12 slot tins | 17-20 minutes |
| 6 cupcakes | Half all ingredients | 6 slot cupcake tin | 15-17 minutes |
Since this is a minimal tool recipe, the timing is very tight. You aren't waiting for butter to soften or dough to chill. The 15 minutes of prep is mostly just whisking and pouring.
Choosing Your Pantry Staples
The key to the best chocolate cupcake recipe isn't expensive ingredients, but using the right ones. For example, the buttermilk provides a subtle acidity that reacts with the baking soda to create those tiny air bubbles that make the cake tender.
If you're really into the science of melting and textures, my chocolate texture guide explains a lot about how fat interacts with cocoa to create different mouthfeels.
Component Analysis
| Ingredient | Science Role | Pro Secret |
|---|---|---|
| Cocoa Powder | Flavor Base | Use Dutch processed for a darker, smoother taste |
| Buttermilk | Tenderizer | The acid breaks down gluten for a softer crumb |
| Boiling Water | Cocoa Bloomer | Dissolves cocoa solids for intense chocolate flavor |
| Vegetable Oil | Moisture Lock | Keeps the cake soft at room temperature |
For the Chocolate Sponge
- 1.5 cups (190g) all purpose flour Why this? Standard protein level for a sturdy but soft cake
- 1 cup (200g) granulated sugar Why this? Dissolves quickly into the wet ingredients
- 0.5 cup (45g) unsweetened cocoa powder Why this? Provides the deep, rustic chocolate aroma
- 1 tsp (5g) baking powder Why this? Ensures a consistent, vertical rise
- 0.5 tsp (3g) baking soda Why this? Reacts with buttermilk for extra fluffiness
- 0.5 tsp (3g) salt Why this? Enhances the chocolate notes and balances sugar
- 1 large (50g) egg Why this? Binds the ingredients and adds structure
- 0.5 cup (120ml) buttermilk Why this? Creates a velvety, tender texture
- 0.5 cup (120ml) vegetable oil Why this? Ensures moist chocolate cupcakes every time
- 1 tsp (5ml) vanilla extract Why this? Adds a rounded, aromatic finish
- 0.5 cup (120ml) boiling water Why this? "Blooms" the cocoa for maximum intensity
For the Cream Cheese Frosting
- 8 oz (225g) full fat cream cheese Why this? Necessary for stability and tang
- 0.5 cup (115g) unsalted butter Why this? Gives the frosting a silky, pipeable hold
- 3 cups (360g) powdered sugar Why this? Sweetens and thickens the frosting
- 1 tsp (5ml) vanilla extract Why this? Complements the creaminess
- 2 tbsp (30ml) heavy cream Why this? Adjusts the final consistency to be smooth
Substitution Guide
| Original Ingredient | Substitute | Why It Works |
|---|---|---|
| Buttermilk | Milk + 1 tsp Lemon Juice | Similar acidity. Note: Let sit 5 mins first |
| Vegetable Oil | Melted Coconut Oil | Similar fat content. Note: Adds a slight coconut scent |
| Cream Cheese | Mascarpone | Creamier, less tangy. Note: May need more powdered sugar for stability |
| All Purpose Flour | 1:1 gluten-free Blend | Works well for gluten free chocolate cupcakes. Note: May be slightly denser |
Using the right fat is crucial here. While some recipes call for butter in the cake, I stick with oil. It's the difference between a cake that feels like a sponge and one that feels like a fudge.
Minimal Tools for Success
You don't need a kitchen full of gadgets for homemade chocolate cupcakes. In fact, using too many tools often just means more cleanup. I've found that a few basic items are all you really need to get a professional result.
First, a large mixing bowl is essential. You need enough room to whisk the dry ingredients without sending a cloud of cocoa powder across your kitchen. A sturdy balloon whisk is your best friend here, as it breaks up those stubborn cocoa clumps much faster than a fork.
For the baking, a standard 12 slot cupcake tin and paper liners are the only requirements. I highly recommend the parchment style liners rather than the foil ones, as they don't stick to the cake as much.
For the frosting, a hand mixer is helpful, but you can actually beat the butter and cream cheese by hand if you have some patience and a strong arm.
Fresh vs Shortcut Tools
| Tool | Fresh/Pro Method | Shortcut Method | Impact on Result |
|---|---|---|---|
| Mixing | Stand Mixer | Hand Whisk | Minimal; whisking is actually gentler on gluten |
| Measuring | Digital Scale | Measuring Cups | Scale is more accurate for flour (prevents dryness) |
| Frosting | Piping Bag/Tip | Butter Knife | Piping looks "bakery style", knife is rustic |
If you have a digital scale, use it. Flour is notoriously easy to over pack into a measuring cup, which is the number one cause of dry cupcakes. If you don't have one, just spoon the flour into the cup and level it off with a knife.
Bringing the Batter Together
Let's get into the actual process. The flow of this recipe is designed to build flavor in layers, starting with the dry base and ending with the "bloom" that makes it special.
Phase 1: Preparing the Batter
- Whisk together the flour, sugar, cocoa powder, baking powder, baking soda, and salt in a large bowl until no lumps remain. Note: Whisking well here prevents pockets of baking soda in the finished cake.
- Add the egg, buttermilk, oil, and vanilla. Beat on medium speed for about 2 minutes until the batter is smooth and glossy. Note: The "glossy" look tells you the emulsion is stable.
- Carefully stir in the boiling water by hand to bloom the cocoa and create a thin batter. Note: Be careful with the steam! The batter will look very liquid, which is exactly what you want.
Phase 2: Baking to Perfection
- Divide the batter evenly among 12 lined cupcake tins, filling each only 2/3 full. Note: Overfilling leads to "mushroom tops" that spill over the edges.
- Bake at 350°F (175°C) for 17-20 minutes, until a toothpick inserted into the center comes out with a few moist crumbs. Note: If it comes out totally clean, they might be slightly overdone.
- Cool cupcakes in the tin for 5 minutes, then transfer to a wire rack to cool completely. Note: Cooling in the tin too long can make them soggy from trapped steam.
Phase 3: The Finishing Touch
- Beat softened butter and cream cheese until pale and fluffy. Gradually add powdered sugar, vanilla, and heavy cream until silky. Note: Ensure butter is truly softened or you'll have lumps in your frosting.
- Pipe or spread the frosting onto the completely cooled cupcakes. Note: If the cake is even slightly warm, the cream cheese frosting will melt into a puddle.
Chef's Note: If you want a more intense chocolate experience, try adding a pinch of espresso powder to the dry ingredients. It doesn't make the cupcakes taste like coffee, but it makes the chocolate taste "darker" and more complex.
Avoiding Common Baking Blunders
Even with a simple chocolate cupcake recipe, things can go sideways if you're not paying attention to a few key cues. The most common issue I see is overbaking. Because chocolate cake is dark, you can't rely on "golden brown" as a visual cue.
Why Your Centers Sunk
If the middle of your cupcake dips after coming out of the oven, it's usually because the oven door was opened too early or the baking soda was expired. The structure hasn't set yet, and the rush of cool air causes the air bubbles to collapse.
Why Your Frosting is Runny
This usually happens because the cream cheese was too warm or you added too much heavy cream. Cream cheese is much softer than butter, so it can lose its structure quickly if over beaten or kept in a hot kitchen.
Quick Fix Guide
| Problem | Root Cause | Solution |
|---|---|---|
| Sunk Centers | Oven opened too soon | Keep door closed until 15 mins in |
| Runny Frosting | Butter/Cheese too soft | Chill frosting for 20 mins, then re beat |
| Dry Crumb | Too much flour/Overbaked | Measure by weight; check at 17 mins |
Common Mistakes Checklist
- ✓ Pat the outside of the cupcake tin dry to avoid sticking
- ✓ Ensure the oven is fully preheated to 350°F before the tins go in
- ✓ Do not over mix the batter after adding the boiling water
- ✓ Let the cupcakes cool completely before frosting to prevent melting
- ✓ Use full fat cream cheese for the frosting to ensure stability
Twists on the Classic
Once you've nailed the base, you can start playing with the flavors. These chocolate cupcakes are a great canvas for other ingredients. For something even colder and more decadent, you might like this Oreo cake using a similar fudge like base.
The Decision Shortcut
- If you want a richer, darker taste → Use Dutch processed cocoa and a touch of espresso powder.
- If you want a molten center → Push a square of dark chocolate into the center of the batter before baking.
- If you want a lighter frosting → Replace half the butter in the frosting with whipped heavy cream.
For an Extra Dark Twist
You can swap the cocoa powder for a "dark" or "extra dark" cocoa. This will change the color from a deep brown to almost black, and it adds a slight bitterness that pairs beautifully with the sweet cream cheese frosting.
For a Salted Caramel Core
After baking and cooling, use a small knife or apple corer to remove the center of the cupcake. Fill the hole with store-bought or homemade salted caramel, then frost over the top to hide the treasure.
For a dairy-free Swap
For a gluten free chocolate cupcakes version, use a 1:1 GF flour blend and replace the buttermilk with a mix of soy milk and apple cider vinegar. For the frosting, use a vegan cream cheese alternative and coconut oil instead of butter.
Keep Them Fresh Longer
Chocolate cake is one of the best things to store because the oil keeps it moist. However, because of the cream cheese frosting, you have to be a bit more careful than you would with a simple buttercream.
Storage Guidelines
- Fridge: Store in an airtight container for up to 5 days. The frosting stays stable, and the cake remains moist.
- Freezer: Freeze unfrosted cupcakes for up to 3 months. Wrap them individually in plastic wrap and place them in a freezer bag.
- Reheating: For frozen cupcakes, thaw in the fridge overnight. For a "fresh from the oven" feel, pop a thawed cupcake in the microwave for 8-10 seconds.
Zero Waste Tips Don't throw away the leftover frosting! It's essentially a sweetened cream cheese spread. It tastes incredible on toasted bagels or as a dip for fresh strawberries.
If you have leftover cocoa powder "dust" at the bottom of the bag, whisk it into your morning oatmeal or a smoothie for a chocolate boost.
Making Them Look Professional
You don't need to be a pastry chef to make these look like they came from a boutique bakery. The secret is in the piping and the finishing touches.
If you have a piping bag, a large open star tip is the classic choice for that "swirl" look. Start in the center and move outward in a spiral, lifting the bag up as you reach the middle to create a peak.
If you don't have a bag, a Ziploc bag with the corner snipped off works just as well for a smoother, more rustic look.
To finish them off, add a contrast. A few fresh raspberries on top of the white frosting look stunning against the dark chocolate. Alternatively, a sprinkle of flaky sea salt or some chocolate shavings adds a bit of texture and makes the cupcakes look intentional and artisanal.
Final Pro Tip: If your frosting is too stiff to pipe, add the heavy cream one teaspoon at a time. You're looking for a consistency that holds its shape but doesn't "crack" when you squeeze it.
Once you hit that sweet spot, stop adding liquid immediately, or you'll end up with a glaze instead of a frosting.
Recipe FAQs
What is the secret to a good chocolate cupcake?
Blooming the cocoa powder. Adding boiling water unlocks a deeper chocolate flavor and creates a velvety crumb. If you enjoyed the flavor balancing here, see how we use the same acid technique in our Cranberry Bliss Bars.
What makes cupcakes soft and fluffy?
The combination of oil and buttermilk. Oil remains liquid at room temperature to ensure a moist sponge, while the acidity in buttermilk tenderizes the gluten for a softer rise.
What does boiling water do for chocolate cupcakes?
It blooms the cocoa. This process dissolves cocoa lumps and releases the aromatic compounds in the chocolate for a more intense, professional taste.
How to turn box cake mix into bakery cupcakes?
Substitute water with buttermilk and oil with melted butter. These swaps add the richness and tighter crumb structure typically found in high end bakeries.
Is it true that I need a stand mixer for a professional texture?
No, this is a common misconception. A simple bowl and whisk are sufficient for this recipe to prevent over beating the batter.
How to check if chocolate cupcakes are fully baked?
Insert a toothpick into the center. It should come out with a few moist crumbs attached; if it is completely clean, the cupcakes may be overbaked.
How to store these cupcakes to keep them fresh?
Keep them in an airtight container in the refrigerator. Because of the cream cheese frosting, refrigeration is necessary to keep the topping stable and food safe.
Moist Chocolate Cupcakes