The Sunday Best Proper Crispy Buttermilk Waffles
- Moving Beyond Floppy Breakfasts
- Preparing for Ultimate Waffle Perfection
- Gathering Your Foundation Ingredients
- Pre-Baking Batter Preparation
- Step-by-Step Batter Construction
- Firing Up the Iron and Baking the Waffles
- Expert Strategies for Flawless Waffles
- Beyond the Basic Buttermilk Waffles
- Recipe FAQs
- 📝 Recipe Card
Moving Beyond Floppy Breakfasts
Far too often, the promise of a homemade brunch staple falls flat, resulting in a rubbery, dense breakfast that collapses under a drizzle of syrup. We are moving past those disappointing mornings.
This comprehensive guide is dedicated to achieving the true gold standard: the Proper Crispy Waffles light as air on the inside, yet featuring an outer shell that shatters beautifully under the fork.
This specific methodology elevates the simple combination of flour and eggs into the Best homemade waffle recipe you will ever attempt. While the technique requires a touch more finesse than a standard boxed mix, the resulting textural integrity and complex flavour profile make it completely worthwhile, setting a new benchmark for your weekend indulgences.
Preparing for Ultimate Waffle Perfection
Achieving truly spectacular waffles hinges not just on the ingredients, but on understanding the science of aeration and hydration. This recipe, titled "The Sunday Best," is rated Medium difficulty precisely because we introduce two critical steps egg separation and batter rest that guarantee success where basic recipes often fail.
The Science Behind the Shattering Crunch
The secret weapon in achieving that coveted Crispy Waffle Texture is the mechanical separation of the eggs. Instead of mixing whole eggs directly into the wet ingredients, we first use the yolks to enrich the batter base, then whip the whites separately.
These whipped whites, forming stiff peaks, act like billions of tiny, stable balloons. When gently folded into the batter, they inject incredible lift and structure. During baking, this aeration rapidly expands, creating a light, open crumb that dries out beautifully against the heat of the iron, ensuring a truly delicate interior beneath the hard shell.
Mastering the Buttermilk Batter's Depth of Flavor
Using cold buttermilk is essential for both flavor and structural integrity. Buttermilk not only provides a pleasant tanginess, cutting through the richness of the butter and sugar, but its inherent acidity also reacts perfectly with both the baking soda and baking powder.
This dual leavening strategy guarantees maximum rise and softness. We further enhance the profile with good quality vanilla extract and slightly cooled melted butter, creating a luxurious base for these Buttermilk Waffles.
Recommended Waffle Iron Types
The type of iron you use will influence the final result, though this batter performs exceptionally well in either. A standard American waffle iron produces thinner, squarer waffles with moderate pockets, ideal for soaking up syrup. For a truly decadent brunch, a deep Belgian style iron is recommended.
This iron creates a much thicker final product with deeper pockets, perfectly suited to handling the incredible loft provided by our whipped egg white technique. Ensure your iron is fully preheated before beginning; a hot start is crucial for crispness.
Time Commitment: Is the Rest Worth It?
Our active preparation time is quite fast, around 15 minutes. However, this recipe requires a minimum 30-minute dedicated resting period for the batter. This step is absolutely non-negotiable.
During this time, the flour fully hydrates, leading to an incredibly tender crumb, and the gluten strands relax, preventing chewiness. Skipping the rest time drastically sacrifices the structural integrity and crisp potential of the finished product, so plan for the total 65– 70 minutes required from start to serve.
Gathering Your Foundation Ingredients
Success starts with quality components. You will need a blend of essential dry ingredients including all-purpose flour, granulated sugar, baking powder, baking soda, and fine sea salt all carefully measured to ensure chemical balance.
For the wet components, gather two large eggs (which will be separated), high-quality cold buttermilk (full fat is preferred for richness), unsalted butter (which must be melted and then cooled slightly), and pure vanilla extract.
Having everything pre-measured and ready significantly streamlines the process when you start mixing.
Pre-Baking Batter Preparation
A well organized kitchen environment and proper technique during the initial stages will define the quality of your finished waffles.
Essential Kitchen Tools for Crispy Waffles
To execute the technical steps effectively, a few essential tools are required. You will need two large mixing bowls (one for the main batter and one specifically for the egg whites), a whisk, and, most importantly, an electric hand mixer or a stand mixer fitted with the whisk attachment.
Whipping the egg whites to the correct stiff peaks is difficult to achieve by hand and is critical for How To Make Perfect Waffles. Finally, ensure you have a wire cooling rack ready; this is vital for maintaining the post bake crispness.
What to Do If You Don't Have Buttermilk
If buttermilk is unavailable, a reliable substitution is easy to execute. Simply measure out 1 ½ cups (360 ml) of full fat milk and stir in 1 ½ tablespoons of white vinegar or fresh lemon juice. Allow this mixture to stand undisturbed for 10 minutes.
The milk will curdle slightly and thicken, producing a suitable acidic replacement that works perfectly with the baking soda component of the recipe.
Ensuring Your Eggs Are Properly Separated
The separation of the yolks and whites must be meticulous. Any trace of fat (yolk) in the egg whites will inhibit their ability to whip up into stiff, voluminous peaks. Carefully crack the two large eggs, placing the yolks into a medium bowl destined for the wet mixture, and the whites into a completely clean, dry bowl (the bowl of your stand mixer is ideal).
If a bit of yolk accidentally contaminates the white, it’s best to discard that white and start fresh.
Related Recipes Worth Trying
- UltraCrisp Homemade Waffles The Secret to Perfect Fluff — Stop making floppy rubbish This easy homemade waffles recipe uses the stiffpeak egg white method for cloudlike fluff and a shatteringly crisp exterior A...
Step-by-step Batter Construction
The foundational batter base is constructed by first combining the dry ingredients, then whisking together the liquids, and finally merging the two. This sequence ensures proper activation of the leavening agents and prevents the development of tough gluten.
- Preparation: Whisk the flour, sugar, baking powder, baking soda, and salt together in a large bowl, ensuring the dry elements are perfectly blended.
- Wet Base: Into the bowl with your separated yolks, whisk in the cold buttermilk and vanilla extract. Slowly stream in the slightly cooled melted butter while continuously whisking; this helps emulsify the fat into the buttermilk mixture.
- Initial Merge: Pour the wet mixture into the bowl of dry ingredients. Using a rubber spatula, fold gently until the two are just combined. Crucially, the batter should still appear lumpy and imperfect.
Firing Up the Iron and Baking the Waffles
With the base batter established and the waffle iron preheating, the final, most delicate stage of construction can begin: incorporating the air.
Combining the Dry and Wet Components
As noted, the initial merger of the wet and dry ingredients should be quick and minimalist. Overmixing activates the gluten in the flour, resulting in a dense, chewy waffle the opposite of our goal. The lumpy texture signifies that the gluten has been left alone, promising a tender interior once baked.
This lumpy batter must now be lightened before the final aeration.
The Critical Step: Whipping the Egg Whites
Whip the separated egg whites (optionally adding a tiny pinch of salt for stability) on medium high speed until they reach stiff, but not dry, peaks. The peaks should hold their shape firmly when the whisk is lifted.
Next, take about one-third of this meringue and quickly whisk it vigorously into the main, lumpy batter. This step is called "sacrificing" the whites; it lightens the thick batter base, making the subsequent delicate folding much easier.
Gently Folding for Maximum Aeration
Now, add the remaining two-thirds of the whipped egg whites to the lightened batter. This requires finesse. Use the rubber spatula in a cutting and folding motion: cut down the middle of the mixture, scoop the batter underneath, and fold it over the top, turning the bowl as you go.
The goal is to incorporate the whites fully without deflating the trapped air. Stop folding immediately once no large streaks of white remain; a few tiny flecks are preferable to an over folded, deflated batter. Cover the bowl and allow the batter to rest for the essential 30 minutes.
Achieving Consistent Golden Browning
Once the batter has rested, it is ready for the heat. Ensure your waffle iron is adequately oiled (a light brush is usually sufficient) and fully preheated. Spoon the batter onto the hot plates, being careful not to overfill (start conservative, as the batter will expand significantly). Close the lid firmly but gently.
The high heat sets the exterior quickly, locking in the moisture and contributing to the optimal Crispy Waffle Texture.
How to Know When Your Waffles Are Done
Resist the urge to open the iron too early, as this disrupts the crucial initial set. Cook each waffle for approximately 4 to 5 minutes. The most reliable indicator that your waffle is fully cooked and perfectly crisp is the cessation of steam.
When the steam billowing from the sides of the iron significantly subsides, the internal moisture has evaporated, leaving behind a light, perfectly cooked, and delightfully crispy shell.
Expert Strategies for Flawless Waffles
Immediate post baking care is just as important as the batter preparation. As soon as a waffle is removed from the iron, transfer it directly onto a wire cooling rack. Never, under any circumstances, place a hot waffle directly onto a flat plate or stack it upon another waffle.
The trapped heat will create steam, turning your perfectly crisp creation soggy within seconds. If you need to hold them warm while cooking the rest, keep them single layer on the wire rack in a low oven (around 200°F/95°C).
Beyond the Basic Buttermilk Waffles
Mastering this foundation allows for endless creativity, but first, let's address common pitfalls.
Troubleshooting Common Waffle Failures
If your waffles turn out chewy, the likely culprit is overmixing the batter before the egg whites were folded in, developing tough gluten strands. If they lack crispness, ensure you did not skip the vital 30-minute rest, and verify that you placed them on a wire rack immediately after baking.
If they are browning unevenly, your iron may not have been fully preheated. This recipe provides a simple solution to How To Make Perfect Waffles, provided you adhere to the technical steps.
Preventing Sticking Without Excessive Oil
If your iron is well seasoned (especially necessary for cast iron or non-Teflon surfaces), a light, non-stick cooking spray or a gentle brush of oil applied before the first waffle is all that is typically needed.
Avoid continuously re-oiling between batches, as this builds up residual grease that can lead to a less desirable, oil-soaked crispness. If sticking occurs, increase the temperature slightly.
Serving Suggestions and Creative Toppings
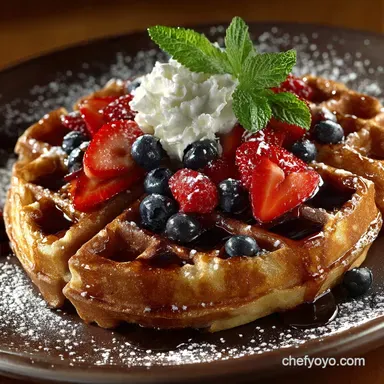
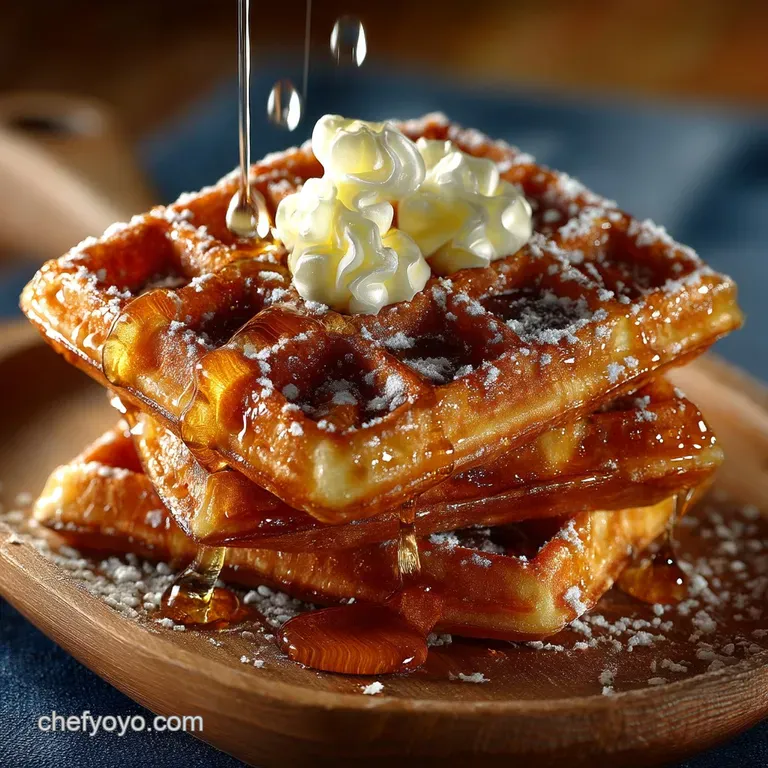
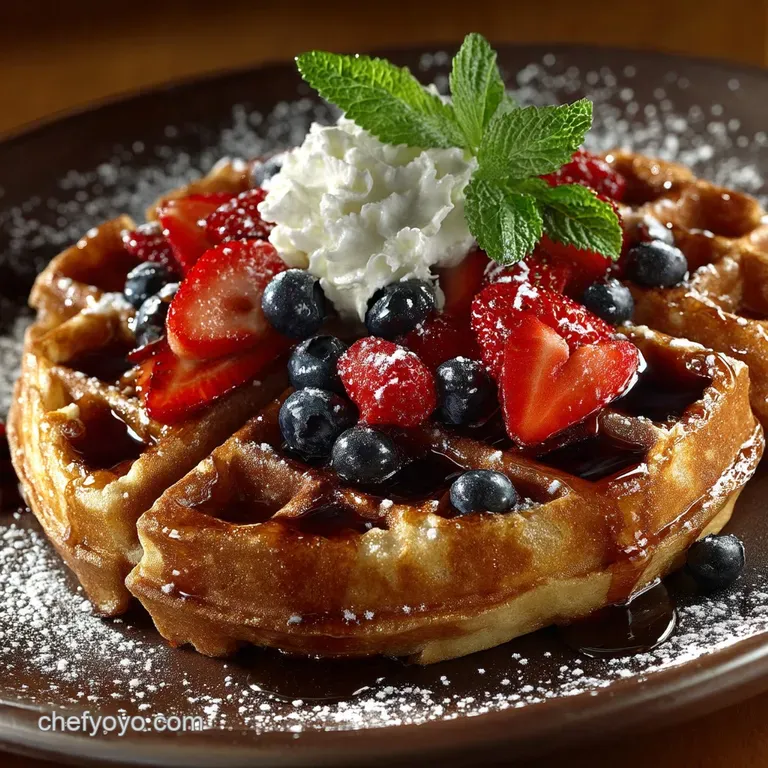
While the traditional spread of salted butter and proper maple syrup is always welcome, these versatile Proper Crispy Waffles invite more creative pairings. For a truly luxurious weekend indulgence, top them with unsweetened freshly whipped cream and a homemade berry compote.
Alternatively, ditch the syrup entirely and lean into the savoury side; these sturdy Buttermilk Waffles are the perfect foundation for the classic Southern combination of waffles and chicken. For a variation, omit the vanilla and sugar from the batter, and fold in sharp cheddar and fresh herbs before baking.
Smart Storage and Reheating Techniques
Waffles freeze beautifully. Once they have cooled completely on the wire rack, stack them between layers of parchment paper and store them in an airtight freezer bag. They will keep well for up to two months. To reheat, skip the microwave entirely, which renders them soggy.
Instead, pop them directly into a toaster oven or a standard toaster until heated through and crisp again, or bake them on a rack in a 350°F (175°C) oven for about five minutes.
Understanding the Nutritional Snapshot of These Waffles
While this Best homemade waffle recipe is certainly an indulgence, it’s helpful to understand the basic makeup. Based on a yield of 8 standard waffles, each plain serving offers approximately 320 kcal.
They are rich in fats (~19g) due to the generous amount of butter and buttermilk, provide a solid base of carbohydrates (~33g), and contain around 10g of protein, making this a substantial start to the day even before toppings are added.
Recipe FAQs
My Waffles always go soggy what's the trick to keeping them perfectly crisp?
Ah, the dreaded soggy bottom! The biggest secret here is how you treat them immediately after cooking. Never, ever stack warm waffles on a solid plate, as they will steam themselves floppy in seconds. Instead, transfer them straight to a wire cooling rack so the air can circulate underneath.
For the ultimate crunch, you can flash them in a 200°F (95°C) oven while you finish cooking the batch.
I'm not a morning person. Can I prepare this ultimate Waffles batter the night before?
You absolutely can prep ahead, but you need to hold fire on the leavening agents. Baking soda and powder start reacting immediately once they hit buttermilk, and they will run out of fizz if left overnight.
Mix the wet ingredients (minus the butter), the dry ingredients (minus the baking powder/soda), and keep them separate. In the morning, combine the mixtures, melt the butter, whip the egg whites, and fold everything together for fresh, light results.
I don't keep buttermilk in the fridge. Is there a simple substitute I can use?
That's an easy fix! You can make a perfectly serviceable buttermilk substitute using regular milk and an acid. For the 1 ½ cups required in this recipe, simply measure out the milk, stir in 1 ½ tablespoons of white vinegar or lemon juice, and let it sit for about ten minutes.
It will curdle slightly and mimic the necessary acidity to activate the baking soda, delivering that crucial tang and tenderness.
The recipe seems like a bit of faff separating the eggs. Can I skip whipping the whites?
We wouldn't recommend skipping this step if you want that truly professional, light-as-air texture! Whipping the egg whites until stiff peaks form and then gently folding them in creates tiny air pockets that provide incredible, stable lift.
This is the main technical difference between a good waffle and a truly magnificent, airy one. If time is tight, you can skip the separation and use whole eggs, but the resulting waffle will be much denser.
What is the best way to store and reheat leftover waffles?
Waffles freeze brilliantly and make for a wonderful weekday breakfast life saver. Cool them completely on a wire rack, then stack them with small squares of parchment paper in between to prevent sticking. Place them in a large freezer bag or airtight container.
To reheat, toast them directly from frozen in a toaster or on a wire rack in the oven (350°F/175°C) until piping hot and crisp again about 5 minutes.
Proper Crispy Buttermilk Waffles Recipe