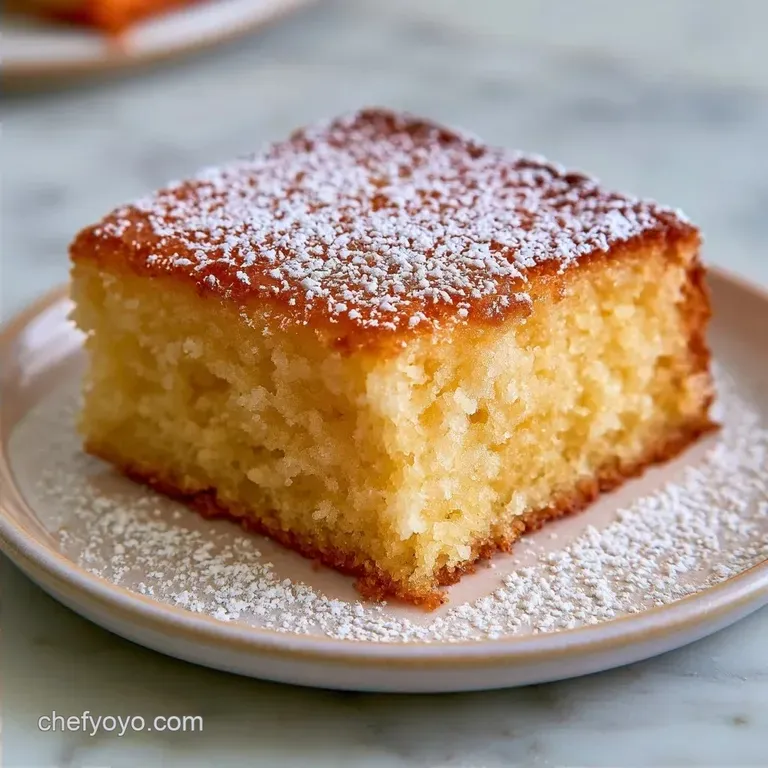
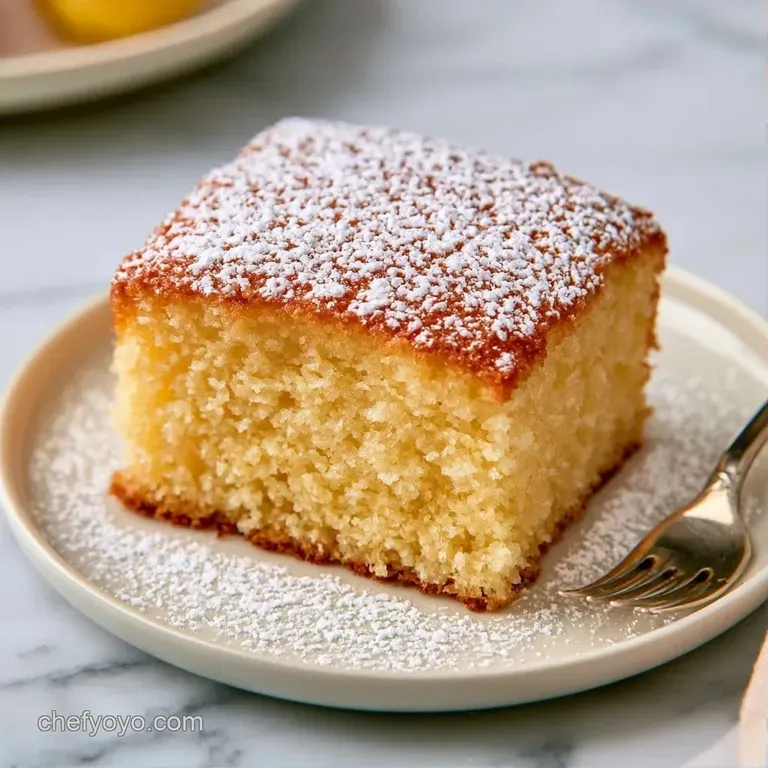
Buttery Simple Homemade Dot Cake
- Time: 15 min active + 1 hour chilling
- Flavor/Texture Hook: Buttery, dense crumb with a creamy frosting dome
- Perfect for: Kids' parties, bake sales, or whimsical tea time
- Simple Homemade Dot Cake Guide
- Why the Texture Works
- Quick Cut vs Classic Bake
- What Each Ingredient Does
- The Full Shopping List
- Step-by-Step Baking Flow
- Fixing Common Baking Issues
- Changing the Flavor Profile
- Making More or Less
- Baking Myths
- Storage and Scrap Ideas
- What to Serve With
- Recipe FAQs
- 📝 Recipe Card
The scent of browning butter and warm vanilla always reminds me of my aunt's summer get togethers. She used to make these tiny, round cakes that looked like colorful polka dots scattered across a platter. Every kid at the party would scramble for the one with the most sprinkles.
I used to think these were complicated because of the shape, but it's actually just one sheet cake. This Simple Homemade Dot Cake is basically a pound cake base that we punch into circles. It's the kind of recipe that makes you look like a pro without needing a dozen different cake tins.
You can expect a cake that's dense and rich, not airy like a sponge. The frosting sits on top in a smooth dome, giving it that classic "dot" look. It's a crowd pleaser that balances a nostalgic flavor with a clean, modern presentation.
Simple Homemade Dot Cake Guide
The beauty of this recipe is the planning. You aren't juggling ten different timers. You bake one big slab, let it set, and then do your "art" work with the cutter. It removes all the stress of individual cupcake liners sticking or cakes rising unevenly.
If you're in a rush, you can skip the fridge time, but your circles will have jagged edges. Trust me, that one hour of chilling makes the difference between a rustic look and a polished one. It's the same logic I use when making a Classic Vanilla Dot Cake for smaller groups.
Right then, let's get into how to actually pull this off without the cake crumbling in your hands.
Why the Texture Works
- The Cold Cut Method: Chilling the cake firms up the butter in the crumb. This allows the cutter to slice through without tearing the cake.
- Butter Sugar Base: Creaming the butter and sugar creates a sturdy structure. This ensures the Simple Homemade Dot Cake can hold the weight of the frosting dome.
Quick Cut vs Classic Bake
| Method | Prep Time | Texture | Best For |
|---|---|---|---|
| Sheet Cut (This) | 15 mins | Dense & Consistent | Large crowds / Uniform looks |
| Individual Tins | 30 mins | Lighter & Domed | Small batches / Gift boxes |
| Cupcake Style | 20 mins | Airy & Soft | Quick snacks |
What Each Ingredient Does
| Ingredient | What It Does | Best Swap |
|---|---|---|
| Unsalted Butter | Provides richness and a tight crumb | Salted butter (reduce added salt) |
| All Purpose Flour | Gives the cake its structure | Cake flour for a softer bite |
| Baking Powder | Lifts the batter slightly | 1/4 tsp baking soda + 1/2 tsp cream of tartar |
| Whole Milk | Adds moisture and tenderizes the crumb | Full fat buttermilk (adds tang) |
The Full Shopping List
For the cake base, grab these: 1 cup (225g) unsalted butter, softened Why this? Room temp butter creams better with sugar. 1 cup (200g) granulated sugar 3 large eggs 2 tsp (10ml) vanilla extract 2 cups (250g) all purpose flour Why this? Provides the necessary
Stability for cutting. 1 tsp (5g) baking powder 1/2 tsp (3g) salt 1/2 cup (120ml) whole milk 1/4 cup (15g) rainbow sprinkles
For the vanilla buttercream: 1 cup (225g) unsalted butter, softened 3 cups (360g) powdered sugar 2 tbsp (30ml) heavy cream Why this? Adjusts the piping consistency. 1 tsp (5ml) vanilla extract 1g salt
Chef's Note: If your butter is too soft (almost melting), pop it in the fridge for 10 minutes. According to King Arthur Baking, butter should be cool to the touch but indent when pressed to ensure the air pockets stay stable.
Step-by-step Baking Flow
1. Preparing the Batter
Preheat your oven to 350°F (175°C). Line a 9x13 inch baking pan with parchment paper, leaving a little overhang on the sides. Cream the butter and granulated sugar together until the mixture looks pale and fluffy.
Beat in the eggs one at a time, then stir in the 2 tsp of vanilla extract.
2. The Precision Bake
Whisk your flour, baking powder, and salt in a separate bowl. Gradually mix this into the butter mixture, alternating with the whole milk. Stop mixing the moment the batter is smooth to avoid a tough cake. Fold in the rainbow sprinkles by hand using a spatula.
Spread the batter evenly into the pan. Bake for 22-25 minutes until the edges pull away from the sides and a toothpick comes out clean. Let the cake cool completely on the counter, then put it in the fridge for 1 hour.
3. Creating the Dots
Take the chilled cake out. Use a 3 inch circular cutter or a wide mouthed glass. Press straight down and use a slight twisting motion to punch out 10 equal rounds. This is where the Simple Homemade Dot Cake gets its name.
4. Frosting and Finishing
Whip the buttercream butter, powdered sugar, heavy cream, vanilla, and salt. Keep beating until stiff peaks form. Pipe or dollop a generous amount of frosting onto each cake round. Use an offset spatula to smooth it into a dome shape. Top with extra sprinkles immediately so they stick to the wet frosting.
Fixing Common Baking Issues
If your cake isn't behaving, it usually comes down to temperature or mixing. For example, if the cake feels too dry, you might have overbaked it by just a few minutes.
Why are my edges crumbling?
This usually happens if the cake wasn't chilled long enough. The butter needs to be solid to hold the shape during the cut.
My frosting is too runny
If the buttercream won't hold a dome, your butter was likely too warm or you added too much cream.
The cake is sticking to the cutter
A dull cutter or a warm cake causes this. Dip the cutter in hot water and wipe it dry between each "dot" for a cleaner slice.
| Problem | Root Cause | Solution |
|---|---|---|
| Jagged edges | Cake too warm | Chill for 60+ minutes |
| Sinking center | Over mixing batter | Mix only until combined |
| Frosting sliding | Butter too soft | Chill frosting 10 mins |
Changing the Flavor Profile
You don't have to stick to vanilla. The Simple Homemade Dot Cake base is like a blank canvas.
- The Chocolate Dot: Swap 1/4 cup of flour for high-quality cocoa powder. Use chocolate sprinkles for a double choco hit.
- Lemon Berry Twist: Add 1 tbsp of lemon zest to the batter and top with a single fresh raspberry on the frosting dome.
- gluten-free Swap: Use a 1:1 gluten-free flour blend. Note: The crumb will be slightly more fragile, so chill the cake for 2 hours instead of one.
- Rich Chocolate Pairing: If you love deeper flavors, this pairs well with a slice of Homemade German Chocolate Cake on a dessert platter.
Making More or Less
If you need to adjust the batch size for a Simple Homemade Dot Cake, follow these rules to keep the texture right.
Scaling Down (Half Batch) Use an 8x8 inch pan. Reduce the baking time by about 20%. Since you can't easily use half an egg, beat one egg in a small bowl and use about 2 tablespoons of it.
Scaling Up (Double Batch) Do not double the batter in one pan, or the center won't cook. Bake in two separate 9x13 pans. Keep the salt and baking powder at 1.5x the original amount rather than doubling them to prevent a metallic taste.
Temperature Note If you're baking two pans at once, lower the oven temp to 325°F (160°C) and extend the time by 5-10 minutes. This ensures even heat distribution.
Baking Myths
Myth: You need a professional cake cutter. Actually, a sturdy drinking glass or a wide mason jar lid works just as well. The twisting motion is more important than the tool itself.
Myth: Sifting flour is mandatory for this cake. While it helps, you can just whisk the flour and baking powder vigorously with a fork. Since it's a denser pound cake style, a few tiny lumps won't ruin the Simple Homemade Dot Cake.
Storage and Scrap Ideas
Store your finished cakes in an airtight container in the fridge for up to 3 days. If you're freezing them, frost them first, freeze them on a tray for 2 hours, and then move them to a freezer bag. They'll stay fresh for 2 months.
Don't throw away the cake pieces left over from punching out the circles. Those scraps are pure gold. You can: Cube them and layer them with whipped cream and berries for a quick trifle. Toast them in a pan with butter and cinnamon for "cake croutons" over ice cream.
Press them into a dish, top with ganache, and call it a cake pop base.
What to Serve With
The Simple Homemade Dot Cake is quite rich, so it needs a balance. A sharp, acidic accompaniment helps cut through the butter and sugar.
Try serving these with a side of fresh raspberries or sliced strawberries. A hot cup of black coffee or a strong Earl Grey tea is the classic pairing here. If you're serving these at a brunch, a glass of chilled prosecco adds a nice bubbly contrast to the dense crumb.
When you put them on a plate, scatter some fresh mint leaves around the dots. It makes the colors of the sprinkles pop and gives the whole presentation a fresh, artisanal feel.
Recipe FAQs
Can I use a cake mix instead of scratch ingredients?
No, use the scratch recipe for the right texture. A boxed mix often lacks the structural stability required to punch out clean rounds after chilling.
How to get perfectly clean edges when cutting the dots?
Refrigerate the cake for 1 hour before cutting. Use a 3 inch circular cutter with a slight twisting motion to ensure the edges remain sharp and smooth.
What is the secret to making the buttercream stable for doming?
Whip the butter, powdered sugar, and heavy cream until stiff peaks form. This creates the necessary structure to smooth the frosting into a dome using an offset spatula.
How to make this batter into muffins instead of a sheet cake?
Divide the batter into lined muffin tins and bake at 350°F. Check for doneness early, as smaller portions will bake significantly faster than the 9x13 inch pan.
Is it true that you should cut the cake rounds while the cake is still warm?
No, this is a common misconception. Cutting warm cake causes it to crumble and tear; chilling is essential to maintain the "dot" shape.
How to store the finished dot cakes to keep them fresh?
Place them in an airtight container in the fridge for up to 3 days. For longer storage, freeze them on a tray for 2 hours before transferring them to a freezer bag.
What is the secret to the best cake texture?
Cream the butter and granulated sugar until pale and fluffy. If you enjoyed mastering this aeration technique here, see how the same principle works in our moist vanilla sponge.
Simple Homemade Dot Cake

