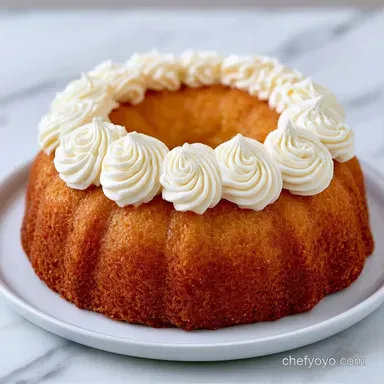
Vanilla Dot Cake: Moist and Nostalgic
- Time: 20 min active + 25 min baking
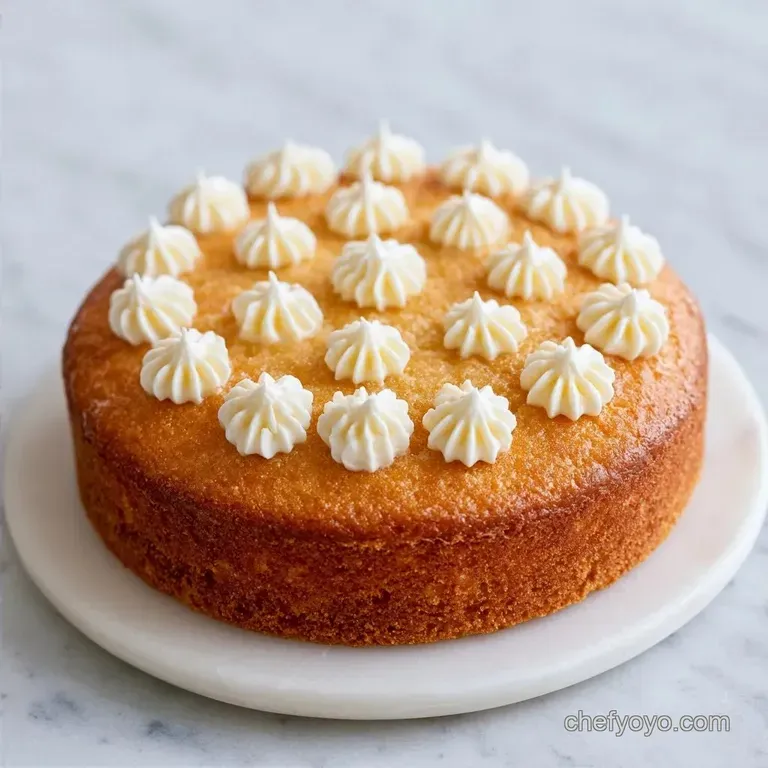
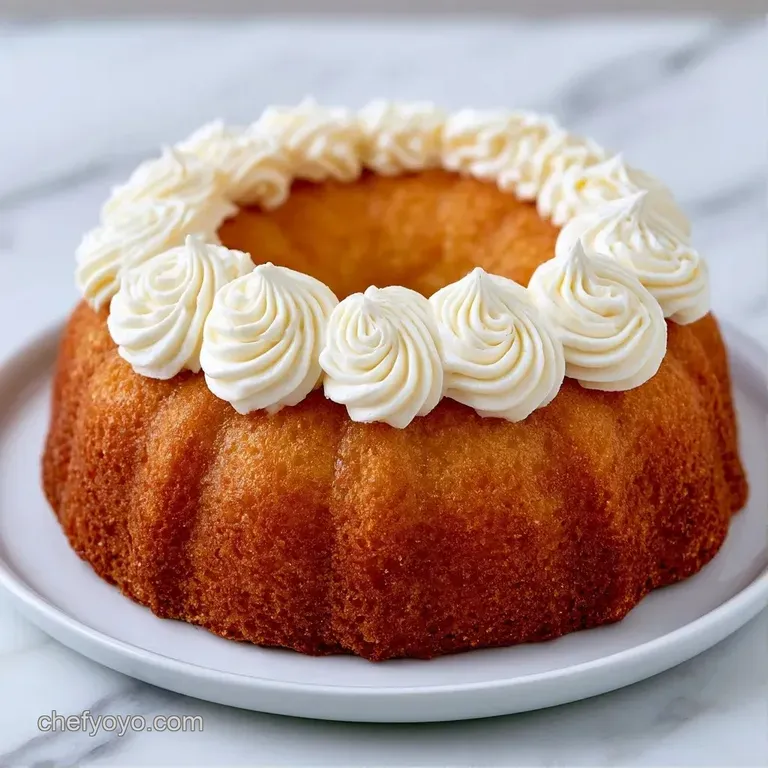
- Flavor/Texture Hook: Soft, buttery sponge with a sugary crunch
- Perfect for: Birthday platters, baby showers, or kid friendly parties
Vanilla Dot Cake Recipe
The scent of warm vanilla bean filling the kitchen always takes me back to those old school bake sales. I remember seeing these little colorful cakes on platters when I was ten, and they looked more like candies than actual dessert.
There is something so comforting about a treat that doesn't try to be a fancy tiered masterpiece.
This Vanilla Dot Cake Recipe is all about that simple, nostalgic charm. We're making a single large sheet and cutting it into rounds, which makes it way less stressful than baking individual cupcakes. You get the same cute look without the nightmare of filling twenty different liners.
Expect a cake that stays soft for days. It's a crowd pleaser because it's not overly rich, but the buttercream and nonpareils add that hit of sugar everyone craves at a party. Right then, let's get into how to make it happen.
Why the Texture Works
- Oil Base: Using oil instead of butter in the sponge keeps the cake moist at room temperature. It prevents that dry, crumbly texture you sometimes get with traditional sponges.
- Room Temp Ingredients: When your milk and eggs aren't cold, they emulsify better. This gives the cake a more consistent rise and a finer crumb, similar to a moist vanilla sponge.
| Method | Time | Texture | Best For |
|---|---|---|---|
| Oven | 25 mins | Airy & Golden | Classic Dot Cakes |
| Stovetop (Steam) | 40 mins | Dense & Moist | Pudding style Cakes |
The oven is the only way to go for this specific recipe because we need the edges to set firmly. This makes cutting the rounds much easier.
Ingredient Deep Dive
| Ingredient | What It Does | Best Swap |
|---|---|---|
| All Purpose Flour | Provides the structure | Cake flour for a softer bite |
| Baking Powder | Lifts the batter | 1/4 tsp baking soda + cream of tartar |
| Vegetable Oil | Keeps it moist | Melted coconut oil (adds slight flavor) |
| Whole Milk | Adds richness and hydration | Full fat soy milk |
Tools You Need
You don't need a professional kitchen for this. A basic 9x13 inch baking pan is the star here. I highly recommend using parchment paper; it makes lifting the cake way easier. For the "dots," a 3 inch round cookie cutter is what gives them that uniform, artisanal look.
If you don't have one, a sturdy drinking glass works too.
Bringing It Together
Let's crack on with the baking. I like to prep my frosting first so it has time to sit, but you can also do it while the cake cools. Trust me on this: wait until the cake is completely cold before cutting, or you'll end up with jagged edges.
1. Baking the Vanilla Base
Preheat your oven to 350°F (175°C). Grease and line your 9x13 inch pan with parchment. In a large bowl, whisk the 2 cups (250g) flour, ¾ cup (150g) sugar, 2 tsp (10g) baking powder, and ½ tsp (3g) salt.
In another bowl, beat the ½ cup (120ml) vegetable oil, ¾ cup (180ml) milk, 2 eggs, and 2 tsp (10ml) vanilla extract until smooth. Pour the wet mix into the dry. Mix only until the flour streaks disappear. Overmixing makes the cake tough.
Pour the batter into the pan. Bake for 20-25 minutes until a toothpick in the center comes out clean. Let it cool completely in the pan.
2. Precision Cutting
Once cooled, take your 3 inch cutter. Press it firmly into the cake. I find that rotating the cutter slightly as I press helps get a cleaner edge. Lift the rounds out carefully. You'll have some scraps left over, but we'll use those later.
3. Assembling the Dots
Whip 1 cup (225g) softened unsalted butter until it's pale and fluffy. Gradually beat in 3 cups (360g) powdered sugar, 2 tbsp (30ml) heavy cream, 1 tsp (5ml) vanilla, and a pinch of salt.
Frost the top of each round with a generous swirl. Finish by tossing on the ½ cup (60g) nonpareil sprinkles.
Chef's Note: To get a super smooth frosting finish, use a small offset spatula. If the buttercream feels too stiff, add another teaspoon of heavy cream.
Fixing Common Issues
Baking can be finicky. Sometimes the batter doesn't behave, or the frosting acts up. Most of these problems are easy to fix if you know what caused them.
Troubleshooting Common Issues
| Issue | Solution |
|---|---|
| Why Your Cake is Too Dense | This usually happens if you overmix the batter. Once the flour is wet, stop stirring. If you beat it too long, you develop too much gluten, which turns a fluffy cake into a brick. |
| Why Your Frosting is Sliding | If your frosting is sliding off the dots, the cake was likely still warm. Buttercream melts the second it hits heat. Always wait for the sponge to reach room temperature. |
| Why You Have Crumbs | Crumbs in the frosting happen when you don't "seal" the cake. For these dots, since we only frost the top, it's less of an issue, but cutting the cake with a serrated knife helps prevent tearing. |
If you find yourself with a few broken rounds, don't panic. Just frost them anyway and call them "rustic" treats.
Dietary Changes
You can easily tweak this Vanilla Dot Cake Recipe to fit different needs without losing the vibe.
- dairy-free Modification: Swap the whole milk for almond milk and the butter in the frosting for a vegan butter stick. The texture remains almost identical.
- gluten-free Alternative: Use a 1:1 gluten-free flour blend. Note: The cake may be slightly more fragile, so let it cool longer before cutting.
- The Zesty Lemon Twist: Replace the vanilla extract in the sponge with 1 tbsp of lemon zest and 1 tsp of lemon juice. It cuts through the sweetness of the frosting.
- Chocolate Dot Swap: Sift out 30g of flour and replace it with cocoa powder. Use chocolate sprinkles for a full cocoa experience.
Making More or Less
Scaling a Vanilla Dot Cake Recipe requires a bit of care with the pan size and timing.
Scaling Down (½ Batch) Use an 8x8 inch square pan instead of the 9x13. Reduce the bake time by about 20%, starting to check at 15 minutes. For the egg, crack one into a bowl, whisk it, and use half.
Scaling Up (2x Batch) I don't recommend doubling the batter in one pan, as the center won't cook through. Instead, bake two separate 9x13 pans. If you increase the spices or salt, only go to 1.5x the original amount to avoid an overpowering taste.
Baking Adjustments If you're baking two pans at once, lower the oven temp to 325°F (160°C) and extend the time by 5-10 minutes. This ensures both cakes bake evenly without the bottoms burning.
Baking Myths
A few things people tell you about cakes just aren't true.
Sifting flour is often called "mandatory." While it helps with lumps, a good whisking of the dry ingredients does the same job for a simple oil based cake. You don't need to spend ten minutes sifting unless you're making a delicate chiffon.
Another myth is that you must grease the pan with butter. In my experience, butter can actually make the cake stick more in some pans. Parchment paper is the only way to guarantee a clean release every time.
Storage and Scraps
This Vanilla Dot Cake Recipe keeps well because of the oil. Store the frosted dots in an airtight container in the fridge for up to 5 days. If you're freezing them, freeze the unfrosted rounds first. Wrap them individually in plastic wrap and freeze for up to 2 months. Thaw in the fridge overnight before frosting.
As for the scraps, don't throw them away! Those leftover cake pieces are the best part. Toss them in a bowl with a bit of extra frosting and some fresh berries to make "cake truffles." , you can toast the scraps in a pan with a little butter and cinnamon for a quick breakfast treat.
Tasty Pairing Ideas
Since these are quite sweet, they pair well with something tart or bitter. I love serving them with a pot of strong black coffee or a tart raspberry coulis.
If you're putting together a larger dessert spread, these dots are a great contrast to something colder. They go beautifully alongside ice cream cakes or a fresh fruit platter. If you want something more decadent, a drizzle of warm salted caramel over the top of the dots adds a nice salty balance to the vanilla.
This Vanilla Dot Cake Recipe is a winner because it's approachable. It doesn't require fancy equipment or hours of labor. Just a few basic ingredients, a round cutter, and some sprinkles. Whether you're making them for a kid's party or just because it's Tuesday, they always bring a bit of joy to the table.
Give it a try, and don't be afraid to get a little messy with the sprinkles.
Recipe FAQs
How do they make dot cakes?
Use a 3 inch round cookie cutter to press into a cooled sheet cake. Rotate the cutter slightly for a clean cut before lifting the rounds out of the pan.
What makes this the most moist vanilla cake recipe?
The use of vegetable oil instead of butter in the sponge. Oil remains liquid at room temperature, which creates a softer crumb and prevents the cake from drying out.
How to make a plain cake?
Preheat your oven to 350°F and whisk together flour, sugar, baking powder, and salt. Mix in the oil, milk, eggs, and vanilla, then bake in a 9x13 inch pan for 20-25 minutes.
What is the best cake recipe for a beginner?
This vanilla dot cake is perfect for beginners. It uses a straightforward one-pan method that eliminates the stress of leveling and stacking multiple cake layers.
How to make cake batter muffins from scratch?
Combine your wet and dry ingredients and scoop the batter into lined muffin tins. If you enjoyed mastering the mixing ratios here, see how the same principle works in our basic muffin recipe.
Why is my vanilla dot cake too dense?
You likely overmixed the batter. Stop stirring the moment the flour streaks disappear to avoid developing too much gluten, which turns the cake heavy.
Is it true I can frost the cake as soon as it comes out of the oven?
No, this is a common misconception. Buttercream melts immediately upon hitting heat, so you must wait for the cake to reach room temperature to prevent the frosting from sliding.
Vanilla Dot Cake Recipe