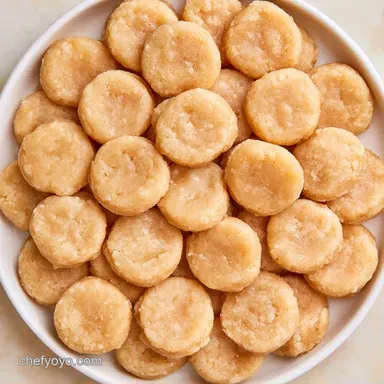
Homemade Frozen Cookie Dough Balls

- Time: 15 min active + 90 min freezing
- Flavor/Texture Hook: Crispy edges with a velvety, soft center
- Perfect for: Busy weeknights or a quick dessert for guests
Forget the idea that you need a professional bakery or a fancy flash freezer to get those perfectly round, high end cookies. Most people think they have to bake the whole batch at once or deal with a messy fridge full of dough. That's just not true.
The real magic happens when you portion the dough first and freeze it individually. This prevents the cookies from flattening into pancakes and keeps the flavor fresh. I started doing this because I hated the guilt of baking two dozen cookies when I only wanted two.
Now, I just keep a bag of Frozen Cookie Dough Balls in the freezer. It's like having a personal bakery in my kitchen. You get that rustic, homemade smell filling the house, but it only takes a few minutes of actual work.
Making Your Own Frozen Cookie Dough Balls
Cold Fat: Keeping the butter frozen slows down the melting process in the oven. This means the cookie holds its shape longer and doesn't spread too thin.
Temperature Gradient: The frozen center takes longer to heat up than the edges. This creates a contrast where the outside is golden and the middle stays soft. If you enjoy a healthier snack, you might also like my Greek Yogurt Cookie Dough for something quicker.
| Method | Prep Time | Texture | Best For |
|---|---|---|---|
| Classic Batch | 45 mins | Uniform | Large parties |
| Frozen Balls | 15 mins | Chewy Center | Solo cravings |
Recipe Specs
For the best results, keep these numeric checkpoints in mind. First, flash freeze the balls for 60 to 90 minutes so they don't clump. Second, bake them at 350°F (180°C) for a consistent rise.
Finally, pull them out at exactly 12 minutes to keep the centers soft.
The Shopping List
| Ingredient | Role | Alternatives |
|---|---|---|
| Unsalted Butter | Adds richness and structural support | Use salted butter instead; reduce added salt by 1/4 tsp |
| Brown Sugar | Creates a chewy texture and molasses notes | Dark brown sugar provides a deeper, rustic flavor |
| All Purpose Flour | Builds the main cookie structure | Almond flour makes the cookie grainier and denser |
| Semi Sweet Chips | Contributes sweetness and bite | Dark chocolate for less sweetness, milk chocolate for more |
Pantry Essentials
- 1 cup (225g) unsalted butter, softened Why this? Softened butter blends better with sugar during creaming.
- 1 cup (200g) packed brown sugar Why this? Ensures the cookies stay moist.
- 1/2 cup (100g) granulated white sugar
- 2 large eggs Why this? Acts as the primary binder.
- 2 tsp (10ml) vanilla extract
- 3 cups (375g) all purpose flour
- 1 tsp (5g) baking soda
- 1/2 tsp (3g) salt
- 2 cups (340g) semi sweet chocolate chips Why this? Ideal balance of cocoa and sweetness.
Essential Gear
No specialized equipment is required for this recipe. While a stand mixer like a KitchenAid is a great choice, a hand mixer works perfectly well.
A small cookie scoop is the most useful tool here. It keeps each portion consistent, which is the best way to ensure they bake evenly. You will also want a baking sheet and parchment paper to keep the dough from sticking during the flash freeze.
Bringing It All Together
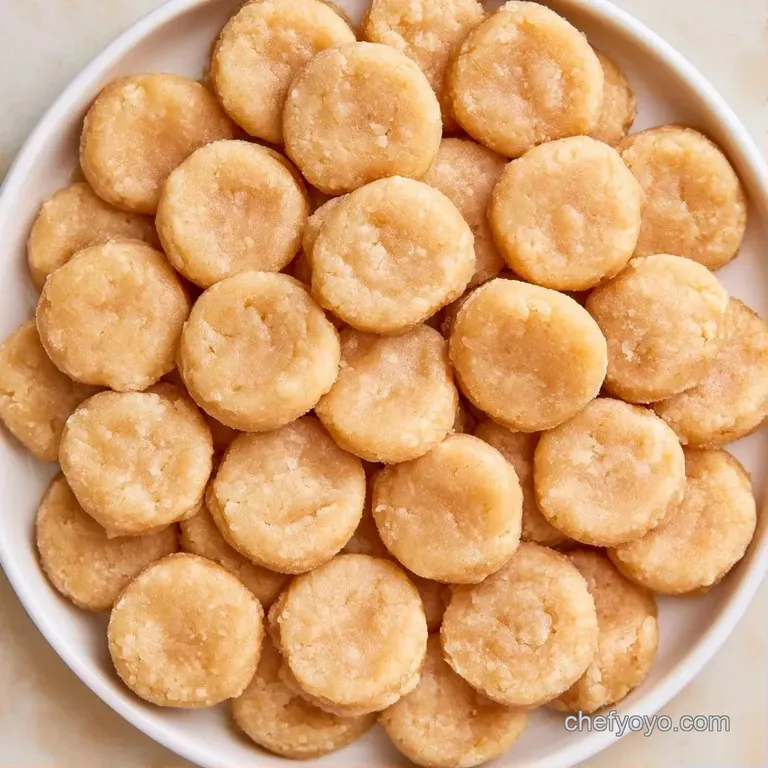
Phase 1: Mixing the Base
- Whip together the softened butter and both sugars. Mix until the color is pale and the texture is fluffy.
- Add the eggs individually, mixing well after each addition. Stir in the vanilla extract.
- In another bowl, whisk the flour, baking soda, and salt. Slowly blend these dry components into the wet batter until just combined. Note: Overmixing makes the cookies tough.
- Using a spatula, gently fold in the chocolate chips by hand.
Phase 2: Shaping and Flash Freezing
- Prepare a baking sheet by lining it with parchment paper.
- Scoop and roll the dough into 1 inch balls. Arrange them on the sheet so they are not touching.
- Place the tray in the freezer for 60 to 90 minutes. This quick freeze ensures the Frozen Cookie Dough Balls maintain their round shape.
Phase 3: Long Term Storage
- Move the chilled dough balls into a freezer safe bag.
- Press out any excess air and seal the bag firmly. Mark it with the date and "Bake Time: 12 mins".
Solving Common Issues
Should the dough feel too tacky to roll into balls, don't stress. Just chill the bowl for 30 minutes. Cold butter is far easier to manipulate and holds its form better.
If your cookies flatten too much, it is likely that the oven was under heated or the dough became too warm before baking. For maximum height, move them straight from the freezer to the oven.
If the edges are charred but the center remains raw, decrease the heat by 25°F and bake for an additional 2 minutes.
| Problem | Fix |
|---|---|
| Sticky Dough | Chill bowl 30 mins before rolling |
| Over Spreading | Bake directly from frozen |
| Raw Centers | Lower temp by 25°F, add 2 mins |
Fun Flavor Twists
For a nutty crunch, swap half the chocolate chips for toasted walnuts or pecans. This adds a savory element that cuts through the sugar. For a double chocolate version, replace 1/2 cup of flour with cocoa powder.
If you want something you can eat without baking, you can try an Chip Cookie Dough 15m recipe instead. Just remember that this specific recipe for Frozen Cookie Dough Balls contains raw eggs and flour, so it's meant for the oven.
For a vegan friendly version, use coconut oil instead of butter and a flax egg. This will change the flavor slightly, adding a hint of coconut.
Storage and Waste
Keep your dough balls in a sealed freezer bag for up to 3 months. Avoid using thin plastic bags, as they let in too much air and can cause freezer burn. If you notice ice crystals forming, just brush them off before baking.
To avoid waste, if you have a little bit of dough left that's too small to make a ball, don't toss it. Put it in a small piece of parchment and freeze it as a "tester" cookie. Use it to check if your oven temperature is correct before baking a full tray of Frozen Cookie Dough Balls.
Serving Your Cookies
Start by preheating your oven to 350°F (180°C). Line a baking sheet with parchment paper and space the frozen dough balls 2 inches apart.
Bake for 12 minutes until the edges turn golden brown and the centers remain slightly soft. Let them set on the pan for 5 minutes before transferring them to a wire rack to finish cooling.
Frozen Cookie Dough Balls Baking Instructions
If you're using an air fryer, set the temperature to 325°F (160°C). Bake for 8 to 10 minutes. Because air fryers circulate heat more intensely, check them at the 8-minute mark to ensure they don't burn.
- For a chewier center
- Reduce bake time by 1 minute.
- For more spread
- Let the dough sit at room temperature for 10 mins.
- For a thicker cookie
- Chill the dough for an additional hour.
Common Misconceptions
There is a common belief that letting the dough thaw before baking improves the flavor. In reality, thawing causes the cookies to spread more and turn out flatter. The best results come from the thermal shock of a frozen ball entering a hot oven.
Another myth is that you need to "seal" the edges of the dough. Since these are rolled into balls, the necessary tension is already created, ensuring a consistent bake.
Now you have the system down. From the initial mixing and flash freezing to that final 12-minute bake, these Frozen Cookie Dough Balls are the simplest way to bring a rustic bakery aroma to your home on demand. Your future self will definitely be grateful when a midnight craving strikes.
Recipe FAQs
What is the process for making the dough?
Cream the butter and sugars, beat in eggs and vanilla, then stir in the dry ingredients and chocolate chips. This ensures the fats are properly emulsified for a consistent texture.
Why freeze the balls before baking?
Freezing chills the butter, which slows down the melting process in the oven. This prevents the cookies from spreading too thin and creates a thicker center.
Is it true you must thaw the dough first?
Actually, no. Baking them straight from the freezer preserves the height and results in a chewier cookie.
How to bake these from frozen?
Place frozen dough balls on a parchment lined sheet and bake until the edges are set. Add a few extra minutes to the cook time to ensure the frozen center is fully baked.
Do frozen cookies lose their flavor?
That's a myth. When stored in a sealed freezer bag, the flavors stay fresh for up to three months.
Can you keep the cookies from flattening?
Keep the dough balls frozen until the moment they go into the oven. If you enjoyed controlling the spread here, the same logic helps make chewy peanut butter cookies.
Frozen Cookie Dough Balls