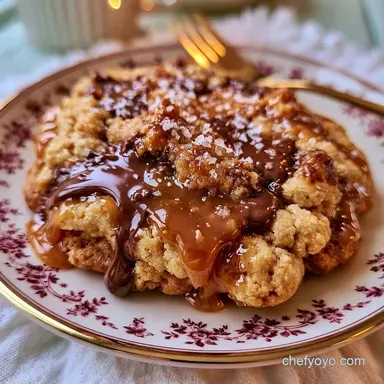
Bakery-Style Salted Caramel Chocolate Chip Cookies
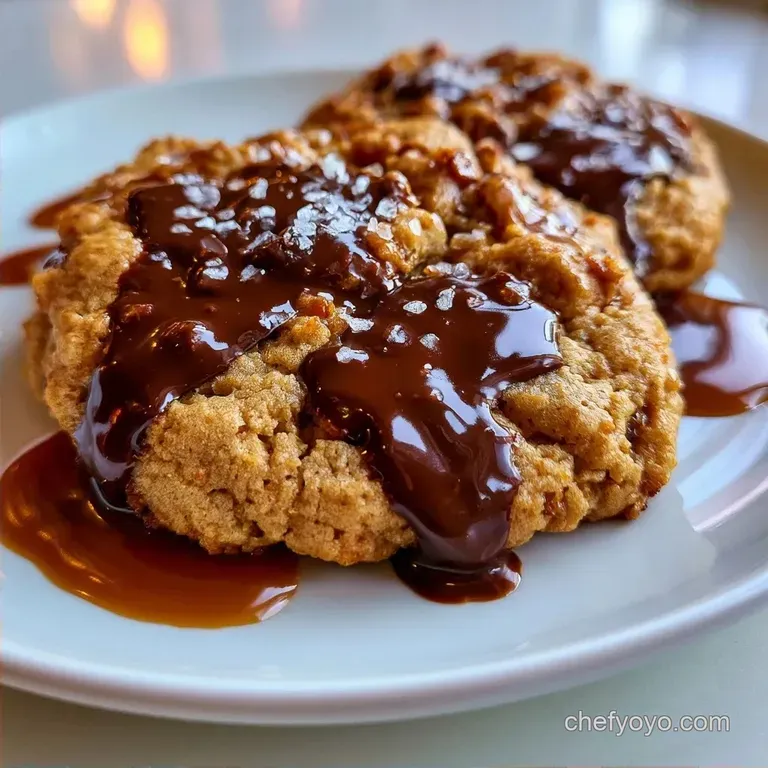
- Time: 20 min active + 2 hours chilling
- Flavor/Texture Hook: Chewy centers with salty, buttery edges
- Perfect for: Weekend baking or a thoughtful homemade gift
Nothing beats the scent of sugar turning into a deep amber syrup. It is the precise moment when the flavor shifts from simple sweetness to something toasted and sophisticated. I used to think a candy thermometer was mandatory, but you can get it right just by watching the color.
You don't need professional gear to achieve a bakery quality result. The caramel is often overcomplicated, but it's quite easy if you don't rush the melting process. These Salted Caramel Chocolate Chip Cookies are defined by the contrast between the nutty browned butter and a sharp hit of sea salt.
Expect a treat that tastes like more than just sugar. We use a specific technique for browning the butter to add a rustic, nutty aroma. The end result is a heavy, chewy cookie with pockets of gooey caramel that stand out rather than blending into the dough.
Why These Cookies Work
Browned Butter: Toasting the milk solids creates a nutty flavor that cuts through the sugar. If you like this depth, you'll probably enjoy my peanut butter cookies which use a similar rich profile.
The Cold Rest: Chilling the dough for 2 hours firms up the fats. This prevents the cookies from melting into flat puddles the second they hit the oven.
Salt Balance: Adding salt both inside the caramel and on top stops the chocolate from feeling cloying. It wakes up the other flavors.
Recipe Specs
The flow of this recipe is split into three distinct phases. First, the caramel needs time to set, then the dough comes together, and finally, the cold rest happens.
- Caramel Phase: 15 minutes active.
- Dough Phase: 15 minutes active.
- Chill & Bake Phase: 2 hours 10 minutes.
The final yield gives you 16 generous cookies. Each one takes exactly 12 minutes in the oven to reach that golden edge.
The Ingredient List
The caramel starts with granulated sugar and heavy cream. The sugar provides the structure, while the cream softens the hard crack of the caramel into a scoopable paste.
For the dough, the light brown sugar is vital. It adds moisture and a molasses note that pairs with the browned butter. All purpose flour keeps the structure stable, and semi sweet chocolate chips provide a bitter contrast to the caramel.
The sea salt is the finishing touch. Using flaky salt rather than table salt provides those tiny bursts of flavor rather than a uniform saltiness.
Necessary Baking Tools
You'll need a medium saucepan for the caramel. A heavy bottomed pot is better because it distributes heat evenly and prevents the sugar from burning in one spot.
A skillet is best for browning the butter. You want to see the foam and the brown bits clearly, which is easier in a wide pan. A large mixing bowl and a whisk or electric hand mixer will handle the dough.
Finally, use parchment paper or silicone mats. These cookies have caramel, and if any leaks, it can stick to a bare pan like glue.
The Baking Process
Phase 1: Making the Caramel
- Place 115g granulated sugar in a saucepan over medium heat. Stir constantly until it transforms into a deep amber liquid.
- Take the pan off the heat and whisk in 42g room temperature butter. Note: Stir rapidly to prevent the butter from separating.
- Gradually pour in 60ml heavy cream. Allow the mixture to bubble and then settle.
- Mix in 3g flaky sea salt. Let the caramel sit at room temperature until it thickens.
Phase 2: Making the Dough
- Melt 170g unsalted butter in a skillet over medium heat. Cook until the butter begins to foam and brown bits appear at the bottom. Remove from heat immediately.
- In a mixing bowl, beat the browned butter with 150g brown sugar and 50g granulated sugar. Mix until the consistency is smooth.
- Stir in 1 large egg and 5ml vanilla extract.
- Whisk 250g all purpose flour, 5g baking soda, and 3g salt. Gradually blend these into the wet ingredients.
- Gently fold in 255g semi sweet chocolate chips.
Phase 3: Finishing and Baking
- Refrigerate the dough for 2 hours. Note: This step is critical for ensuring your Salted Caramel Chocolate Chip Cookies stay thick.
- Scoop dough onto baking sheets, swirl a small amount of cooled caramel into the center, and bake for 12 minutes until the edges are golden.
- Sprinkle with extra sea salt immediately after removing them from the oven.
| Original Ingredient | Substitute | Why It Works |
|---|---|---|
| Heavy Cream (60ml) | Full fat Coconut Milk | Similar fat ratio. Note: Adds a subtle coconut flavor |
| Semi sweet Chips | Dark Chocolate Chunks | Higher cocoa content. Note: Makes the cookie less sweet |
| All purpose Flour | 1:1 GF Flour Blend | Mimics wheat structure. Note: May be slightly more fragile |
Solving Common Issues
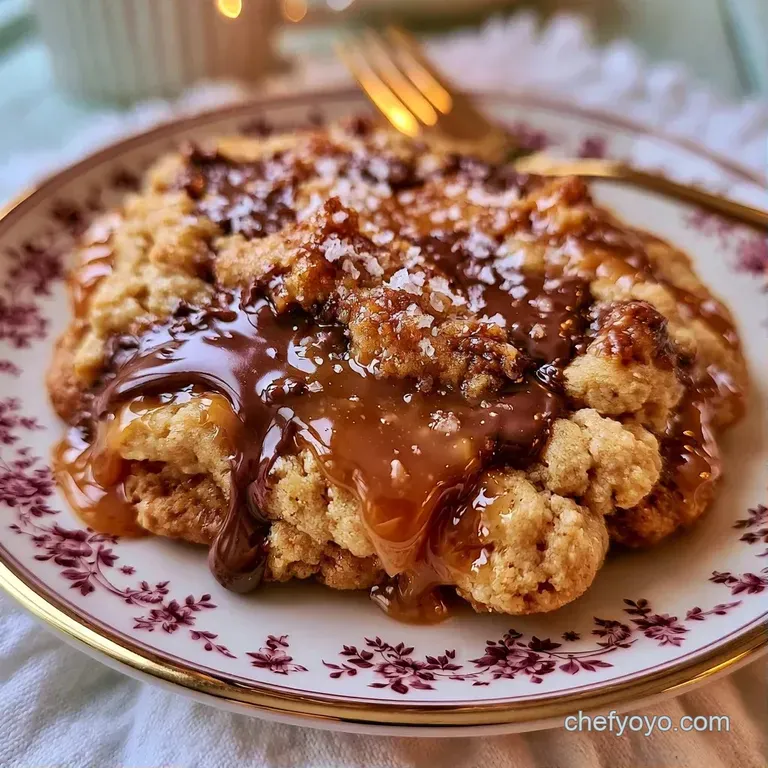
Crystallization occurs when sugar doesn't melt uniformly, giving the caramel a gritty, sandy texture. To prevent this, avoid stirring too vigorously at the start and let the heat do the work.
If your cookies flatten too much, the butter was likely too warm during mixing or the dough required more chilling. The fat must be solid to maintain the cookie's shape during the first few minutes in the oven.
When caramel seeps out, it is usually because the consistency was too runny. Ensure the caramel is completely cooled and thick before swirling it into the dough.
Solving Grainy Caramel
Crystallization is often caused by sugar grains clinging to the sides of the pan. You may be able to save it by adding a tiny splash of water and reheating the mixture slowly.
Controlling Cookie Spread
If the dough remains soft after chilling, place it back in the fridge for another 30 minutes. Cold dough is the only way to ensure a thick cookie.
Avoiding Caramel Leaks
Keep the caramel portions small. A half teaspoon per cookie is plenty; any more may push the dough apart.
| Problem | Root Cause | Solution |
|---|---|---|
| Sandy Caramel | Sugar crystallization | Use a wet brush to clear the pan sides while melting |
| Flat Cookies | Inadequate chilling | Chill dough for a minimum of 2 full hours |
| Burnt Butter | Overheating the skillet | Remove butter as soon as it smells nutty |
Quick Result Guide
Depending on what you want the final cookie to be, you can make small tweaks to the process.
| Goal | What to Change |
|---|---|
| Chewier Center | Increase brown sugar by 20g |
| Thinner Cookie | Reduce chill time to 30 mins |
| More Salt Hit | Increase sea salt by 1g |
Common Baking Myths
Many believe that creaming butter and sugar for 5 minutes is essential for getting air into the cookies. Since this recipe uses melted browned butter, the structure is provided by the chilling process rather than aeration.
It is also often claimed that you cannot use a microwave to melt butter for browning. While you can use one to melt it, the browning process requires a skillet to toast the solids. You simply cannot achieve that nutty aroma in a microwave.
Best Serving Ideas
Enjoy these cookies while they are still slightly warm. If they have cooled, a quick 2-minute stint in the oven will make the caramel gooey once more.
For a rustic touch, arrange them in a pyramid on a wooden board; the white sea salt crystals look striking against the dark chocolate. To balance the richness, serve these alongside a bitter espresso or a chilled beverage.
If you need additional sweets for your spread, my Chocolate Turtles share a similar flavor and are a wonderful addition to any dessert platter.
Storage And Reheating
Store the cookies in an airtight jar on the counter for up to 4 days. To keep them soft, tuck in a small piece of white bread to preserve the moisture.
For longer storage, freeze them for up to 3 months. Flash freeze them on a baking sheet to prevent clumping before transferring them to a freezer bag.
When reheating, warm them at 300°F (150°C) for about 3 to 5 minutes. This restores the caramel's velvety texture without overcooking the dough.
To avoid waste, stir any leftover caramel into your morning oatmeal or drizzle it over sliced apples. Don't let that gold go to waste.
Simple Recipe Swaps
If you want a more intense chocolate experience, swap the semi sweet chips for 70% dark chocolate. The bitterness makes the salted caramel pop even more.
For a nutty twist, add 50g of toasted pecans or walnuts. The crunch works well with the chewy center. You can also add a pinch of cinnamon to the flour mix for a warmer, autumnal flavor.
If you're making these for a crowd and don't want to scoop individual cookies, you can press the dough into a parchment lined pan and bake them as Salted Caramel Chocolate Chip Cookie bars. Just increase the bake time to 20-25 minutes.
For those avoiding gluten, a high-quality almond flour blend can work, though the cookies will be denser. If you're looking for other easy bakes, snickerdoodle cookies are always a hit and use very basic pantry staples.
Recipe FAQs
How to prepare the salted caramel filling?
Melt granulated sugar in a saucepan over medium heat until it reaches a deep amber color.
Tip: whisk in the butter and heavy cream slowly to prevent the mixture from splattering.
Is it true that chilling the dough is optional?
Surprisingly, no.
Tip: keep the dough in the fridge for 2 hours to stop the cookies from spreading too thin.
Why are my cookies flattening during baking?
This occurs if the browned butter was too warm when mixing or the dough skipped the chilling phase.
Tip: if you enjoyed mastering dough temperature here, see how the same principle works in this cookie dough.
Can these cookies be kept in the freezer?
Freeze them on a tray first before moving them into a freezer bag for up to 3 months.
Tip: flash freezing individually ensures they don't clump together in the bag.
What is the ideal temperature for reheating?
Use the oven at 300°F (150°C) for 3 to 5 minutes.
Tip: this precise heat restores the velvety caramel texture without drying out the cookie.
Salted Caramel Chocolate Chip Cookies