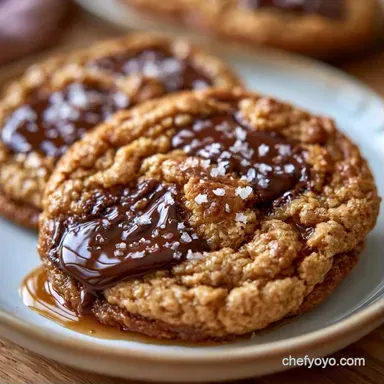
Sea Salt Chocolate Chip Cookies with Brown Butter
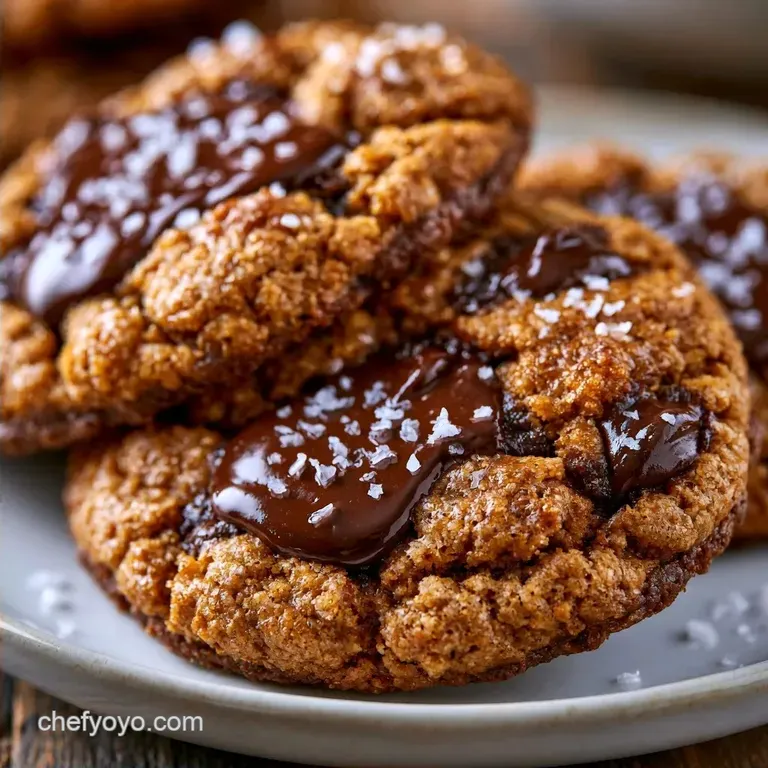
- Time: 15 min active + 30 min chilling
- Flavor/Texture Hook: Toasted nutty notes with a shattering crisp edge
- Perfect for: Weekend baking or a thoughtful homemade gift
The aroma is immediate as the butter begins to foam. It transforms from a simple melt into a deep, golden brown with a fragrance reminiscent of toasted hazelnuts. Once, a quick phone call nearly led me to scorch the milk solids, but it taught me to stay vigilant for the precise second those brown flecks emerge.
This recipe focuses on simplicity and precision, prioritizing a harmony between salt and sugar to keep the flavor light and addictive. The result is a treat that stays soft and chewy at the center, finished with flaky salt crystals that provide a sharp, refreshing contrast.
The equipment list is intentionally short. While a stand mixer is a nice luxury, it's completely optional. All you really need are a saucepan, a whisk, and a mixing bowl. Believe me, spending those extra ten minutes browning your butter is the secret to the final taste.
Sea Salt Chocolate Chip Cookies
The magic happens when you contrast the rich, caramelized butter with the sharp pop of flaky salt. It stops the chocolate from feeling too heavy. If you love this kind of flavor profile, you might also enjoy the rich caramel notes in homemade chocolate turtles.
Most people skip the chilling step because they want cookies now. But that 30 minute rest is where the flour hydrates and the fats firm up. Without it, you're basically baking puddles of sugar. I've made that mistake more times than I can count.
Right then, let's get into how these actually come together. We're focusing on a few key movements: browning the butter, emulsifying the sugars, and the final salt sprinkle.
Why These Cookies Work
- Browned Butter: Toasting the milk solids creates a nutty flavor and reduces water content, which makes the cookie chewier.
- The Salt Balance: Flaky salt on top cuts through the fat of the butter and the sweetness of the brown sugar.
- Short Chill: A 30 minute rest prevents the butter from melting too quickly in the oven, preserving the height.
| Method | Time | Texture | Best For |
|---|---|---|---|
| Fast Bake | 20 mins | Flat, spreading | Quick cravings |
| Classic Brown Butter | 55 mins | Chewy, structured | Maximum flavor |
Ingredient Deep Dive
| Ingredient | What It Does | Best Swap |
|---|---|---|
| Unsalted Butter | Provides fat and nutty toasted flavor | Salted butter (reduce added salt) |
| Brown Sugar | Adds moisture and molasses notes | Dark brown sugar (richer taste) |
| All Purpose Flour | Builds the structure | 1:1 gluten-free blend |
| Baking Soda | Helps the cookies rise and brown | Baking powder (will be cakier) |
Ingredients & Substitutes
- 1 cup (225g) unsalted butter Why this? Lets you manage the salt content when browning
- Swap: Salted butter. Note: Reduce fine table salt by half.
- 1 cup (200g) light brown sugar Why this? Molasses is key for a chewy consistency
- Swap: Dark brown sugar for a richer, caramel like taste.
- 1/2 cup (100g) granulated white sugar Why this? Ensures the edges get crisp
- Swap: Coconut sugar, though the edges will stay softer.
- 2 large eggs Why this? Acts as a binder and provides lift
- Swap: 2 flax eggs (1 tbsp ground flax + 3 tbsp water each).
- 2 tsp (10ml) vanilla extract Why this? Balances the sweet notes
- Swap: Maple syrup for a woody flavor.
- 2 1/4 cups (280g) all purpose flour Why this? Proper protein levels for the perfect chew
- Swap: Bread flour for a denser, heartier chew.
- 1 tsp (5g) baking soda Why this? Pairs with brown sugar for leavening
- Swap: None; essential for this specific texture.
- 1/2 tsp (3g) fine table salt Why this? Seasons the cookie from the inside
- Swap: Kosher salt (increase to 3/4 tsp).
- 2 cups (340g) semisweet chocolate chips Why this? Cocoa levels help offset the sugar
- Swap: Dark chocolate chunks for a more intense profile.
- 1 tsp (5g) flaky sea salt Why this? Delivers that classic salty contrast
- Swap: Coarse kosher salt if flaky salt isn't available.
The Baking Process
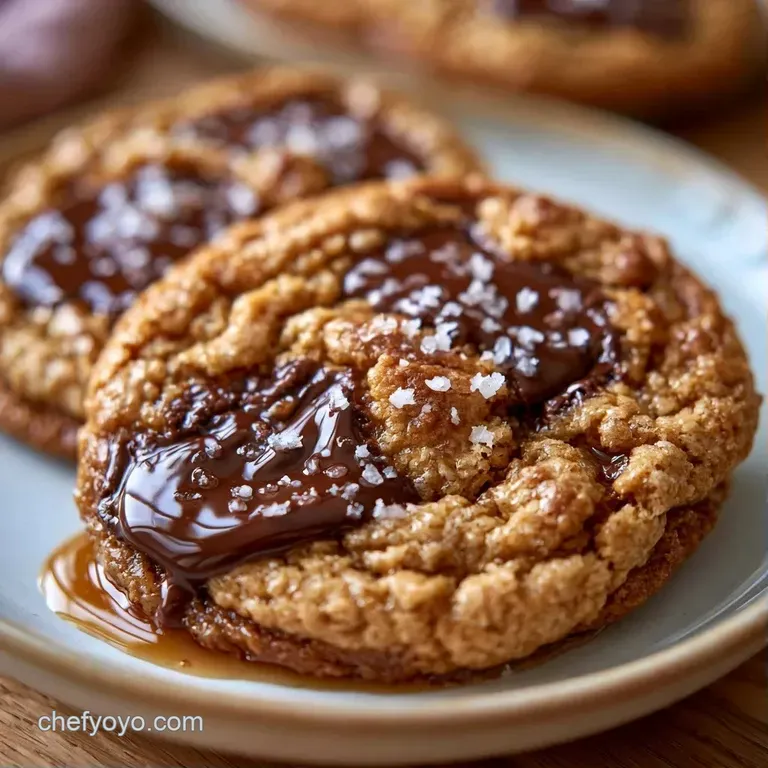
- Place the butter in a light colored saucepan over medium heat. Whisk continuously until the milk solids turn golden brown and a nutty scent arises. Remove from heat immediately. Note: Using a light pan allows you to monitor the browning more easily.
- In a large mixing bowl, cream the browned butter with white and brown sugars until light and fluffy.
- Mix in the eggs one by one, beating well after each addition.
- Beat in the vanilla until the batter looks glossy and smooth.
- Whisk the flour, baking soda, and fine salt together in a separate bowl.
- Using a spatula, gently stir the flour mixture into the butter mixture until no streaks of flour remain.
- Fold in the chocolate chips with a light touch.
- Chill the cookie dough in the fridge for 30 minutes.
- Preheat your oven to 350°F (175°C). Place tablespoon sized mounds of dough on parchment covered baking sheets, leaving 2 inches between each.
- Bake for 10 minutes or until the edges are set and lightly browned.
- Take them out of the oven and immediately top with flaky sea salt while the chocolate is still gooey.
Chef's Note: To achieve a professional bakery look, push a few extra chocolate chips into the surface of the dough just before baking.
Fixing Common Issues
When cookies come out wrong, it's usually a temperature issue. If the butter is too hot when you add the sugar, the structure collapses. If the oven is too cool, the butter melts before the flour sets, and you get a pancake.
Cookies Spreading Too Much
This usually happens if the dough didn't chill long enough or the butter was still hot from the pan. The fats liquefy too quickly.
Salt Tasting Too Harsh
If you used table salt for the topping instead of flaky sea salt, the salt hits all at once. Flaky salt dissolves slower, giving you a pop rather than a brine.
Texture Feeling Too Cakey
Too much flour is the usual culprit here. Even a few extra grams from scooping the flour directly with the measuring cup can change the density.
| Problem | Root Cause | Solution |
|---|---|---|
| Flat/Thin | Butter too warm | Chill dough 30-60 mins |
| Grainy Dough | Sugar not emulsified | Beat butter and sugar longer |
| Burnt Bottoms | Oven rack too low | Move rack to center position |
Adjusting the Batch
Halving the recipe is simple if you're baking for one. Just use 1 egg and half the butter, then switch to a smaller baking sheet and trim the bake time by about 1-2 minutes.
When making a double batch, avoid simply doubling the salt and baking soda. To prevent a metallic taste, use 1.5x the salt and leavening agents. I suggest mixing in separate batches rather than one large bowl, since folding in 4 cups of chocolate chips can easily overwork the dough.
If you're preparing a large amount for a party, set your oven to 325°F (160°C) and increase the timer by 2-3 minutes. This allows the center to cook through without burning the edges. For a more diverse dessert spread, try serving these alongside chewy oatmeal cookies.
Debunking Cookie Myths
"You must cream butter and sugar for 5 minutes." Not when using melted brown butter. Since the butter is already liquid, you're emulsifying, not aerating. Over beating at this stage can actually make the cookies too cakey.
"Cold eggs ruin the batter." Cold eggs can slightly thicken the browned butter, but they won't ruin the recipe. Just give the batter a quick whisk if it looks separated.
"Browning butter is only for fancy chefs." It's literally just melting butter and waiting a few minutes. Anyone with a saucepan can do it, and the flavor payoff is massive.
Storage and Waste
Keep your Sea Salt Chocolate Chip Cookies in a sealed container on the counter for up to 4 days. In humid climates, separate the cookies with parchment sheets to prevent them from sticking together.
For longer preservation, freeze the baked cookies for 3 months. Simply let them thaw for 20 minutes or microwave them for 10 seconds to get that "fresh from the oven" sensation. You can also freeze raw dough balls on a baking sheet before transferring them to a bag.
Bake these straight from the freezer, adding 1-2 minutes to the total time.
To reduce waste, salvage the browned butter remnants left in your pan. Stir them into a batch of pancakes or your morning oatmeal. If you have a small scrap of dough left over, bake it as a "test cookie" to double check your oven temperature.
Final Touches
Once you've mastered the basics, feel free to experiment with add-ins. I personally enjoy mixing in a handful of toasted walnuts or a dash of cinnamon into the flour. The depth of the browned butter supports various flavor additions without being overwhelmed.
Just keep one essential rule in mind: never omit the salt. It acts as the bridge between the chocolate and the butter. Without it, you're simply eating a tasty treat; with it, you have a sophisticated, balanced dessert.
Now, get your butter in the pan and begin browning. You can tell it's done when the aroma of a professional pastry shop fills your home. Enjoy these Sea Salt Chocolate Chip Cookies!
Recipe FAQs
What does sea salt actually do for the flavor?
Sea salt balances the sweetness of the chocolate and sugar. It enhances the deep, nutty notes of the browned butter for a more complex taste.
Do you sprinkle the flaky salt before or after baking?
Sprinkle the sea salt immediately after removing the cookies from the oven. This ensures the salt sticks to the surface without melting into the dough.
Is it true that you must bake the cookies immediately after mixing?
No, this is a common misconception. Chilling the dough for 30 minutes prevents the cookies from spreading too thin and deepens the flavor.
How to store these cookies to keep them fresh?
Store them in a container with a lid on the counter for up to 4 days. If you enjoy the flavor of raw dough, you might also like our cookie dough recipe.
Sea Salt Chocolate Chip Cookies